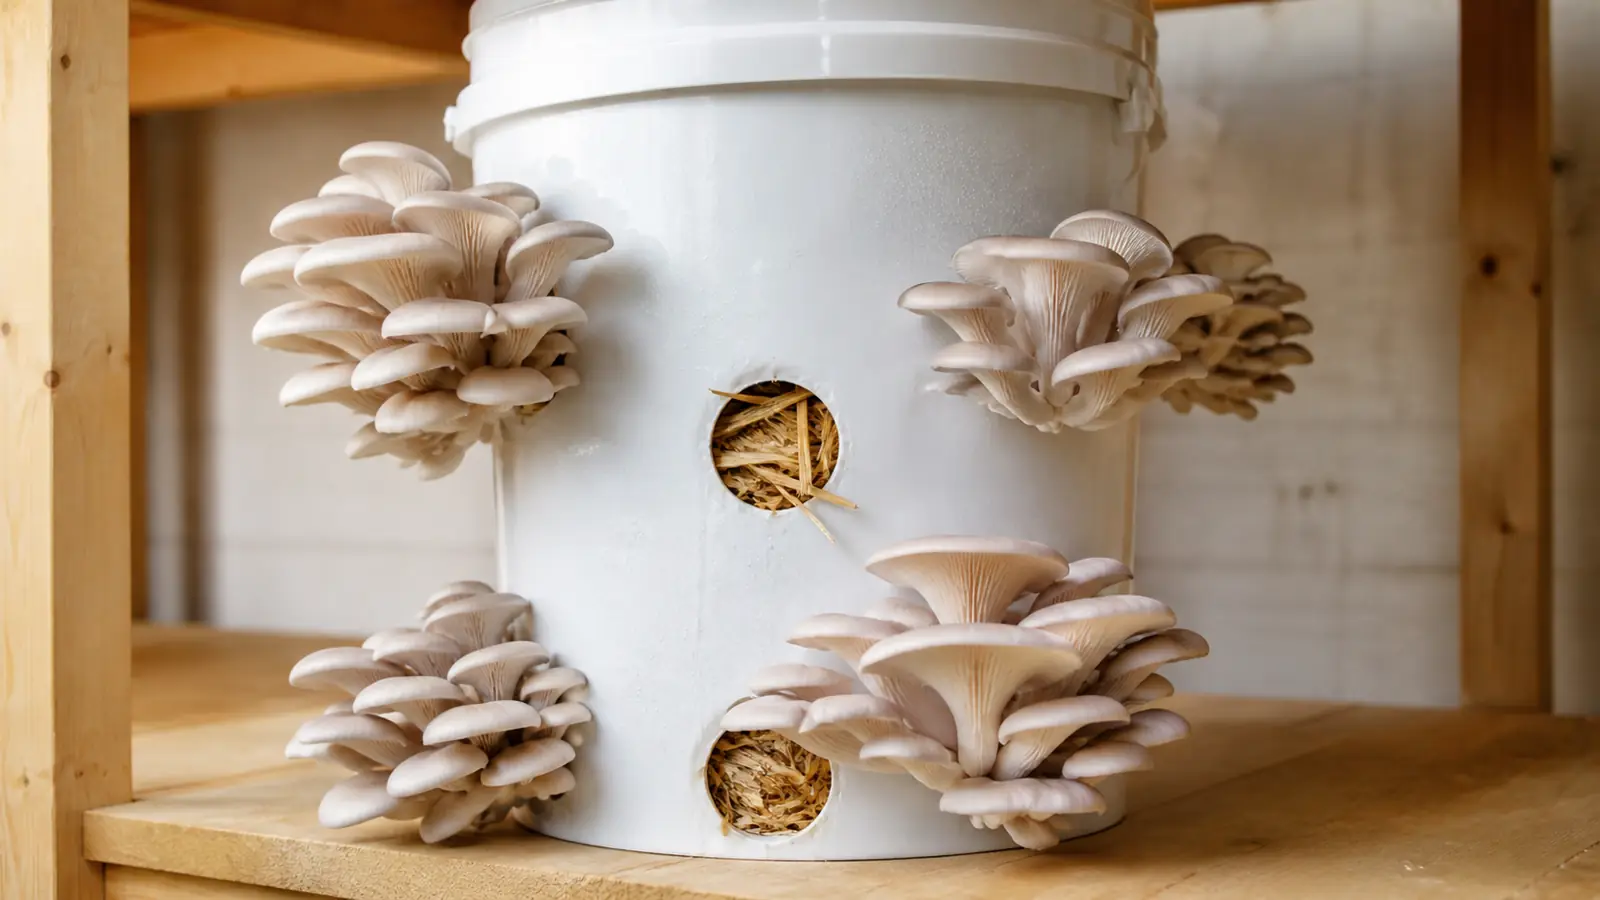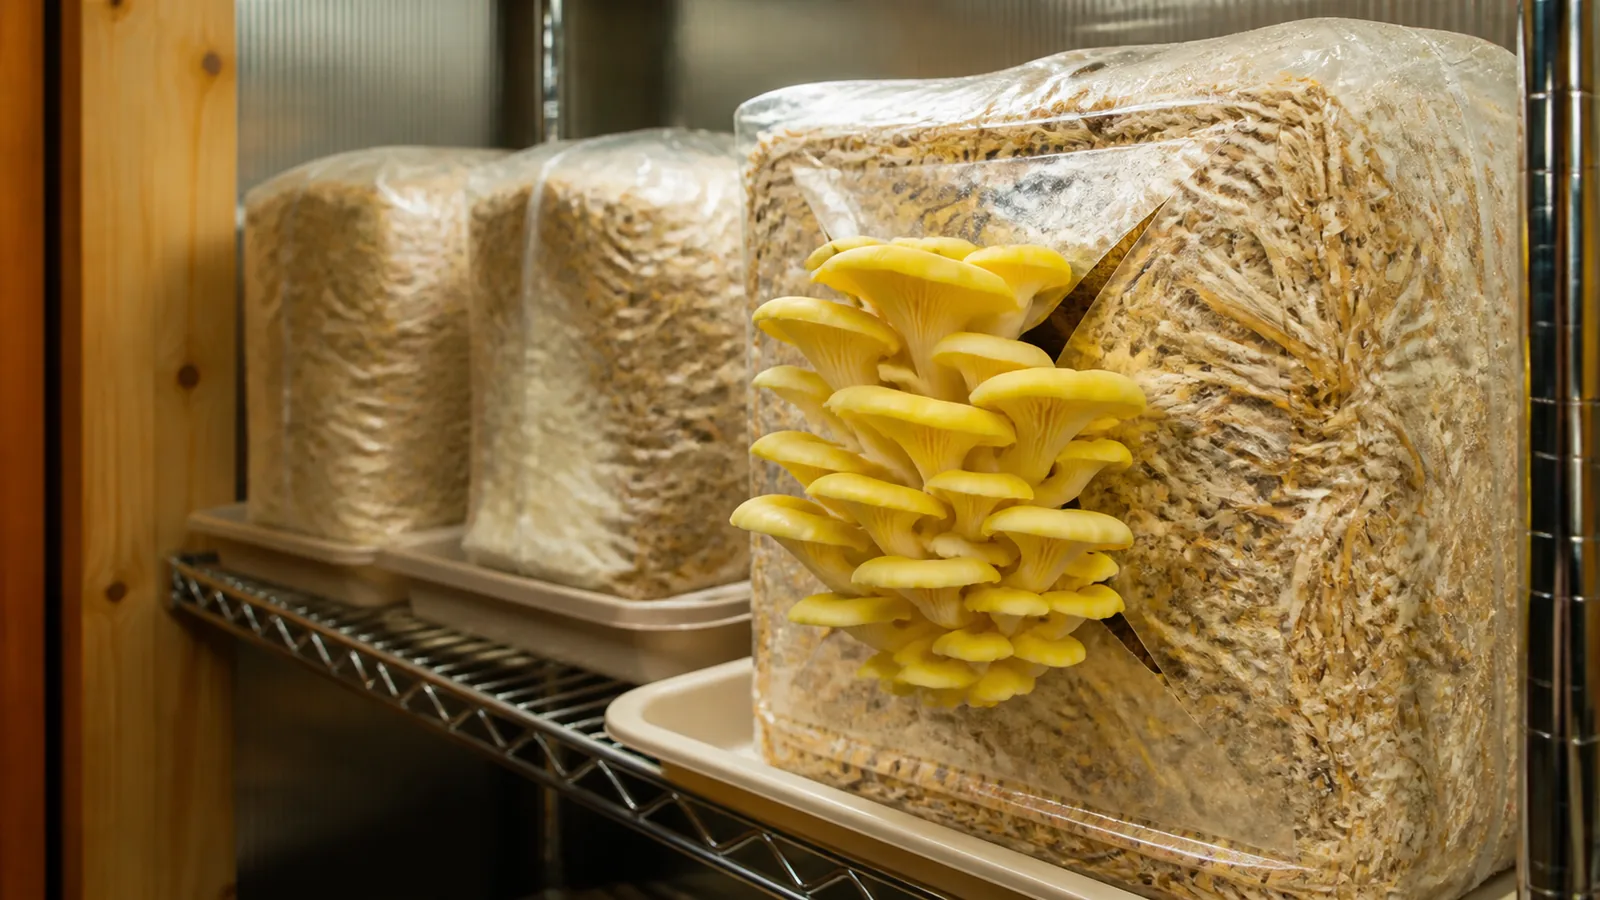
Grow golden oyster mushrooms indoors from a ready block or a clean lignocellulosic substrate. Keep the crop contained, wait for complete colonization, provide limited side openings with diffuse light and fresh air, then harvest the joined cluster before its thin caps become brittle.
Golden oyster mushrooms can produce brilliant yellow clusters from a compact indoor block. The crop should remain indoors from inoculation through disposal, especially in North America where escaped golden oysters have spread beyond cultivation.
A ready-to-fruit block is the simplest first route. If you start with spawn and substrate, choose one treatment method, record the batch, and keep every stage separated from outdoor soil, logs, and compost.
Why must a golden oyster crop be contained?
Warning
Plan the last day before the first day | Golden oyster is native to Asia and has expanded rapidly across North America. Grow it in a controlled indoor space, collect trimmings, and arrange contained disposal for the spent block rather than placing living material outdoors.
Containment does not require a laboratory.
It means the bag sits over a washable tray, loose substrate never enters a garden, mature clusters do not release spores beside an open window, and waste leaves the grow space in a closed container.
The boundary also improves cultivation. A defined room makes temperature, light, humidity, cleaning, and airflow easier to observe than a block moved between a porch, kitchen, garage, and yard.
Choose the disposal path before ordering spawn. Local waste rules differ, so confirm whether a sealed spent block belongs in household waste or another approved stream where you live.
Do not bury a weak block to see whether it recovers.
That transfers a cultivated fungus and its contaminants into a setting where neither can be monitored.
Growing MushroomsWhat Does a Mushroom Farm Actually Cost to Start?Which indoor route should you choose?
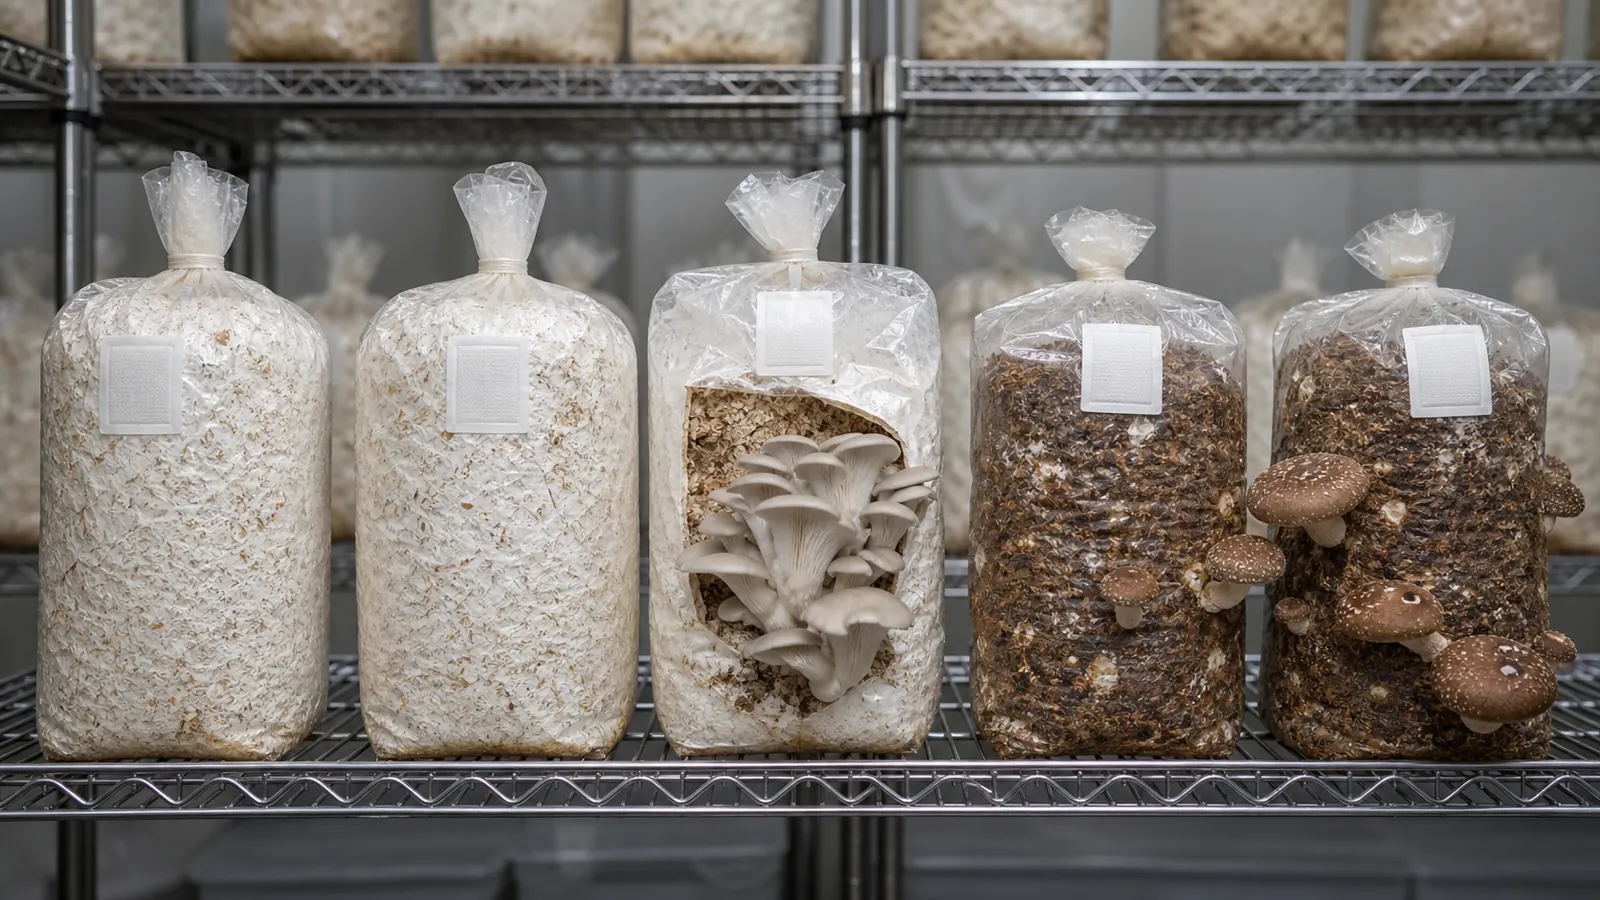
A fully colonized commercial block lets you begin at fruiting. You inspect the bag, make the supplier's intended opening, and learn how the yellow cluster responds to light, fresh air, and moisture without introducing a new contamination window.
Starting from verified spawn gives you control over the substrate and bag size.
It also makes substrate treatment, clean inoculation, incubation, labeling, and disposal your responsibility.
| Route | Work you own | Useful first lesson | Main failure point |
|---|---|---|---|
| Ready-to-fruit block | Inspect, open, fruit, harvest, and contain the spent block | Read cluster shape and harvest timing | A dry opening, stale air, weak light, or an unsuitable room |
| Pasteurized straw bag | Cut, heat, drain, cool, inoculate, pack, and incubate | Control moisture and packing in a low-nutrient substrate | Wet straw, dirty spawn, incomplete cooling, or loose packing |
| Supplemented hardwood block | Mix, bag, pressure-sterilize, cool, inoculate, seal, and incubate | Build a dense controlled production block | A cold spot during sterilization or exposure during transfer |
Choose one route for the first crop. Running all three at once creates different sanitation and moisture problems, so a failed bag cannot teach you which decision caused it.
The general oyster growing method explains the broader straw-to-harvest process. Golden oysters share its side-fruiting logic, but their light-responsive color and thin joined caps need their own observation plan.
Tip
Prove the fruiting room with a ready block | If one healthy block forms compact yellow caps, the room can probably support a full-cycle batch. If it stretches, fades, dries, or stays wet, fix that room before adding sterile equipment.
What substrate do golden oysters need?
Golden oyster mycelium can digest many plant-based materials, but a research substrate is not automatically a home recipe.
Studies have tested wheat straw, sawdust, corn stalks, and other grass residues in specific formulations, and changing the material or additive ratio changed the result.
Clean chopped cereal straw is a practical beginner substrate because it can hold water and air after heat pasteurization. A supplemented hardwood formula may support a denser block, but added nutrients raise contamination pressure and normally require pressure sterilization rather than simple pasteurization.
- Start with dry material that has no mold, manure, chemical treatment, or unknown weather exposure.
- Cut long fibers so the bag packs evenly and spawn can contact many surfaces.
- Use the complete heat process required by the chosen formula, including the center of the substrate mass.
- Drain and cool on a clean surface before opening verified spawn.
- Record the dry mass, treatment, spawn amount, bag size, and date for every batch.
After pasteurization, squeeze a cooled handful firmly.
A few drops indicate retained moisture, a stream indicates free water, and straw that stays crisp and separates immediately may dry too quickly at every opening.
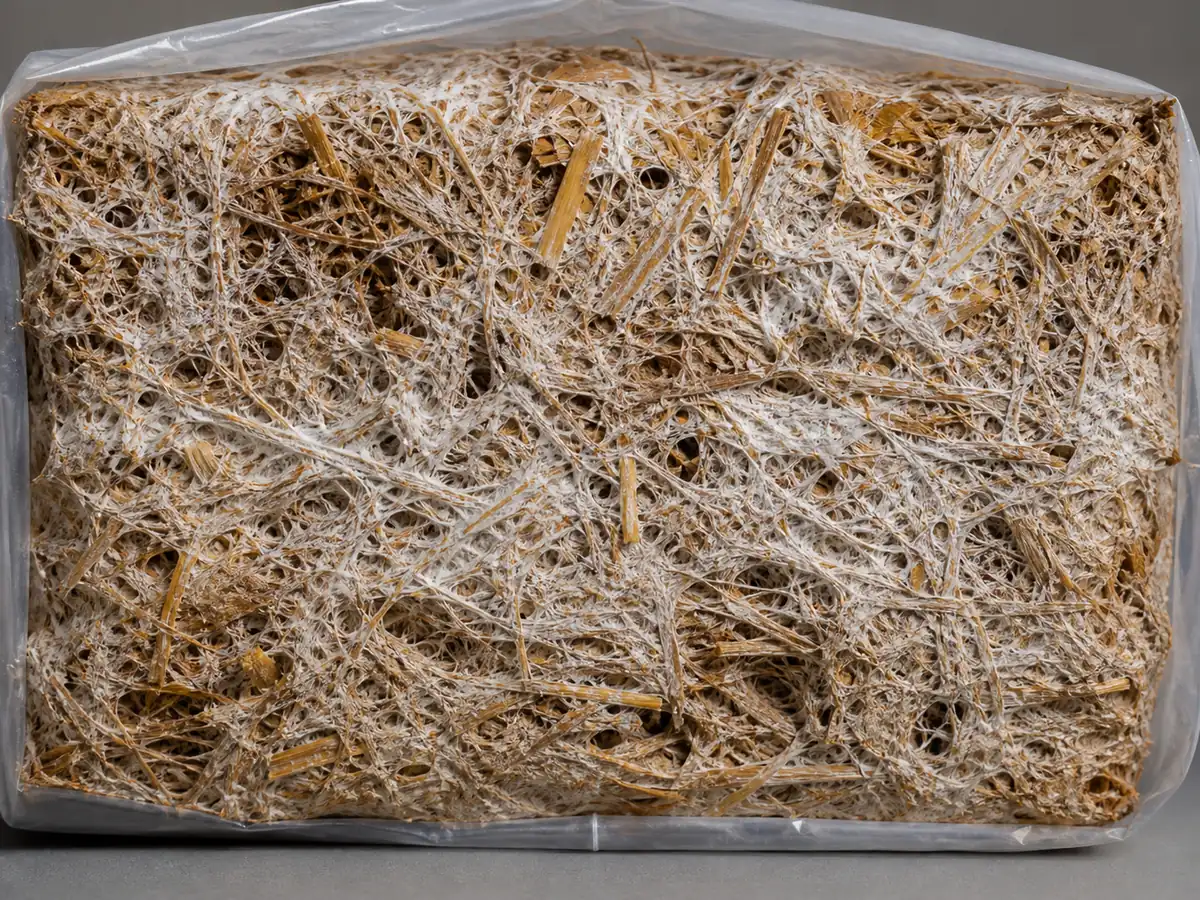
Packing determines whether those spaces survive. Press enough to remove large empty channels, but stop before the fibers collapse into a dense wet plug.
The best formula is one your treatment equipment can process consistently.
A productive published mixture does not help if a home vessel cannot heat its core or a work area cannot protect it during inoculation.
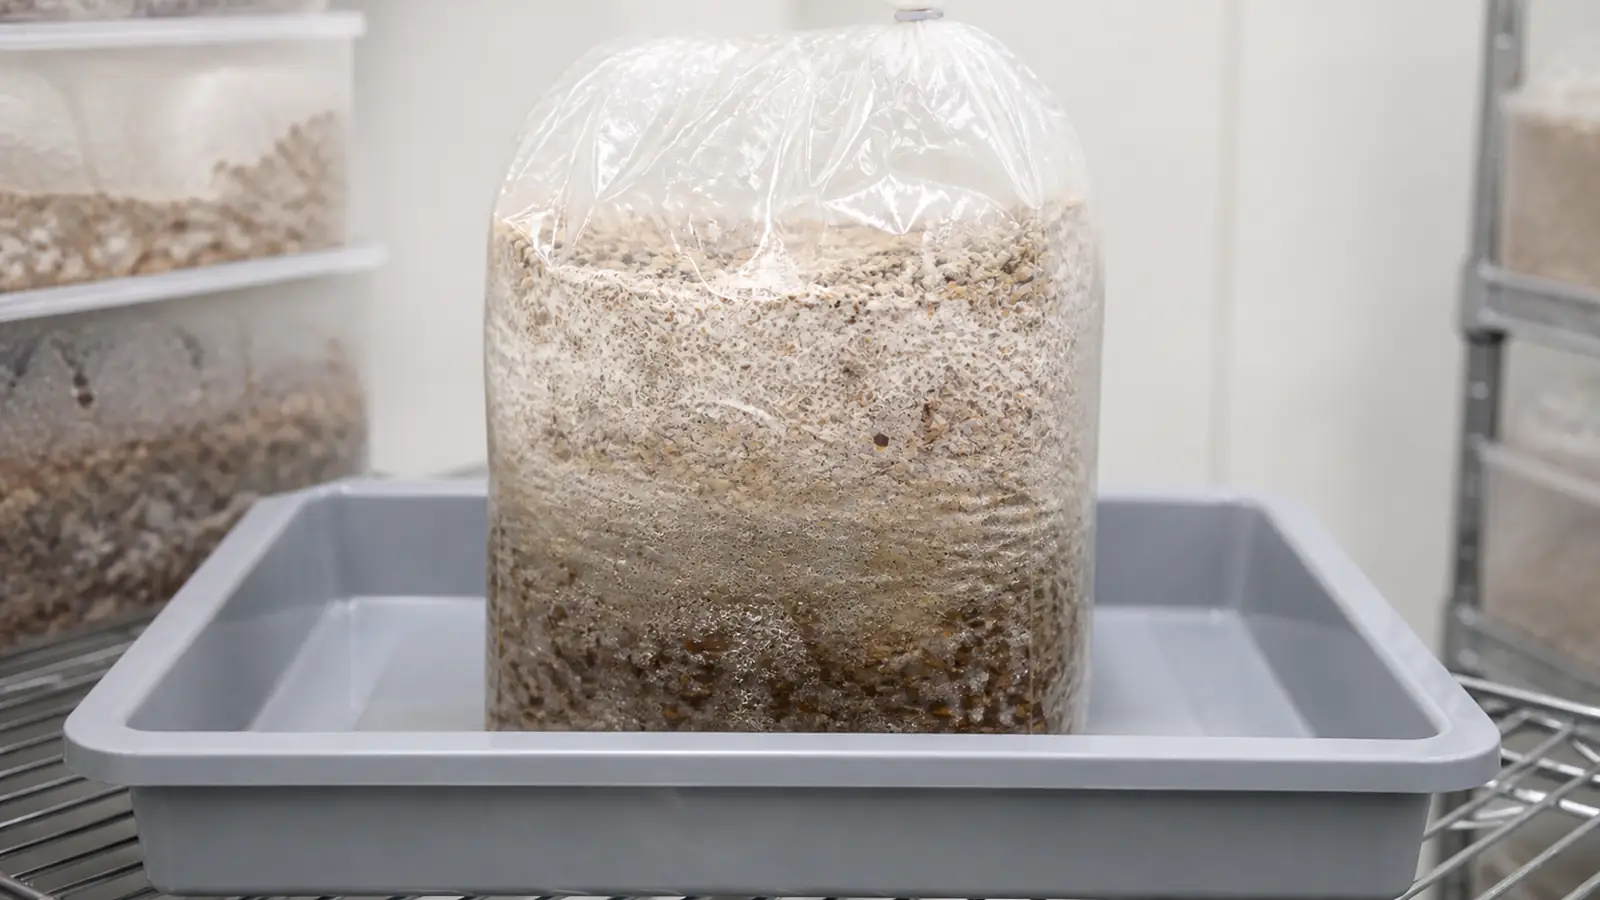
When is the block fully colonized?
Inspect commercial grain spawn before cleaning the workspace. Healthy spawn should carry the correct species label, intact lid or filter, coherent growth, and no unplanned color, sour liquid, or shipping damage.
Prepare the cooled substrate, closure, label, and tools before opening the spawn.
Stop fans, clean the work surface and bag exterior, wash your hands, and use clean gloves so the transfer remains brief.
Confirm the core is cool
Check deep in the substrate because residual heat can weaken spawn and produce condensation after sealing
Break up healthy spawn
Separate colonized grains without crushing them into paste or touching them with an unclean tool
Distribute contact points
Mix spawn through the bag so growth begins across the mass instead of from one layer
Pack and close
Remove large voids, protect the filter, and seal the container before leaving the clean area
Label the batch
Record species, strain, substrate, treatment, spawn amount, inoculation date, and incubation location
Incubate the closed bag away from direct sun within the range supplied for its strain. Several bags packed tightly together may become warmer inside because active mycelium releases heat.
SCORE Ready to continue | White growth connects the whole substrate, the mass holds together, and no unfinished pocket is expanding SCORE Wait and observe | A small ordinary substrate-colored pocket continues shrinking while surrounding white growth remains firm SCORE Isolate now | A sharply bordered green, black, orange, or wet translucent area expands between checks
The calendar records progress but does not grant permission to cut the bag. Substrate type, bag mass, spawn rate, strain, and room temperature all change colonization time.
Once the outside appears white, let the interior finish binding. Repeated squeezing, turning, and opening can fracture new connections and pull dirty air through the filter.
Growing MushroomsHow Do Mushroom Sawdust Blocks Work from Mix to Fruit?Where should you cut the bag?
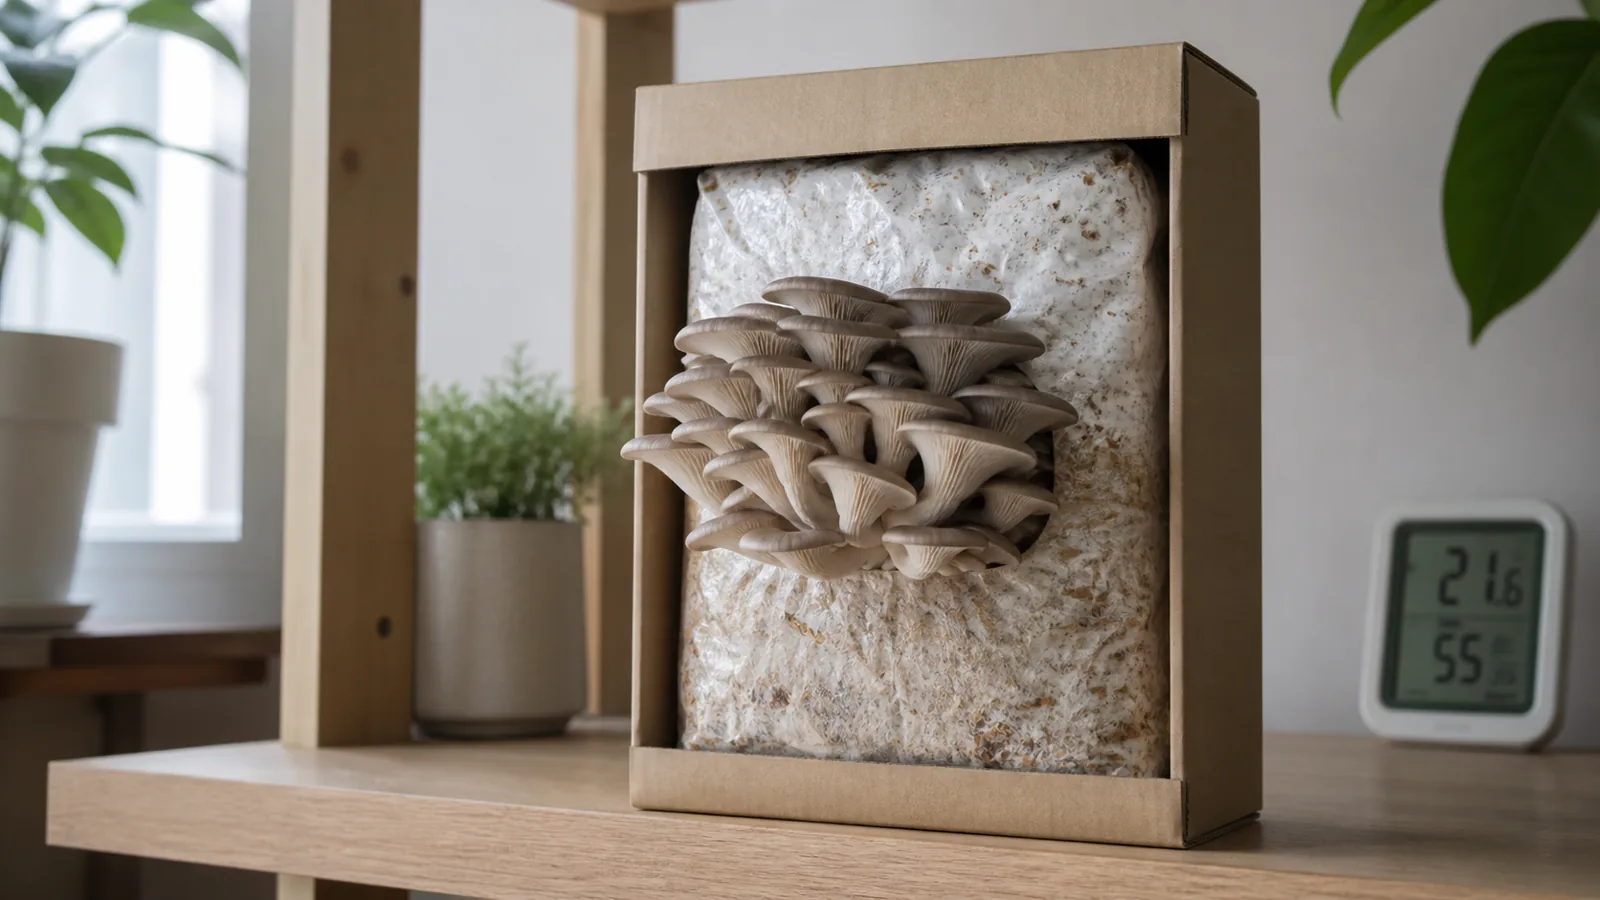
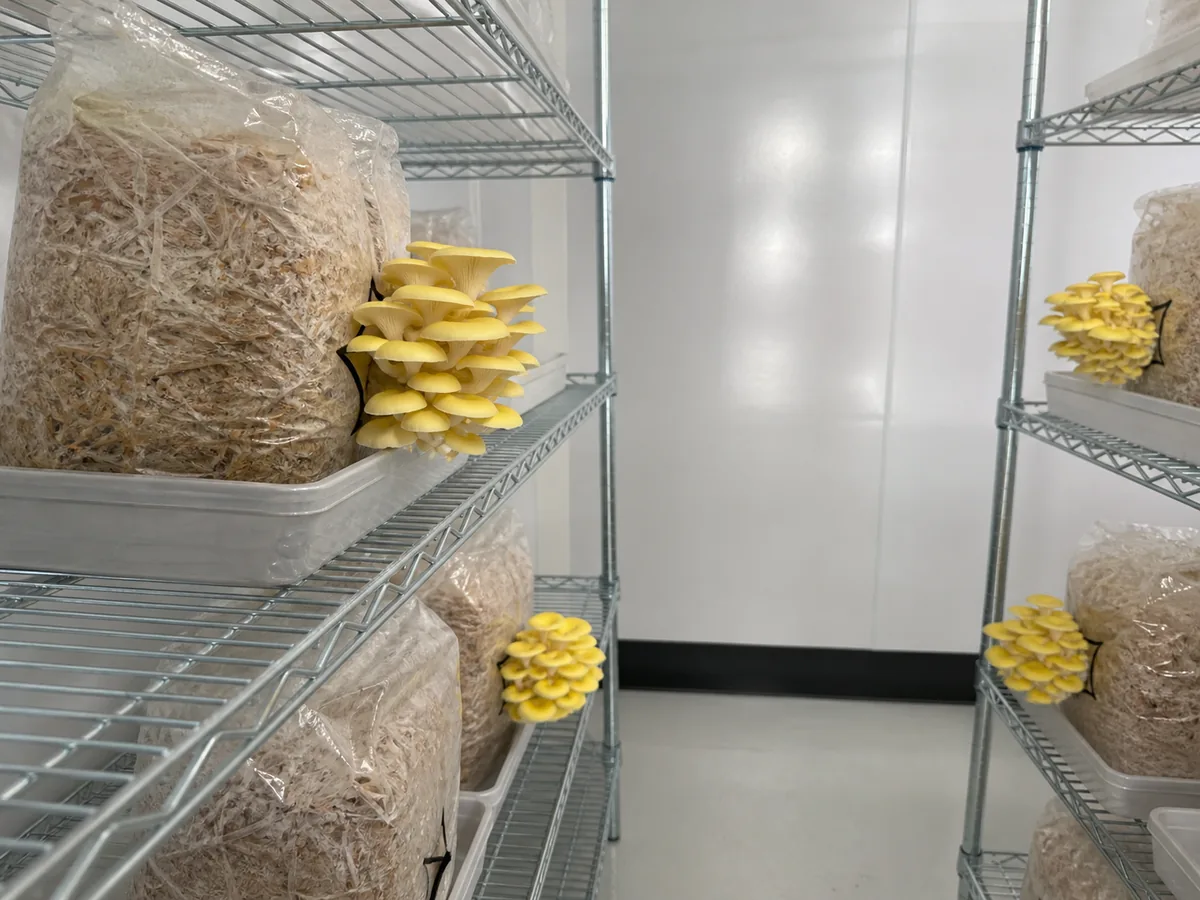
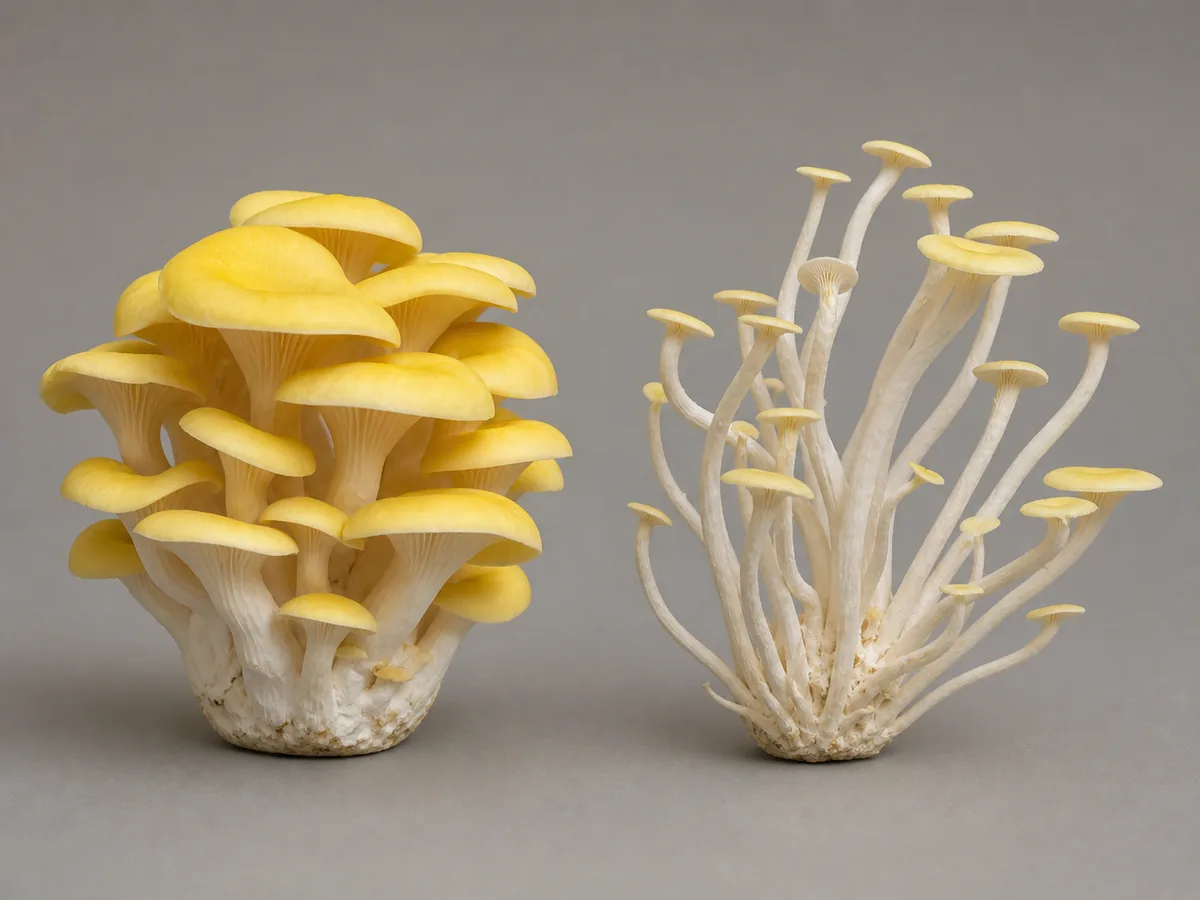
Golden oysters form many thin caps from a joined lateral base.
A few controlled side openings give each cluster space to project outward while the rest of the bag protects the substrate from evaporation.
For a commercial block, follow its marked cut because the bag and block were designed together. For a home bag, use small clean X-shaped cuts rather than removing a broad plastic panel.
More cuts divide the block's water and nutrition among more potential clusters.
They also create more dry edges and more points where handling can carry contamination.
Place openings where you can inspect them without rotating the bag. Leave enough clearance for the oyster mushroom group to expand into broad overlapping caps without touching a wall, shelf, or neighboring cluster.
- Fruiting direction
- Golden oysters normally project laterally from a controlled opening
- Cluster form
- Many small thin caps join at one branching base
- Light need
- Diffuse light supports normal orientation, morphology, and yellow cap expression
- Air need
- Fresh air must reach the cluster without becoming a drying draft
Move a completely colonized block into its fruiting location before making cuts. The room should already provide light, humid air, and exchange, because adding those controls after distorted pins appear costs part of the flush.
How much light and fresh air do they need?
Light tells developing golden oysters how to form and express color.
Fresh air removes carbon dioxide around the growing cluster, so neither control can substitute for the other.
A controlled study found that different light spectra changed stem length, cap diameter, weight, color, and mature form in Pleurotus citrinopileatus. Blue light performed well in that experimental system, while red and far-red treatments produced pale, thin, loose mature fruits.
That result does not mean a home grow needs a blue-only lamp. Use diffuse broad-spectrum light first, follow the spawn supplier's fruiting instructions, and judge whether the cluster develops compact branching stems and distinct yellow caps.
| Visible result | Likely pressure | First useful check |
|---|---|---|
| Compact cluster with distinct yellow caps | Light and exchange are supporting normal form | Keep conditions stable and record daily growth |
| Long branching stems with very small caps | Carbon dioxide is collecting around the opening | Increase gentle exhaust and verify replacement air reaches cluster height |
| Pale thin caps with weak loose tissue | Light quality or intensity may be unsuitable, or the cluster may be aging | Confirm a regular diffuse light cycle and compare firmness and daily expansion |
| Caps aim sharply toward one source | Illumination is uneven across the fruiting site | Diffuse or reposition the source without heating the bag |
| Dry curled margins on the air-facing side | Air velocity is removing moisture locally | Redirect the draft before increasing every humidity control |
Change one condition and note the time.
Increasing light, fan speed, heat, misting, and opening area together may change the crop, but it cannot show which control owned the response.
Direct sun is not a substitute for diffuse grow light. It can heat the clear bag and exposed substrate rapidly even when the room thermometer looks acceptable.
Growing MushroomsHow Do You Build an Outdoor Mushroom Bed That Lasts?How humid should the chamber be?
Golden oyster caps are thin and crowded, so water can remain trapped where they overlap.
Maintain moisture in the surrounding air and at the substrate opening without repeatedly soaking the fruit bodies.
Mist the chamber or use a controlled humidification source rather than aiming coarse droplets at the cluster. Standing beads on cap surfaces indicate water delivery, not proof that the room has balanced humidity.
Observe direction across a day rather than reacting to one photograph.
A slightly paler cluster that keeps expanding can be healthier than a vivid cluster whose margins are collapsing.
Humidity cannot correct stale air. Sealing a wet tent may protect the surface briefly, but it also traps carbon dioxide and allows droplets to persist between thin caps.
When caps dry only on one side, redirect the airflow before raising moisture across the entire room. A local draft needs a local correction.
Is that yellow normal or contamination?
Golden yellow belongs on the fruit bodies, while healthy colonizing mycelium is primarily white.
Yellow caps do not make an orange, green, black, or wet spreading substrate colony normal.
Green powder, dark expanding patches, milky compressed straw, sour odor, and soft collapse are reasons to contain and remove a block. Keep a sporulating bag closed and isolate it from other grows and occupied rooms.

Clear or amber droplets can appear on stressed mycelium without proving bacterial decay. The surrounding tissue should remain white and firm, while an enlarging wet edge, off odor, or new color changes the decision.
Warning
Do not cut out a contaminated patch | Removing the visible colony does not remove growth already inside the substrate. Do not spray disinfectant into an occupied block or eat mushrooms growing through suspect material.
Clean the tray, shelf, humidifier reservoir, and nearby washable surfaces after removal.
The growing contamination checklist provides a broader comparison of recurring colors and textures.
Trace where the first defect appeared. Failures shared by untreated control bags point toward material or bag integrity, while failures concentrated around one spawn lot or transfer session point toward another introduction stage.
When should you harvest golden oysters?
Harvest the cluster while most caps remain firm and their margins have opened from cupped toward nearly level.
Waiting for every small cap to flatten can leave the oldest caps thin, cracked, and difficult to move without tearing.
Color helps describe the crop but cannot time the harvest by itself. Light exposure, strain, cap age, and camera conditions all change the strength of yellow.
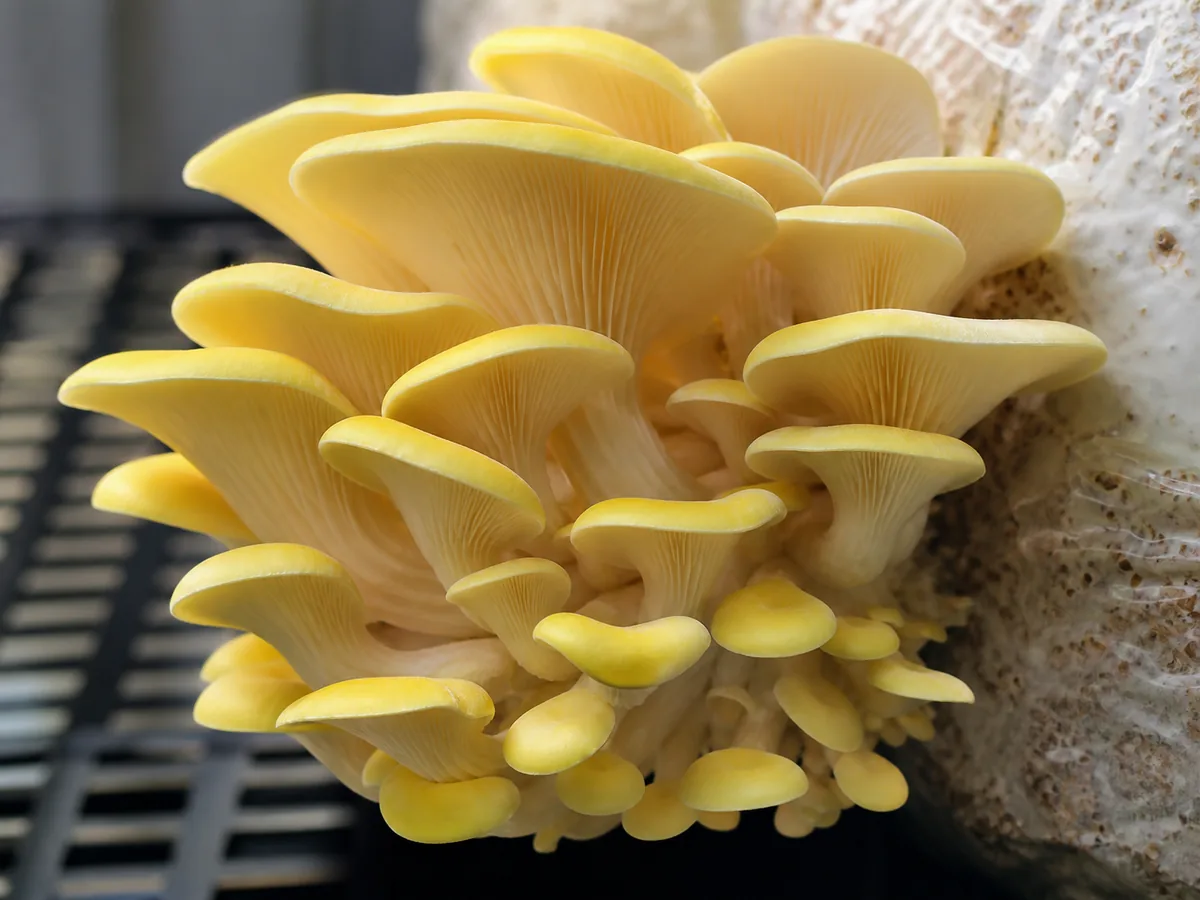
Support the joined cluster with one hand and cut its base cleanly with a sanitized knife.
Remove loose substrate without tearing a deep crater from the block.
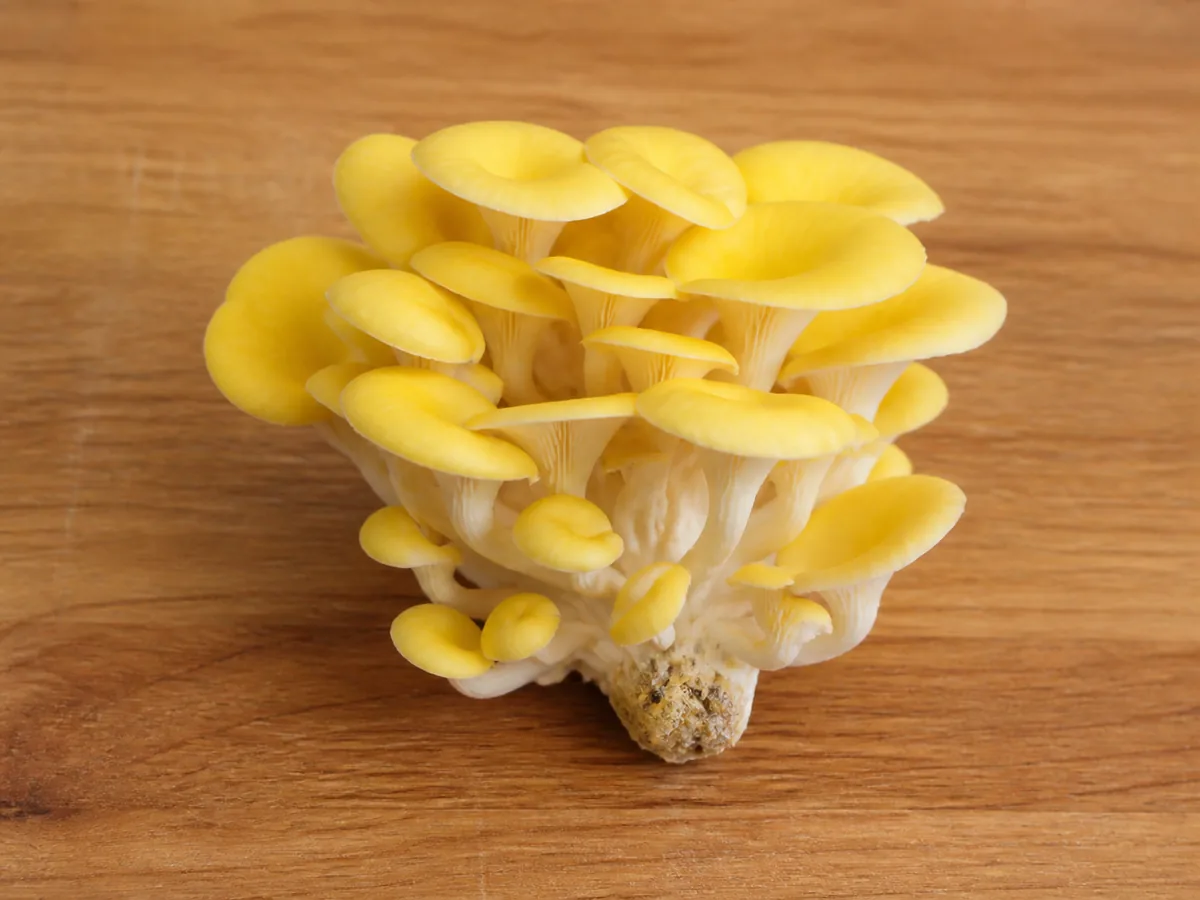
Cool the harvest promptly in a breathable container and plan to cook or preserve it soon. Do not wash the whole cluster before storage because water retained between thin caps accelerates softening.
Keep a clean block under fruiting conditions for another flush. Rehydrate only when it has become noticeably lighter and the chosen method calls for it, then wait for a new pin set rather than assuming a date.
Retire a block that becomes soft, sour, contaminated, or unable to form healthy pins.
Bag the spent substrate and trimmings for the disposal route chosen before the grow began.
Key takeaway
Finish the cycle indoors | Do not move a spent golden oyster block to a log, garden bed, outdoor compost pile, or woodland edge. Contained disposal protects the next indoor crop and avoids giving a non-native cultivated fungus another route outside.