Beech mushroom needs verified Hypsizygus marmoreus culture, a sterile supplemented bottle system, complete overgrowth followed by long postripening, and a cool controlled transition before clustered fruiting.
What is actually sold as shimeji?
Beech mushroom in this guide means verified Hypsizygus marmoreus. Brown beech, white beech, and bunashimeji can refer to cultivated forms of this species, but the broad word shimeji does not establish identity by itself.
Elm oyster creates a more serious naming problem. Hypsizygus ulmarius and several Pleurotus mushrooms circulate under elm-oyster labels, so their faster bag methods cannot be transferred to a beech culture on the strength of a common name.
Buy spawn or a prepared bottle from a supplier that names Hypsizygus marmoreus, and reject unidentified grocery or wild material because the stages below are not evidence for it.

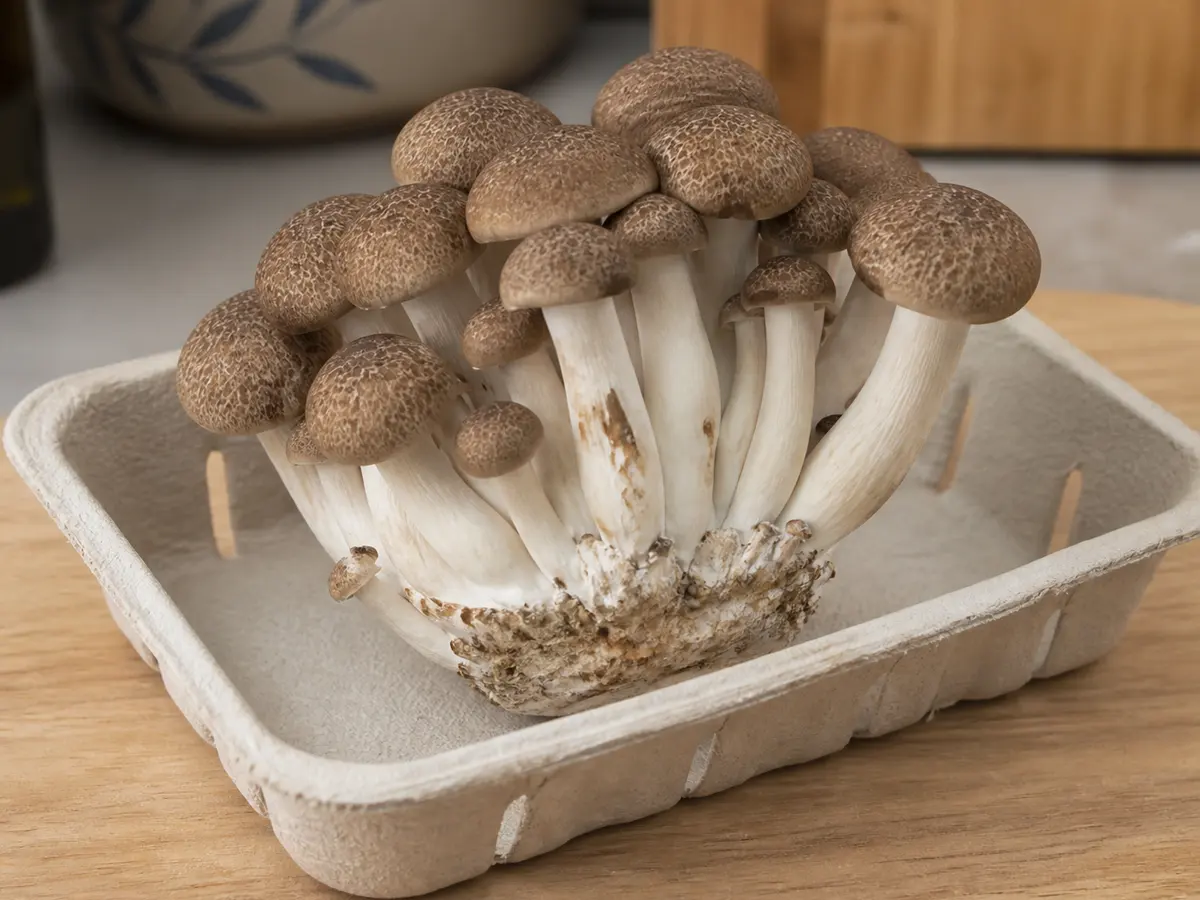
The brown form develops a pale marbled pattern over the cap, while a white cultivar lacks that brown pigment. Color alone therefore distinguishes cultivars poorly from unrelated mushrooms, but a verified label tells you which cultivation evidence belongs to the crop.
Beech mushroom rewards patience differently from oyster mushrooms. Full white substrate is an important milestone, yet published bottle systems continue into a separate physiological maturation period before scratching and cool induction.
Growing MushroomsWhat Does a Mushroom Farm Actually Cost to Start?Should you buy a bottle or prepare your own?
A ready-to-fruit bottle or block transfers substrate mixing, sterilization, inoculation, colonization, and much of postripening to the producer. It is the practical route when you can operate a cool humid fruiting space but cannot perform clean supplemented-substrate work.
Starting from verified spawn gives control over the formula and container, but it also makes the grower responsible for pressure sterilization, complete cooling, clean transfer, incubation, and every contaminated bottle.
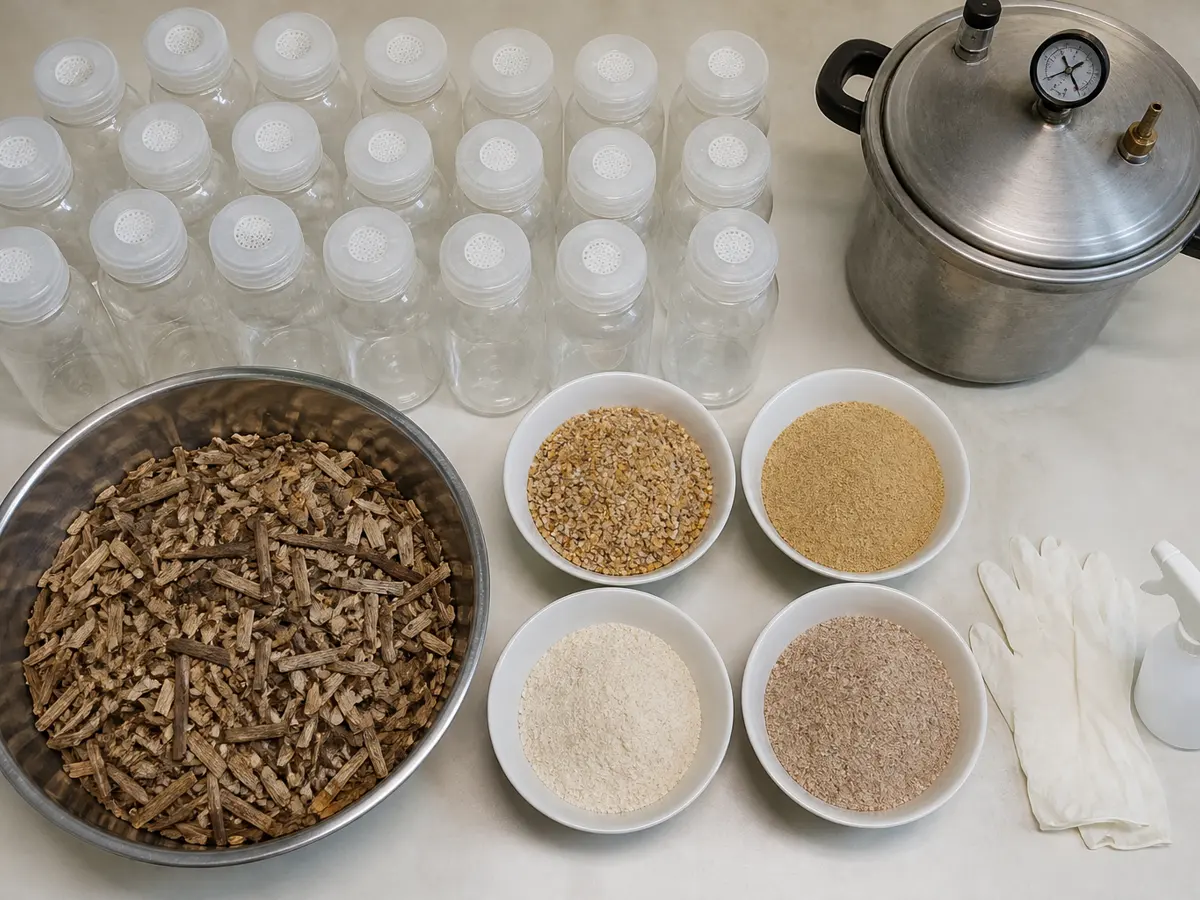
A prepared bottle saves you the sterile preparation. Starting from spawn requires mixing, sterilization, cooling, inoculation, and clean transfer at home.
| Route | Work retained at home | Main failure boundary |
|---|---|---|
| Prepared mature bottle | Cool-room setup, induction if directed, fruiting, harvest | Opening or fruiting before the supplier's maturity gate |
| Colonized but unmatured bottle | Postripening, transition, fruiting, harvest | Treating white overgrowth as physiological maturity |
| Verified spawn | Formula, sterilization, inoculation, incubation, postripening, fruiting | Incomplete sterilization or dirty transfer in supplemented substrate |
- Confirm the scientific name and strain instructions before purchase.
- Decide where clean inoculation and closed incubation will happen.
- Use only containers and filter lids intended for the planned heat treatment.
- Keep the pressure vessel's manufacturer instructions as the operating authority.
- Choose prepared material if any sterile stage cannot be completed consistently.
A stockpot does not substitute for pressure sterilization of a nutrient-rich bottle formula, and the published process evidence here does not replace the operating manual or safety training for pressure equipment.
What substrate do beech mushrooms need?
Published H. marmoreus formulas combine woody or fibrous bulk ingredients with concentrated supplements. One study used 15 percent cottonseed shell, 25 percent wood chips, 20 percent rice bran, 15 percent corncob, 19 percent bran, 5 percent cornmeal, and 1 percent lime at 65 percent water.
Another agronomic trial used a range of 40 to 50 percent corncob, 20 to 30 percent sawdust, 10 to 15 percent rice bran, 15 to 20 percent wheat bran, and 5 percent corn flour. Its water range was 64 to 66 percent.
Those numbers are complete experimental systems rather than a menu. Particle size, packing density, container volume, sterilization, strain, and incubation conditions traveled with each formula.
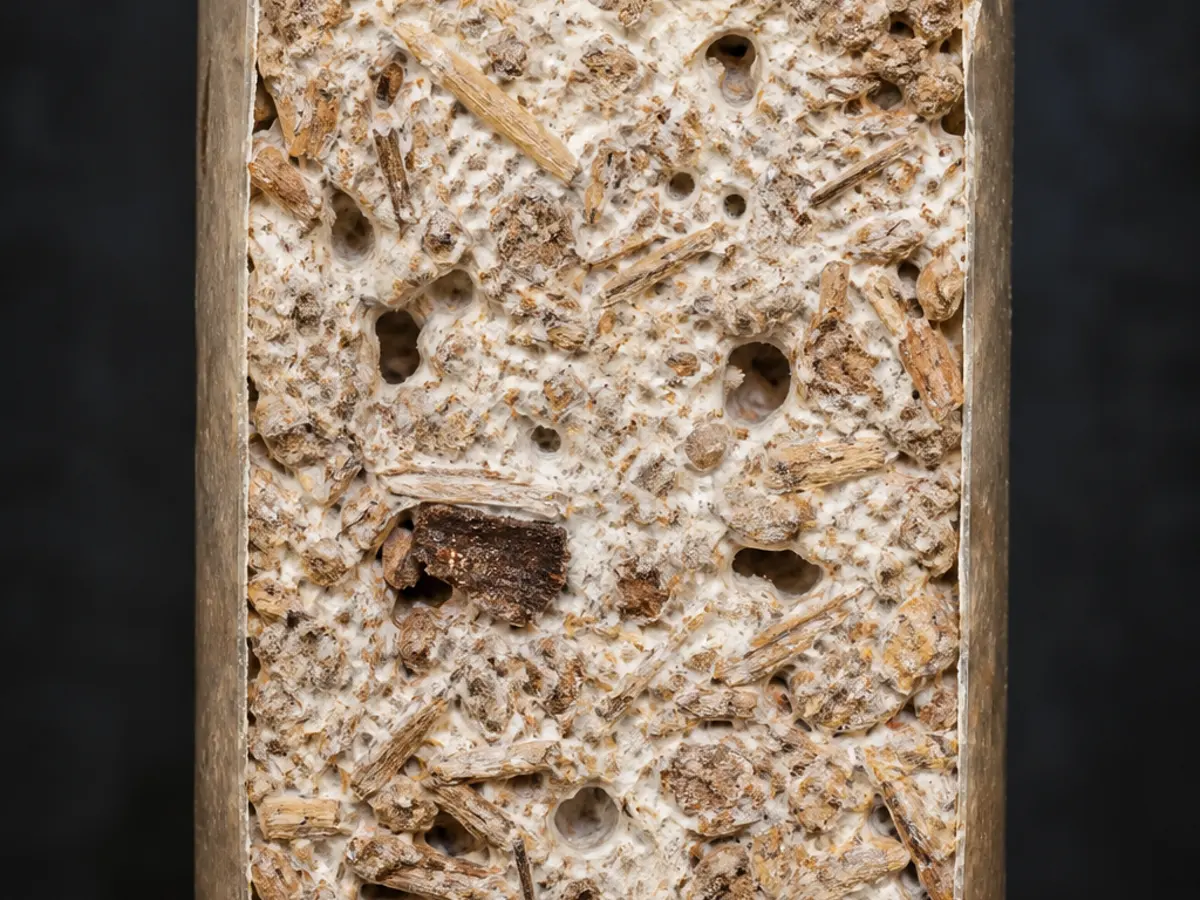
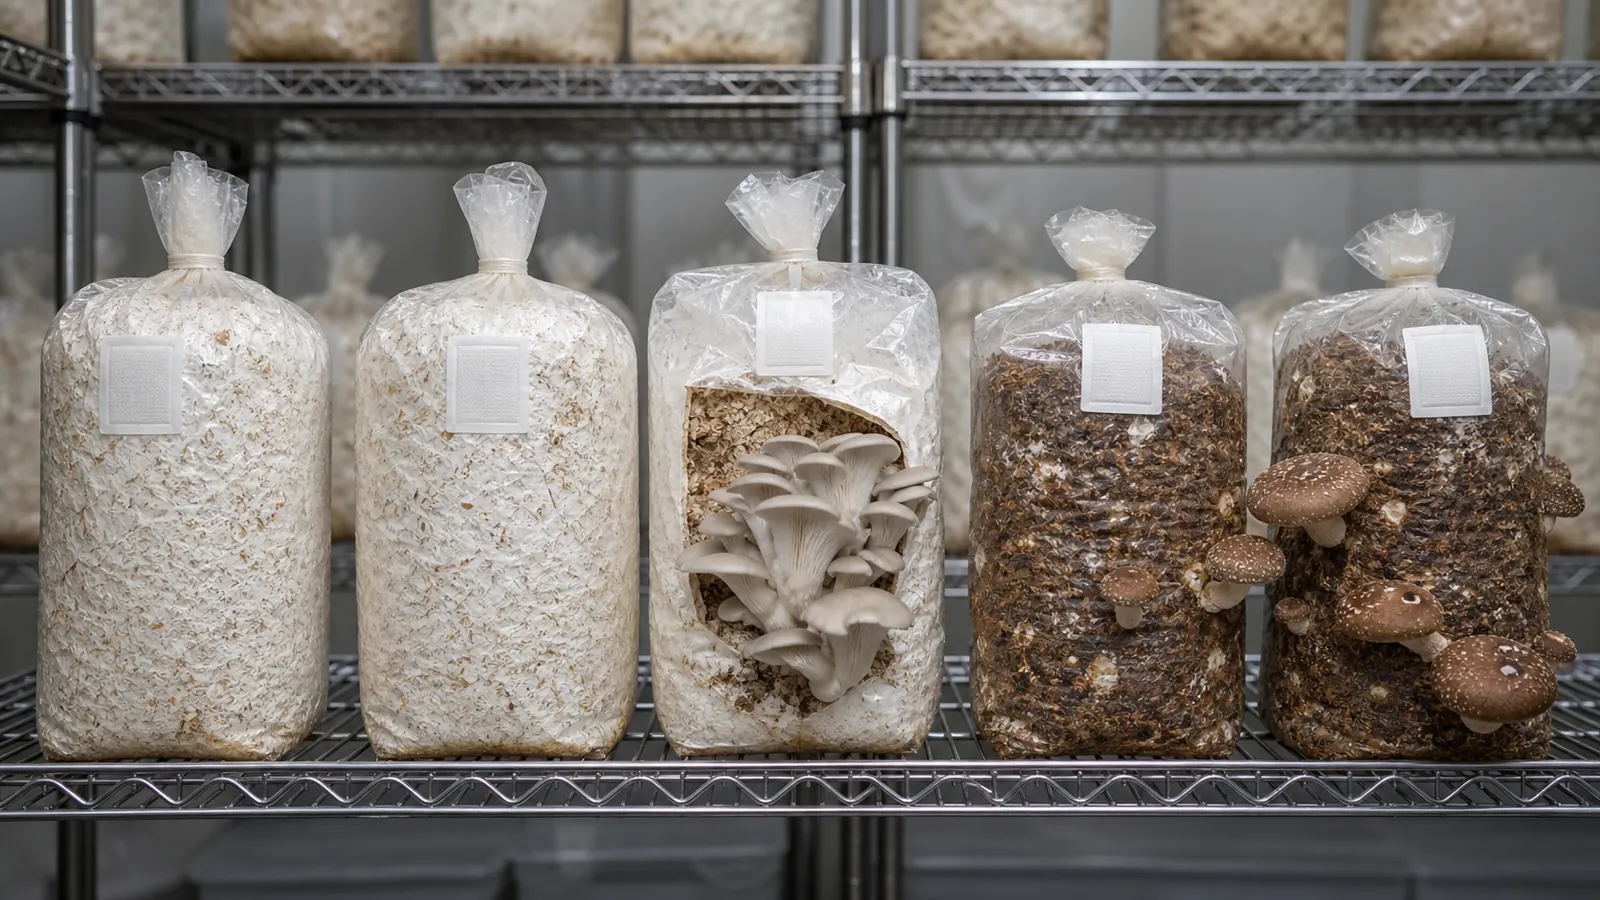
The cross-section is meaningful only beside the complete processing record, because matching visible particle texture cannot reproduce the linked moisture, container, heat treatment, cooling, and clean inoculation controls.
| Formula evidence | Process evidence | Meaning for the grower |
|---|---|---|
| Cottonseed shell, wood chips, bran, corncob, cornmeal, and lime at 65 percent water | Filled into 850 mL cultivation bottles | Moisture and particle structure were designed for that container |
| Corncob, sawdust, rice and wheat bran, corn flour at 64 to 66 percent water | Steam sterilized at 121 C for 120 minutes | Supplements and heat treatment formed one controlled system |
Supplements support growth after clean inoculation, but they also support competitors introduced by weak sterilization or transfer. Increasing bran without preserving the validated heat and hygiene controls increases risk rather than guaranteeing a faster crop.
The mixed substrate should be evenly hydrated without free water, and the filter path and bottle rim should remain clean. After processing, cool the center fully before inoculation because warm substrate can injure culture and an open cooling bottle draws room air inward.
Growing MushroomsHow Do Mushroom Sawdust Blocks Work from Mix to Fruit?When is a white bottle actually ready?
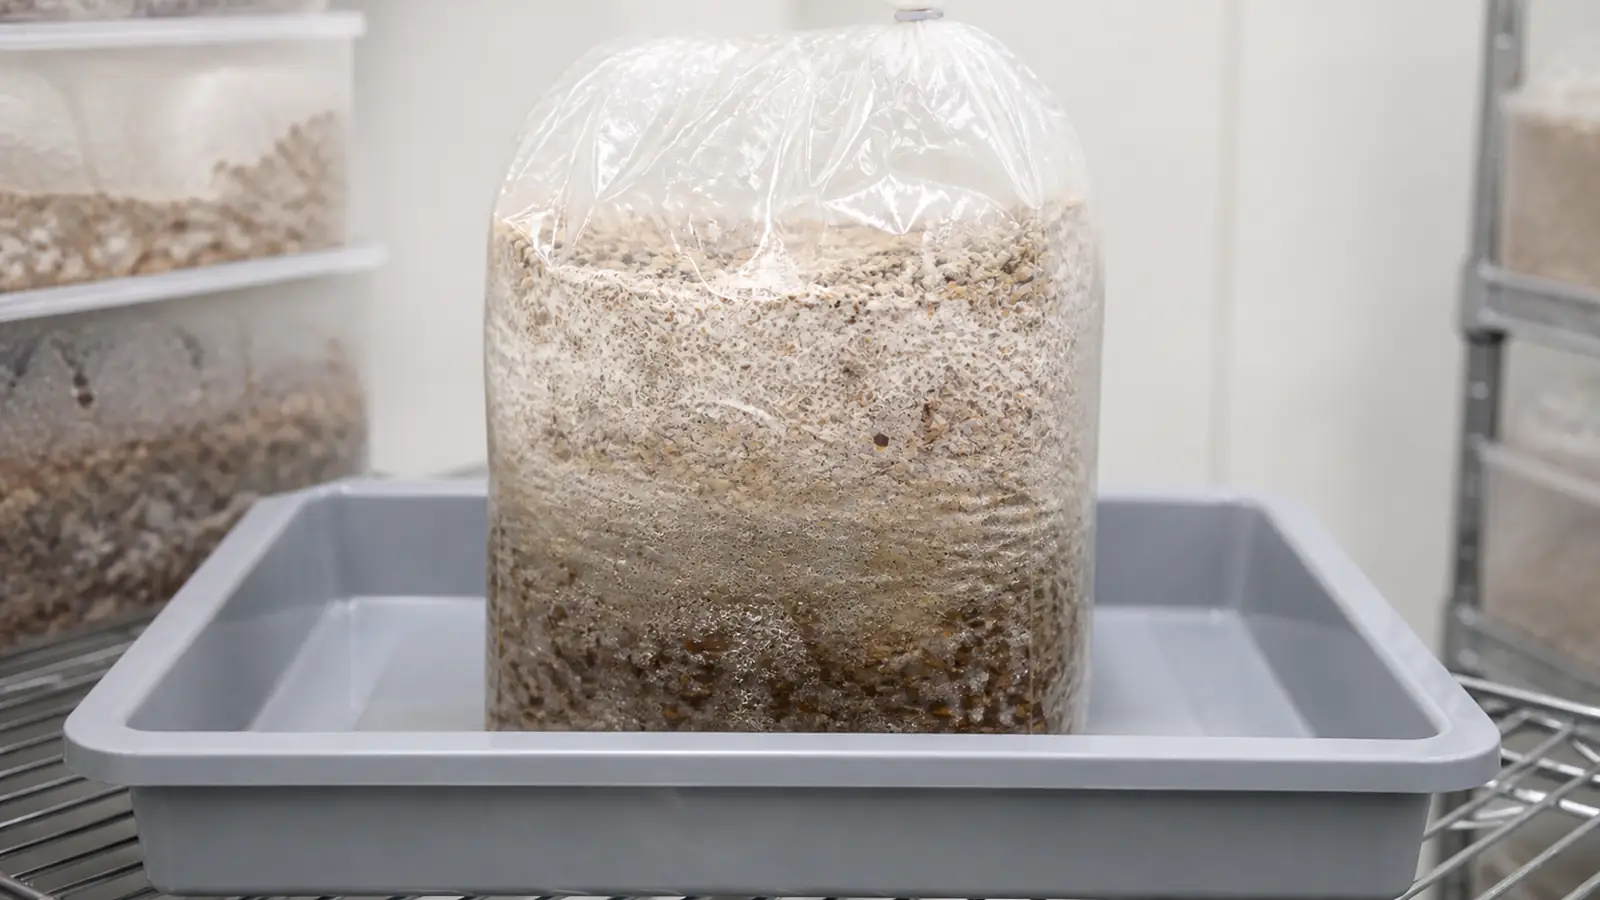
The central beech-mushroom decision is whether a white bottle is merely colonized or physiologically mature. The mushroom life cycle explains the larger shift from vegetative feeding growth toward reproductive development, but H. marmoreus adds a notably long postripening interval between those states.
- Visible overgrowth example
- 30 to 35 days at 22 to 23 C
- Later maturity gate
- About 40 days before surface scratching in the same protocol
- Separate strain trial
- 80 to 85 days at 21 to 25 C across 24 strains
- What determines the schedule
- The verified strain, formula, and production system determine which schedule applies
The gap between visible overgrowth and later maturity is a stage boundary, so a white bottle still needs the protocol's postripening evidence before its surface is opened.
The longer strain trial does not create a universal waiting range, because its strains, formula, temperature band, and production system differ from the shorter bottle protocol.
Key takeaway
White coverage proves reach through the visible substrate. It does not independently prove that the supplier's postripening requirement is complete.
That distinction turns the next inspection into a maturity check instead of a color check, so the verified schedule and the condition of the closed bottle must agree before transition.
Opening or scratching early creates an exposed surface before the crop has completed its planned vegetative phase. Waiting for an arbitrary extra week is also weak practice when the culture supplier specifies a different strain schedule.
Use the visible bottle state and the verified schedule together. If they disagree, hold the transition and ask the supplier rather than forcing fruiting conditions onto an unfinished bottle.
| Stage | Evidence to look for | Decision owned by the stage |
|---|---|---|
| Visible overgrowth | Continuous white growth across the visible substrate | Continue closed incubation because this state alone does not authorize scratching |
| Postripening | Overgrowth remains sound through the verified maturation interval | Prepare the cool room and use the supplier's transition instruction |
| Recovery | Fresh mycelial growth follows the prescribed shallow surface treatment | Hold the cool humid setting and watch for knotting |
| Knotting | Compact growth forms on the prepared surface | Continue observation because a knot is not yet a harvest signal |
| Primordia | Firm clustered pins appear and continue enlarging | Protect the surface from pooling and direct spray |
| Development | Caps and stems remain firm while the cluster enlarges | Read shape, airflow, and moisture together before changing one control |
| Harvest | The cluster is cohesive and caps remain firm | Cut the joined base, then judge bottle fitness separately |
What does the fruiting room need first?
Surface treatment should not be the first test of the fruiting room. Prove that cooling, humidification, air exchange, drainage, light, and measurement work while the mature bottles remain closed.
Testing the room before exposure makes each later crop signal interpretable, because a grower can correct shelf-level cooling, humidity, airflow, drainage, light, or measurement before the bottle is opened.
Published rooms show a cool fruiting direction but not one universal setpoint. One protocol moved mature bottles to 14 to 16 C at 95 to 100 percent relative humidity, while a strain trial used 13 to 15 C and 90 to 95 percent.
The strain trial also reported 1,000 to 2,000 ppm carbon dioxide and staged light from 50 to 100 lux during days 1 to 7, then 200 to 300 lux during days 8 to 20. A self-cultivation experiment instead used constant air exchange, 15 C, 95 percent humidity, and 600 lux.
The protocols agree on cool humid fruiting but differ in carbon dioxide and light, so their settings must remain grouped by study rather than blended into a synthetic average.
| Control | What to verify before exposure | Crop evidence after exposure |
|---|---|---|
| Temperature | The chamber holds the supplier's cool range at bottle height | Recovery and primordia proceed without heat-softened tissue |
| Humidity | Humid air reaches the shelf without pooled water | Prepared surface stays moist rather than glossy or flooded |
| Air exchange | Exhaust has a clear replacement-air path | Stems and caps develop without stale-air elongation or direct-draft drying |
| Light | Diffuse light reaches bottle tops evenly | Primordia orient and caps develop without a hot bright spot |
Industrial carbon dioxide values describe monitored production systems, not a target for an occupied home. Ventilate the room safely and accept morphology that differs from a factory crop.
Place the sensor near bottle height instead of beside a humidifier outlet or exhaust. A room display can look stable while the crop shelf cycles between condensation and drying.
Growing MushroomsHow Do You Build an Outdoor Mushroom Bed That Lasts?How do you induce pins after ripening?
Developmental research divides the transition into surface scratching and watering, recovery growth, mycelial knotting, primordia, and a later nail-head stage. That sequence explains why scratching is a controlled transition step rather than an invitation to harvest soon.
Recovery growth and knotting justify continued observation, while primordia move the crop into a development decision that still requires stable conditions rather than harvest action.

Follow the supplier's surface-treatment method because bottle geometry and culture differ. Work with clean gloves and tools, remove only the specified shallow layer, and avoid gouging deep channels into the substrate.
The prepared bottle then enters cooler, humid, lit conditions. Maintain a moist surface without pouring water into depressions or directing spray at new primordia.
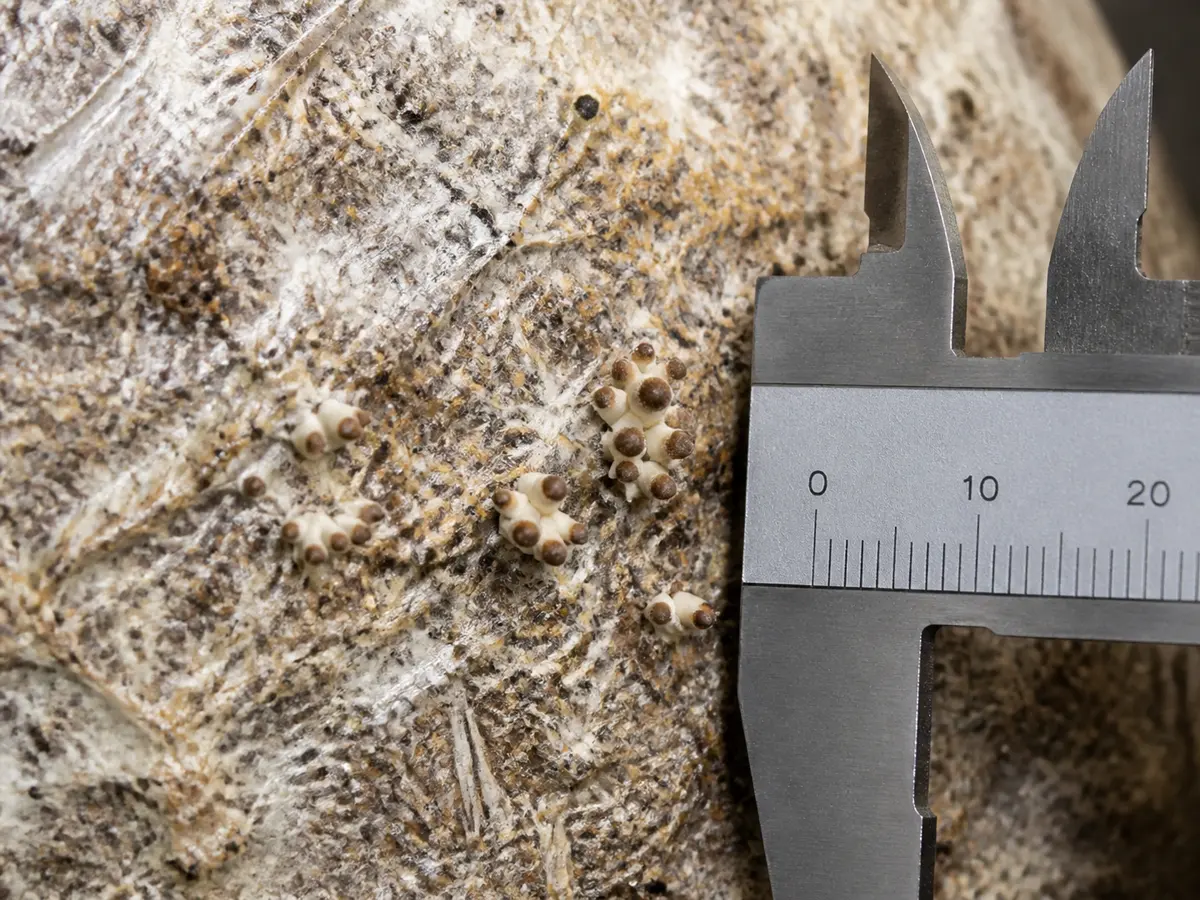
One strain study reported primordia 7 to 10 days after transfer to 16 C. Another protocol completed the span from primordia through fruiting after roughly 22 days in its low-temperature room.
The reported 7 to 10 day and roughly 22 day observations are checkpoints inside their own protocols, so they cannot promise a date for a different strain or bottle system.
These clocks describe different boundaries, so they cannot be added into a guaranteed harvest date. Look for evenly distributed firm knots that enlarge between checks, then preserve the conditions supporting that progress.
Darkening stalled pins can follow drying or a sharp environmental interruption. Wet soft pins, sour odor, or substrate discoloration require isolation rather than more humidity.
How do you read a developing cluster?
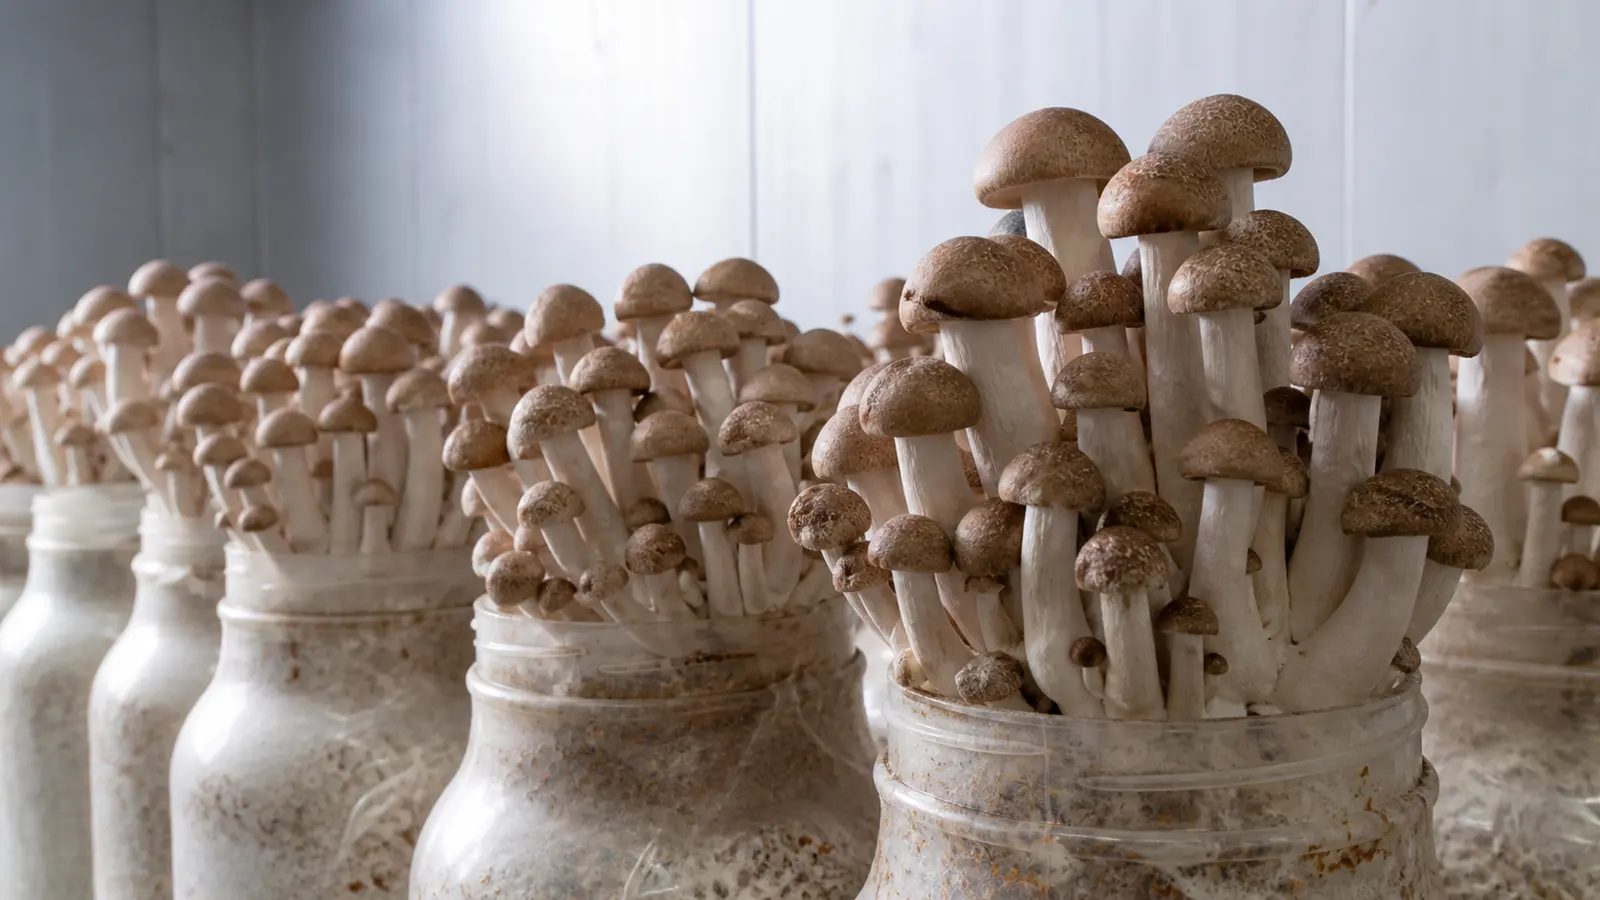
A developing crop must be read as a cluster rather than as one cap. Brown cultivars normally show pale marbling, so healthy pigment should be interpreted alongside firmness, margin shape, stem proportion, and daily enlargement.
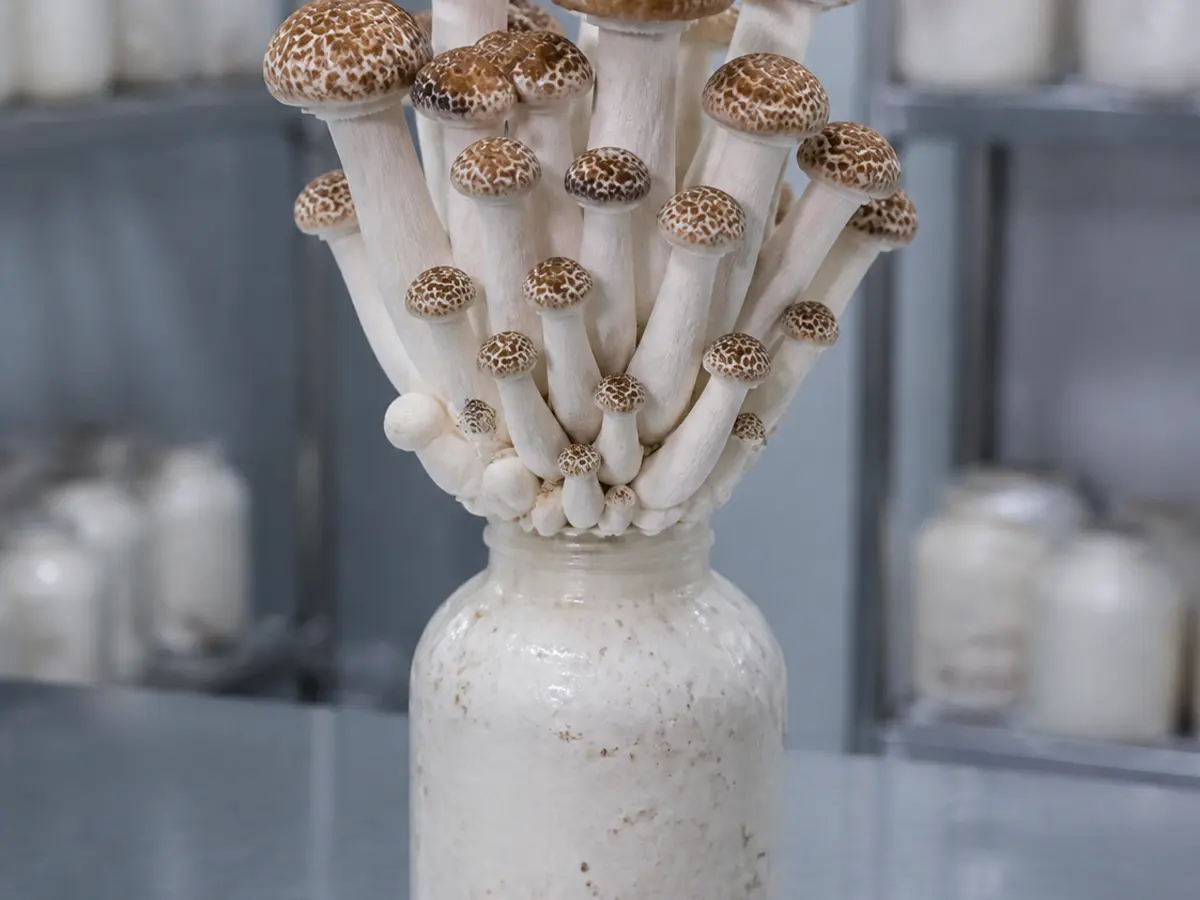
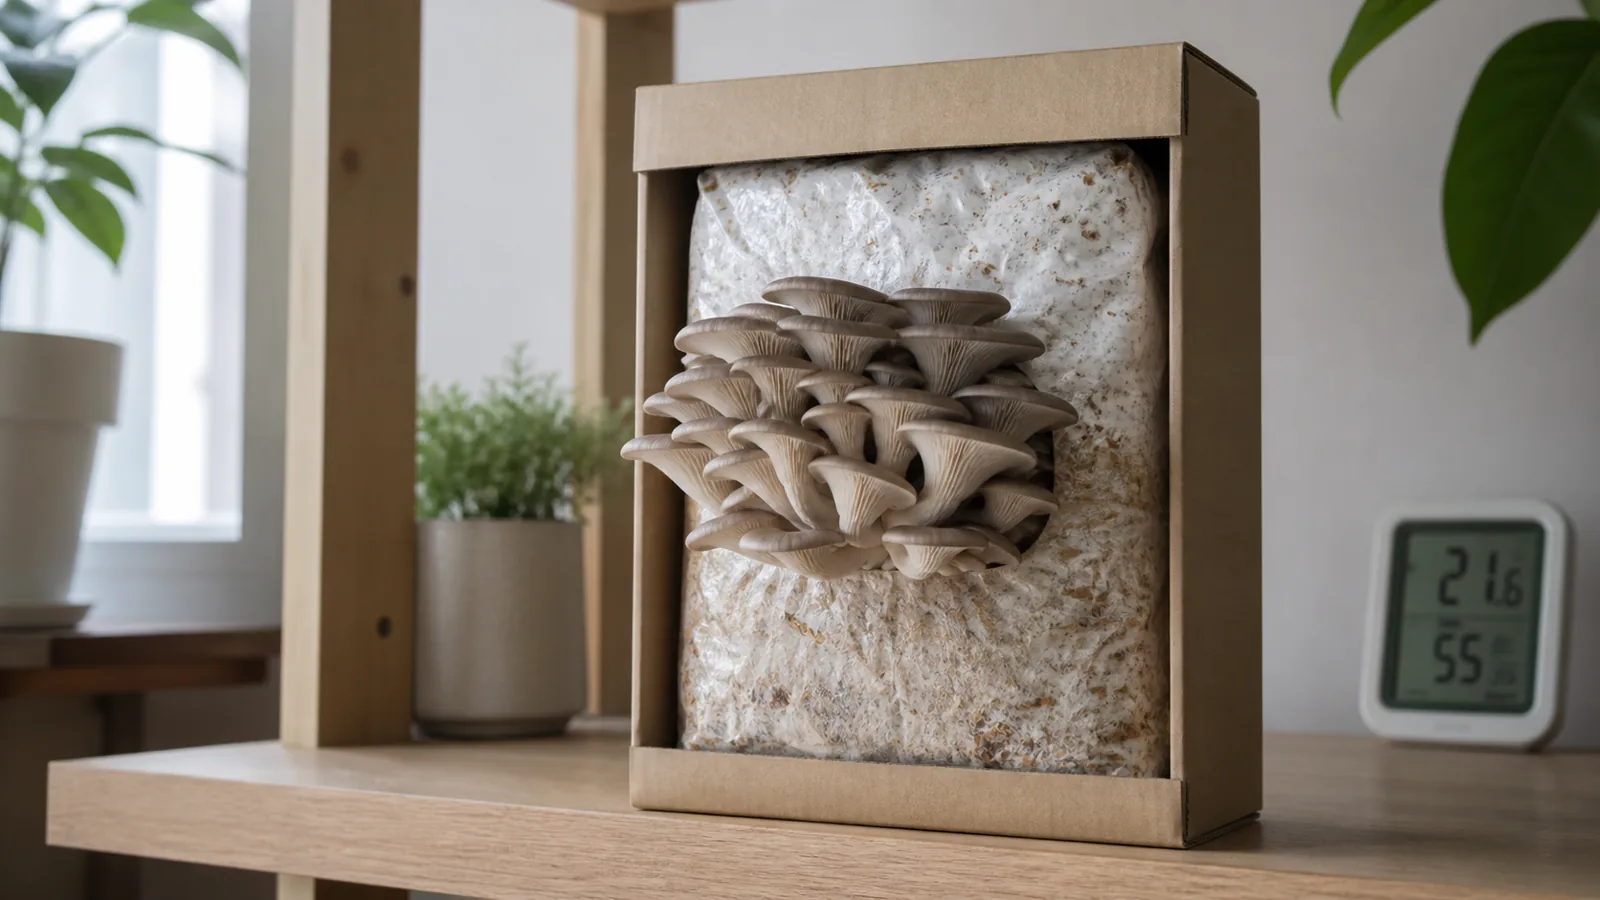
The whole-cluster frame establishes spacing and stem proportion before the macro view tests cap margins, firmness, and marbling at the smaller scale where moisture stress becomes visible.

Firm caps that expand steadily and stems that remain sound indicate progress. A crop can mature at different speeds within one cluster, but widespread stalled tissue points toward a shared room or substrate pressure.
| Observation | Likely pressure | First bounded response |
|---|---|---|
| Long stems with undersized caps | Air exchange may be restricted | Increase safe room exchange gradually |
| Dry or curling cap margins | Direct draft or low ambient humidity | Redirect airflow and restore room humidity |
| Glossy wet tissue or pooled surface water | Condensation or excessive wetting | Reduce deposition and inspect for decay |
| Uneven leaning across a shelf | Uneven light or airflow | Correct the shelf-level distribution |
| Firm marbled caps with continued enlargement | Normal development | Keep the verified controls stable |
When beech caps dry while stems remain compact, correct evaporation before changing temperature. When the whole cluster stretches, inspect trapped air and shelf clearance first, then record whether that targeted change improves the next growth interval.
Because one study harvested different strains about 20 to 26 days after fruiting initiation, the range should narrow the inspection window while cap condition still decides readiness.
Is it climate stress or contamination?
Climate stress affects otherwise recognizable fruit, while contamination creates foreign substrate growth or wet decay. The response differs, so diagnose the substrate before attempting to rescue the crop with room adjustments.
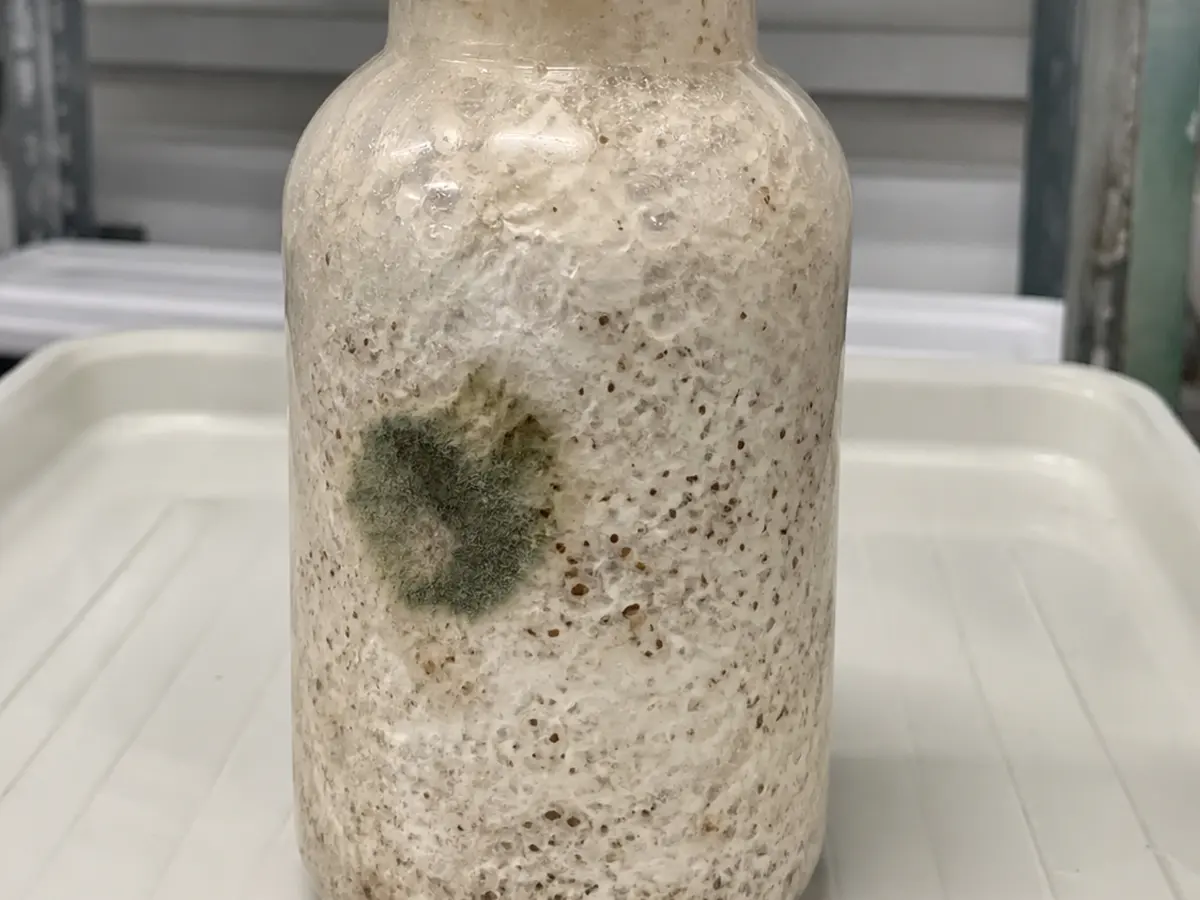
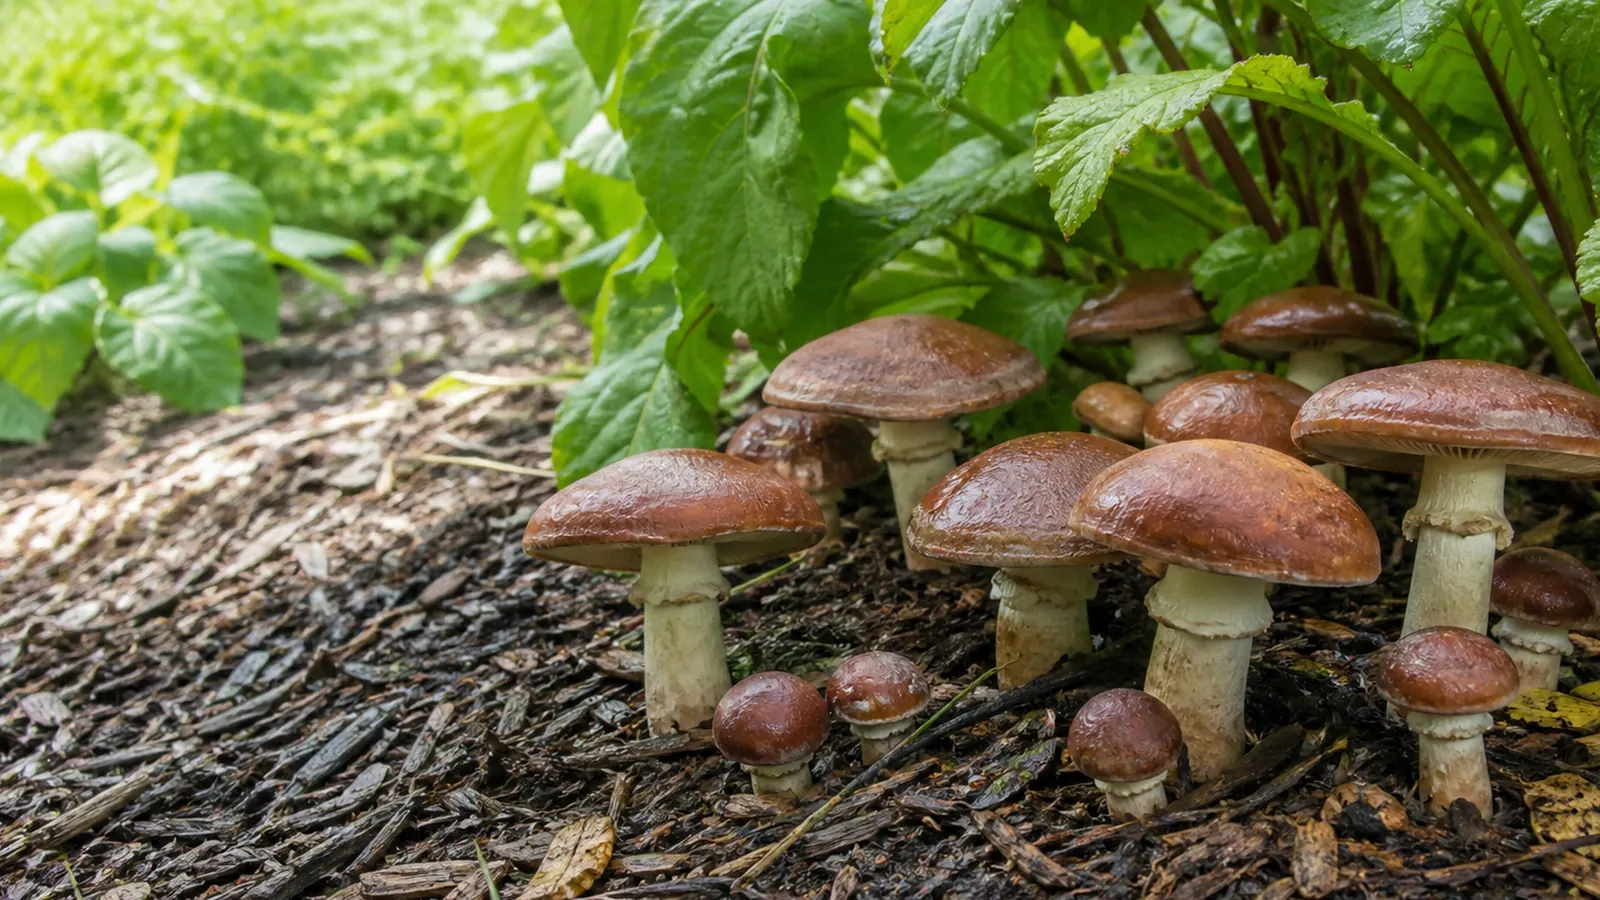
The green boundary is substrate evidence rather than a fruiting-room symptom, which changes the response from adjusting controls to protecting neighboring bottles.
Warning
Keep a suspect bottle closed and move it away from the crop. Do not open it to smell closely, scrape away a colored colony, or test fruiting beside healthy bottles.
The growing contamination guide separates containment from later root-cause review. A defect inside one sealed bottle points toward its own processing history, while similar failures across one preparation batch point toward their shared sterilization or transfer stage.
Harvest a sound cluster while caps remain firm and cohesive, before advanced flattening and tissue decline. Hold the joined base, cut it cleanly at the bottle mouth, and trim attached substrate from food tissue.
- Cool the harvested cluster promptly in breathable packaging.
- Clean loose tissue and substrate from the bottle rim.
- Inspect the remaining surface for foreign growth, wet decay, and structural collapse.
- Follow next-flush instructions only when the supplier supports a reset for that product.
Harvest readiness and bottle fitness are separate decisions, so a firm cluster can be ready to cut while spent, waterlogged, contaminated, or nonproductive substrate requires retirement.
The full cultivation clock includes preparation, colonization, postripening, transition, fruit development, and harvest. Its length belongs to the verified strain and system, while the bottle's stage evidence decides when each change is earned.