Mushroom grow contamination should be isolated before it is inspected closely. Green mold, sour smell, slime, and fast gray webbing tell you when to remove a grow, clean the area, and fix moisture or handling before the next batch.
Mushroom grow contamination needs a fast first decision. If a bag, jar, block, or tub smells sour, grows green mold, turns slimy, or shows fast gray webbing, isolate it before you keep inspecting it.
Protect the clean grow first because one opened contaminated container can spread spores and wet substrate across shelves, tools, and the next batch. Most contaminated home grows are not worth rescuing.
| What you see or smell | Most likely problem | Best first move |
|---|---|---|
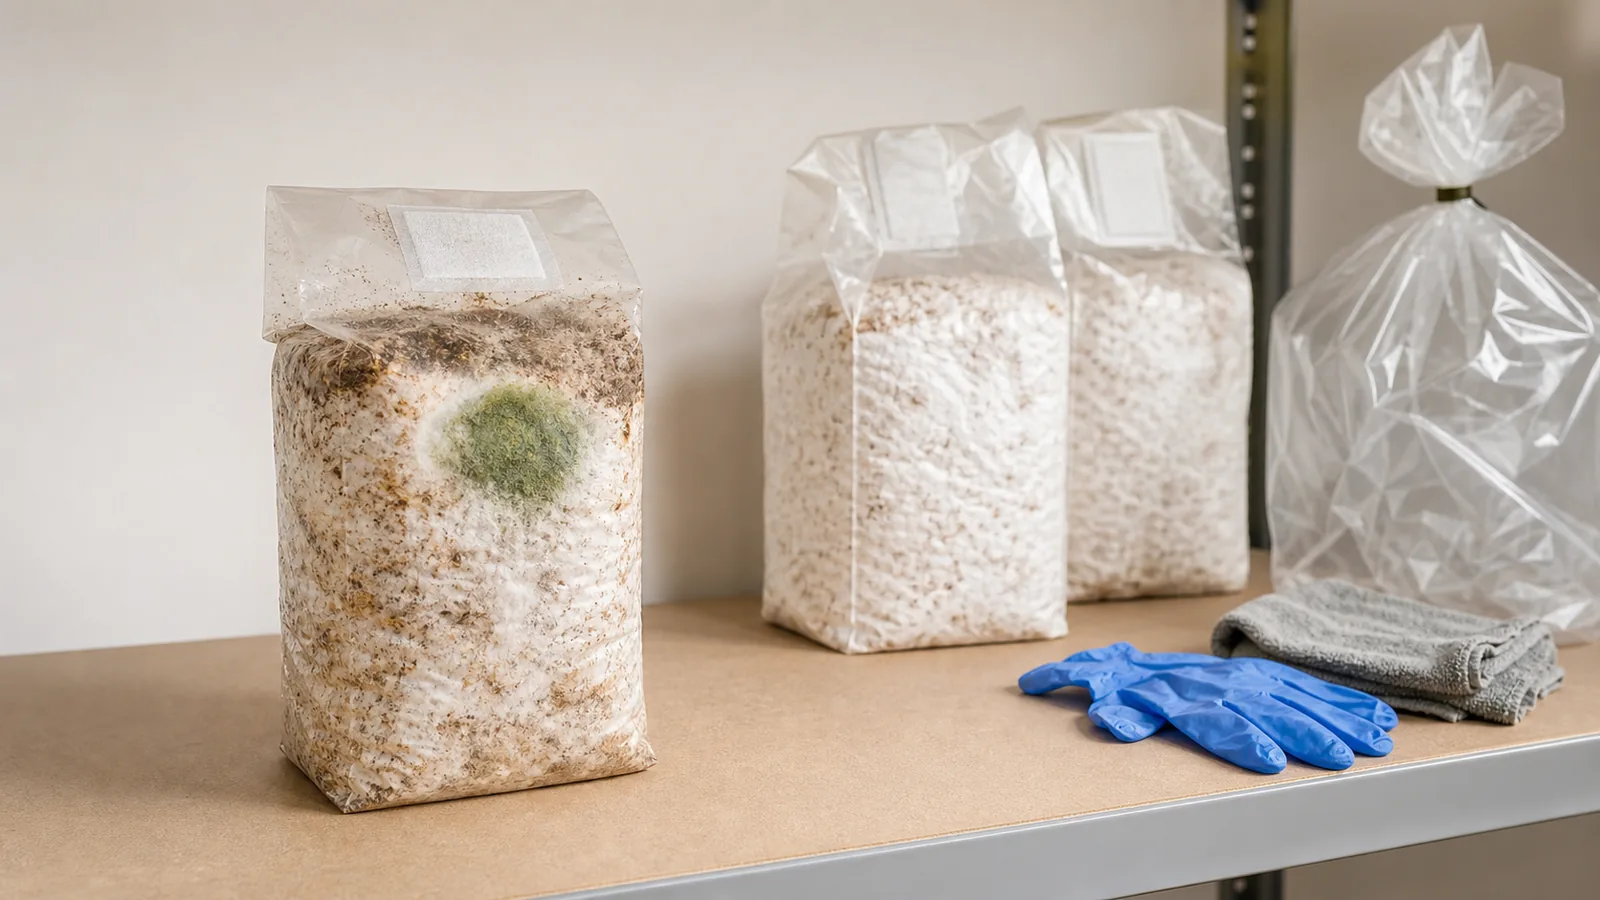
| Green powder or green patches | Trichoderma or another green mold making spores | Seal and remove the container from the grow area |
| Sour, sweet, rotten, or fermented smell | Bacteria in wet grain or low-oxygen substrate | Remove it and review moisture, cooling, and spawn quality |
| Wet, greasy, or slimy grain | Bacterial wet spot or excess moisture | Do not mix it into bulk substrate |
| Gray airy web that spreads fast | Cobweb-like mold or another surface mold | Isolate it and increase caution before opening anything nearby |
| Long stems, tiny caps, fuzzy feet | Fresh-air or humidity problem, not always contamination | Fix airflow and surface moisture if the substrate still smells clean |
Which failures must go immediately?
Green mold is a clear stop sign for a small indoor grow because the powdery surface can release spores across the room when disturbed.
When a container shows green mold or a bad odor, bag it where it sits if you can do that calmly. Move it outside or to a trash area before opening it, then clean the shelf, tub rim, and tools that touched it.
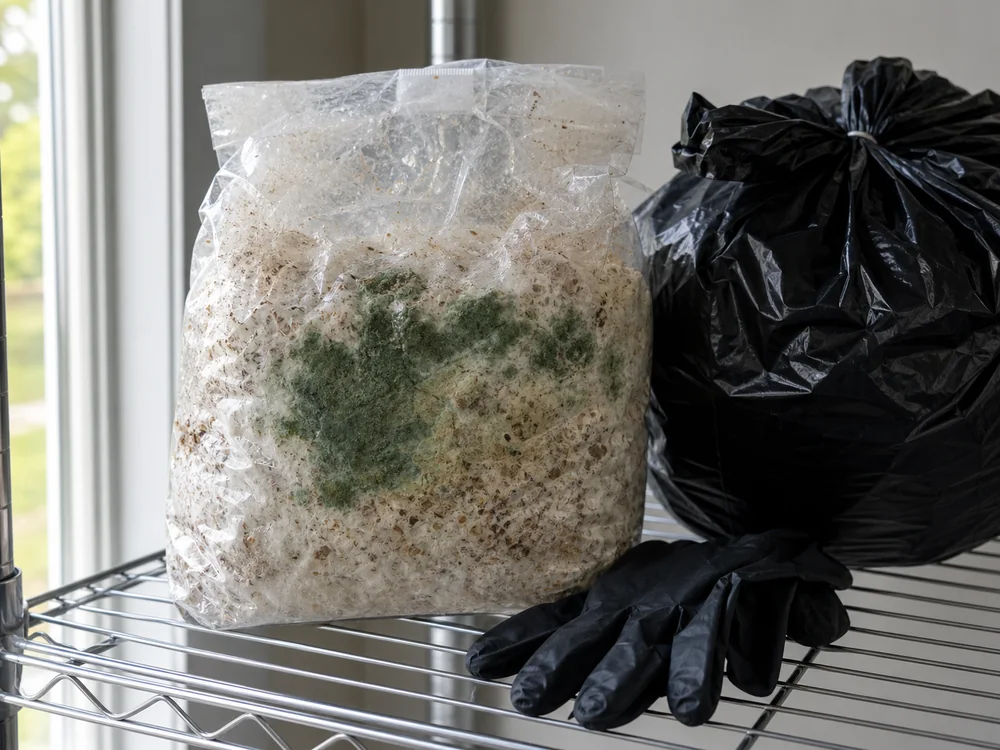
A bad smell deserves the same respect as bad color because healthy mycelium usually smells mild, earthy, or mushroom-like.
Sour, sweet, rotten, or garbage-like odor points to bacteria growing in wet pockets.
Warning
Do not eat mushrooms from a grow that smells rotten, shows colored mold, or has slimy substrate. A normal-looking cap is not enough when the block under it is failing.
Is this clean mycelium or contamination?
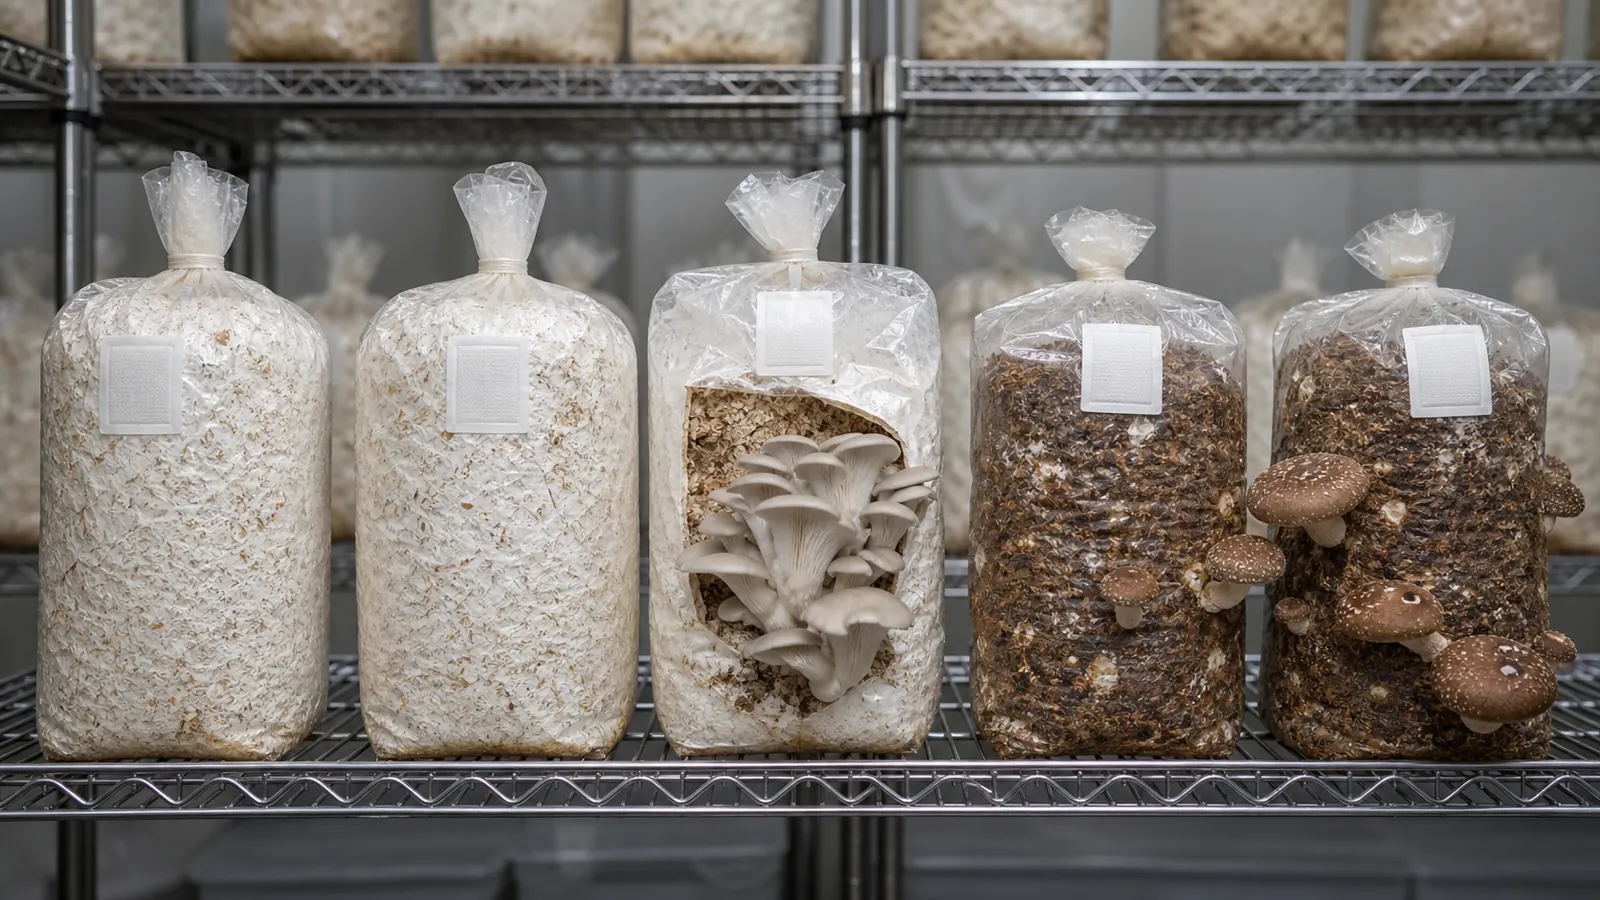
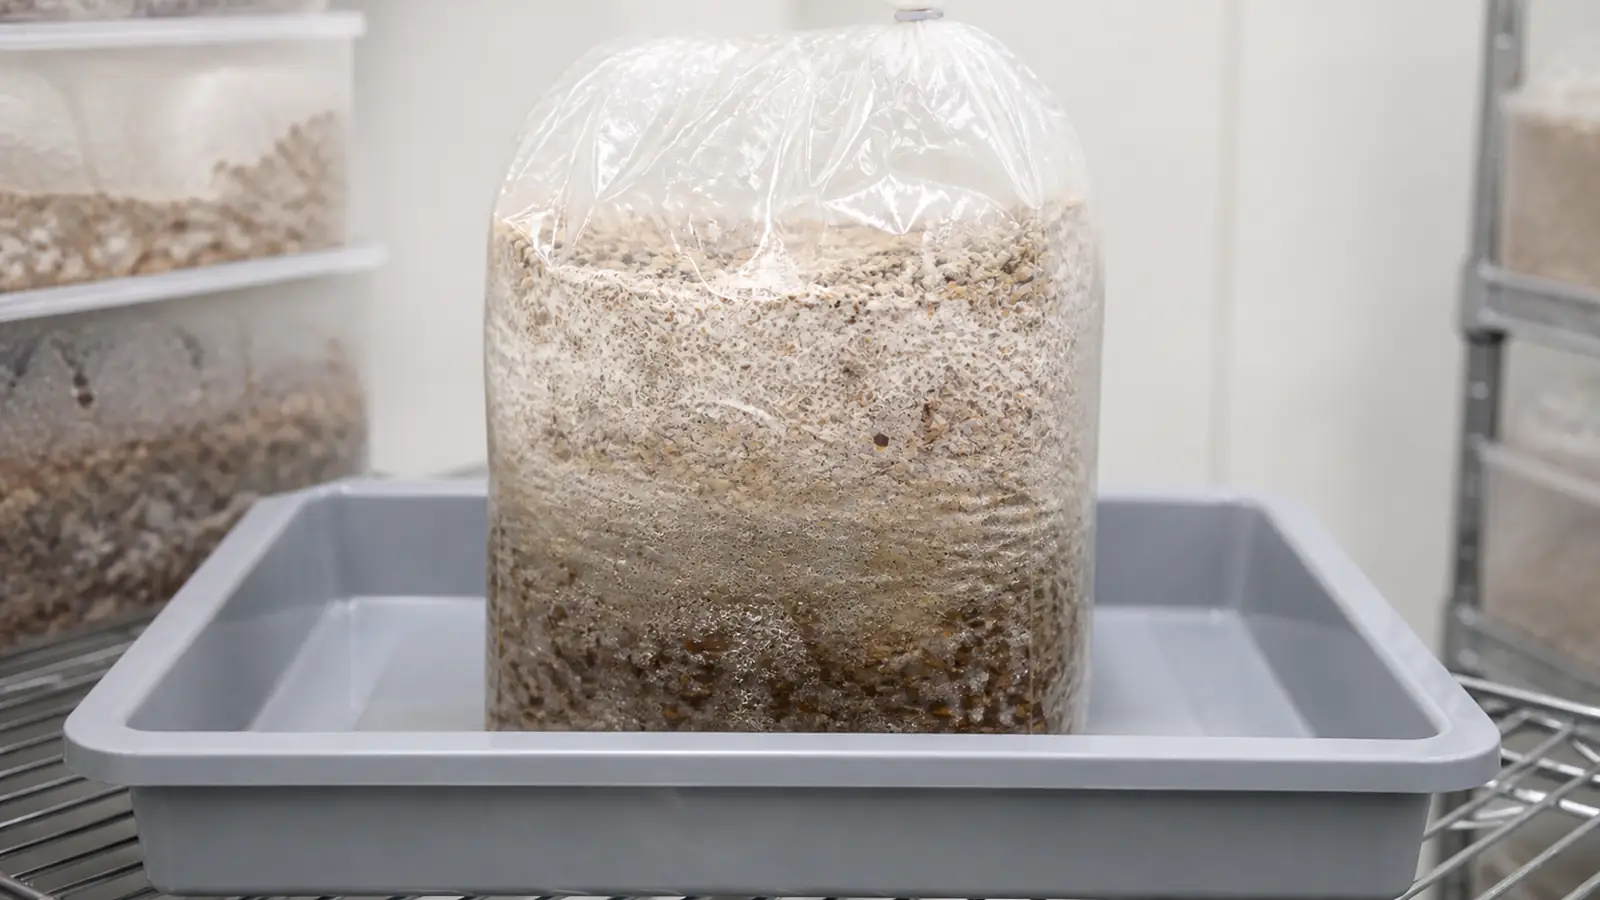
Clean mycelium is usually white to cream, connected, and tied to the inoculation points. It can look cottony on the surface or rope-like inside substrate, but it should not smell sour or race across the surface overnight.
Mold often announces itself through fast growth, powder, a color change, or a sharp boundary that does not match the connected mycelium.
| Check | Healthy mycelium | Contamination concern |
|---|---|---|
| Color | White to cream for most cultivated species | Green, black, pink, orange, or gray growth |
| Smell | Mild, fresh, mushroom-like | Sour, sweet, rotten, chemical, or musty |
| Texture | Connected threads or firm white mat | Dusty powder, wet slime, or airy gray web |
| Spread | Steady growth through prepared substrate | Sudden surface bloom or stalled grain |
| Location | Moves out from spawn contact points | Random patch away from inoculation points |
Seeing clean growth once makes the comparison easier, because contamination is recognized by contrast rather than from memory.
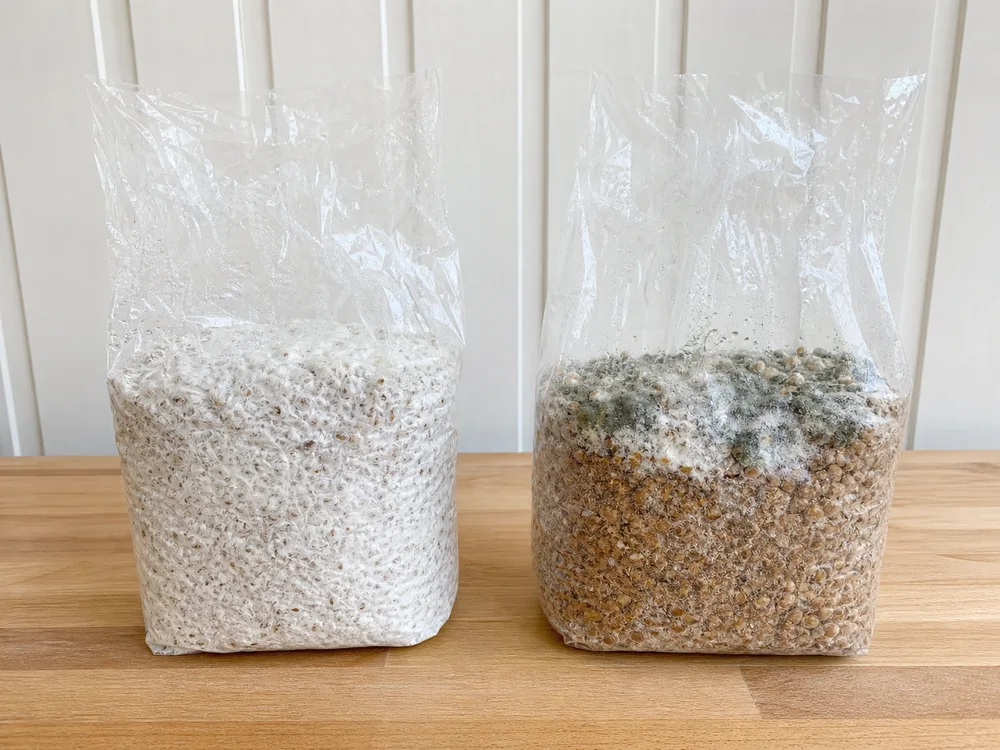
If you are unsure, close the container and watch from outside for 24 hours. A spot that doubles, changes color, or starts smelling worse should not stay near clean projects.
Should you open a suspect container?
Photos are useful only when they keep the container closed. Take pictures through the bag, jar, or tub wall before you unzip, unclip, or lift a lid.
Photograph the whole container, the suspect spot, and the date label. Those three views show whether the problem is local, spreading, or tied to a specific batch.
Do not carry a contaminated block around the room for better light because a closed photo from where it sits preserves more evidence with less exposure.
The larger mycelium network should look connected to its food source. A random dusty island on top of otherwise uncolonized substrate is a stronger warning than a thin white edge growing from spawn.
Growing MushroomsWhat Does a Mushroom Farm Actually Cost to Start?When did the grow actually fail?
Ask when the grow failed before naming the organism because the calendar narrows the suspects faster than the symptom. A jar that sours before colonization finished was compromised during grain preparation, sterilization, cooling, or inoculation, so repeating the same preparation repeats the failure.
A failure that arrives after pinning starts belongs to a different part of the timeline. The colonized substrate can still suffer from stale air, heavy misting, exposed patches, pests, or fruit held past its prime.
This timing split identifies the correction layer because early sour grain points back to preparation, while trouble after pinning points toward fruiting conditions.
The same timing logic sorts a monotub method grow. A tub that turns dirty across the whole surface almost always started dirty, in the spawn or the substrate, while ugly fruits standing over a bed that still smells clean point at airflow instead.
Why does excess moisture invite bacterial growth?
Too much water is one of the easiest ways to lose a grow. Wet grain bursts, sticky kernels, dripping straw, and pooled water all create low-oxygen pockets where bacteria can outrun mushroom mycelium.
Field capacity is the practical target for many bulk substrates. A hard squeeze should release a few drops, while a stream means the substrate needs more draining before spawn touches it.
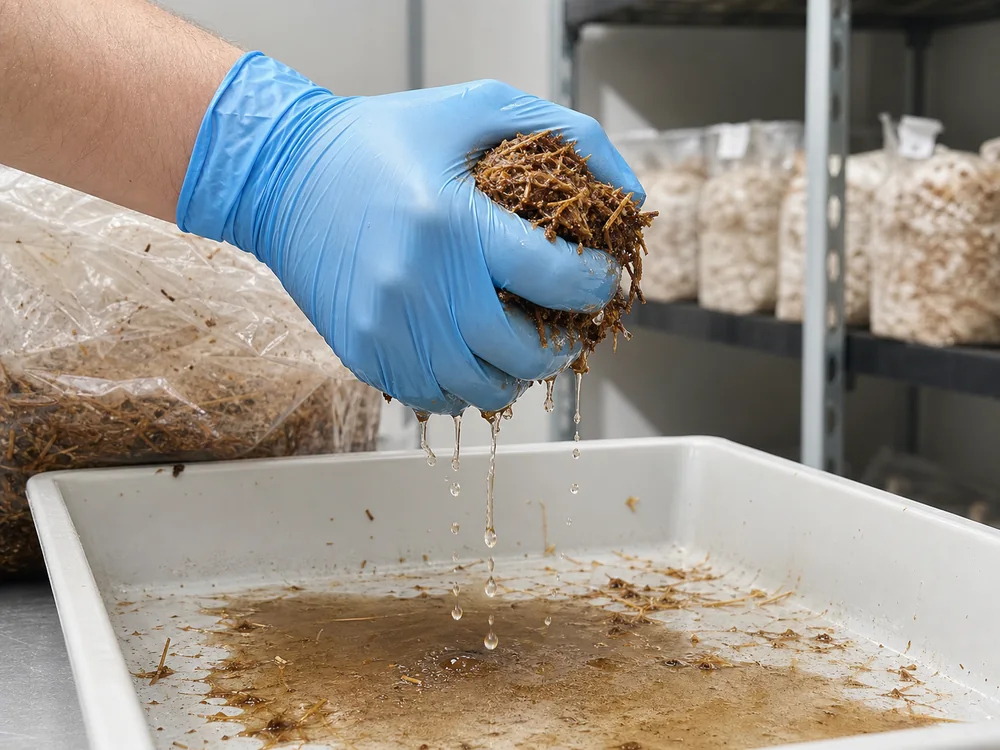
The straw substrate check is useful because over-wet straw can smell acceptable at mixing and then collapse after clean spawn enters the bag.
Do not fix wet substrate by adding more spawn and hoping speed wins. Extra spawn can help a clean, prepared substrate colonize faster, but it will not make sour grain safe.
Where does contamination usually get in?
Most contamination is introduced before the container is sealed. Cooling, inoculating, mixing, and early handling are the moments when dust, dirty tools, unclean hands, or weak spawn get access to fresh food.
Pasteurized straw is not sterile, so the goal is to reduce competitors and give vigorous mushroom spawn a head start. Supplemented sawdust and grain are more nutritious, so they usually need stricter sterile handling than a simple oyster straw project.
Wash hands and wipe work surfaces before inoculation
Let hot substrate cool before adding spawn
Use fresh spawn that smells clean
Label the inoculation date so slow growth is obvious
Mix spawn into steaming-hot substrate
Open colonizing bags repeatedly to smell them
Reuse a dirty tub before washing and drying it fully
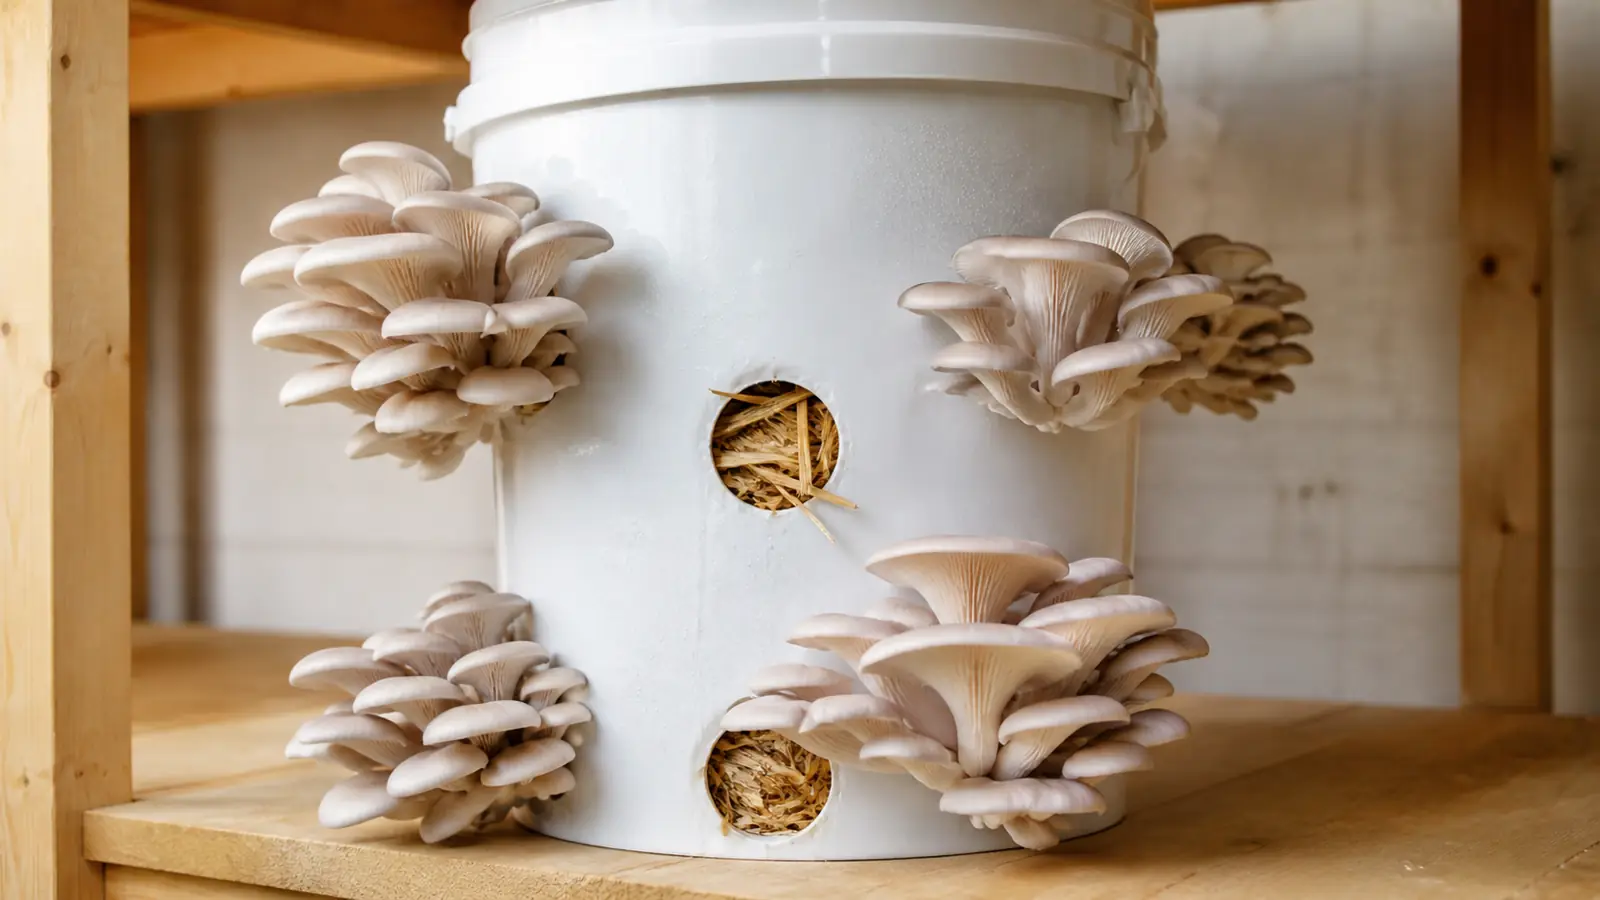
Clean oyster mushroom growing gives beginners the easiest visual baseline because vigorous white growth makes foreign color and slime easier to recognize.
Supplemented blocks for growing shiitake ask for more control because bran, soy hulls, or other rich additions feed molds and bacteria too. A ready-to-fruit block avoids much of that early sterile work.
Is it contamination or an air problem?
Not every strange fruiting body means contamination. Long stems, tiny caps, fuzzy feet, cracked caps, and stalled pins often come from fresh-air or humidity problems when the substrate itself still smells clean.
Problem location separates fruiting stress from contamination. Air and humidity problems usually mark the mushrooms or surface, while contamination appears in the substrate as color, slime, sour odor, or fast foreign growth.
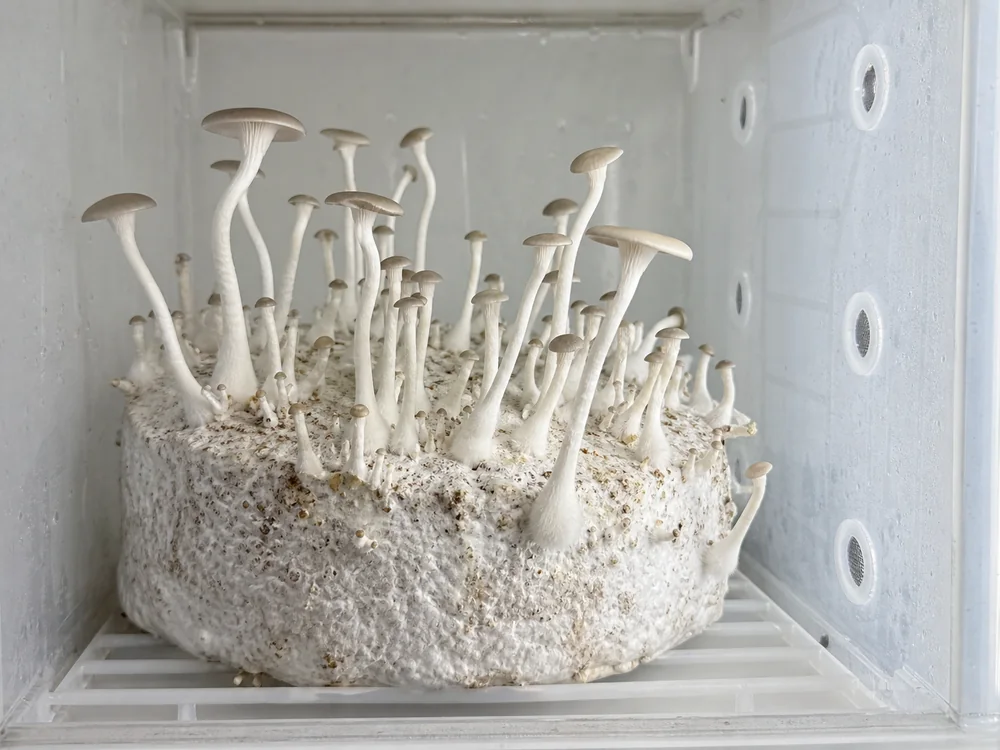
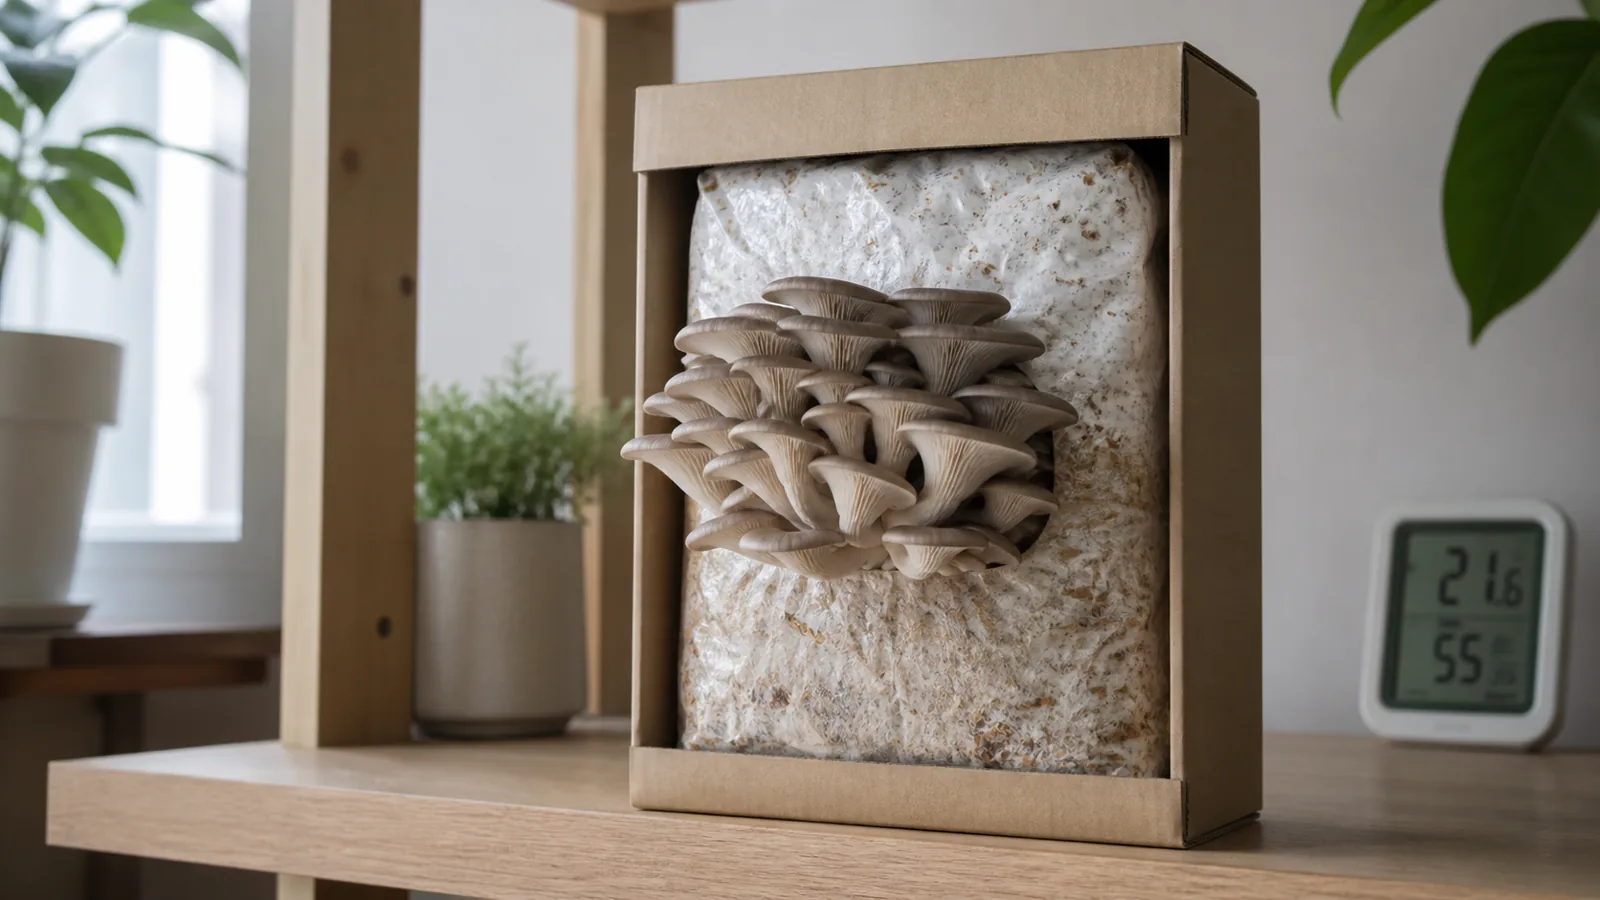
A clean oyster mushroom block can recover from better fresh air when the mycelium remains white, firm, and mild-smelling, while a sour block with stretched mushrooms should be rejected.
Change one variable at a time. Open holes slightly, reduce direct drafts, or mist less often, then watch the surface for a day instead of changing air, water, temperature, and light all at once.
Can a questionable grow be watched safely?
A small dry bruise on a fully colonized block can be watched, while a wet, half-colonized grain jar should leave the grow area.
Use a four-part check covering smell, color, texture, and spread speed. If two measures are wrong, stop trying to save the container.
Tip
When in doubt, protect the next clean batch. Losing one bag is cheaper than spreading spores through shelves, tubs, filters, and tools.
Watch only narrow cases such as blue bruising on an otherwise clean colonized block, keeping the container closed and away from clean work.
Quarantine uncertain containers away from clean projects. Do not place a maybe-clean bag between two healthy blocks and hope distance of a few inches will matter.
Growing MushroomsHow Do Mushroom Sawdust Blocks Work from Mix to Fruit?What do you do with a contaminated jar?
A contaminated grain jar is usually a hard no. Grain is rich food, and a sour or slimy jar will spread the problem through every bulk substrate it touches.
Do not shake bad grain to test recovery because shaking spreads bacteria or mold through every uncolonized kernel.
A bulk bag or block gives you a little more context. A fully white block with one dry bruise can be watched, but a half-colonized block with wet pockets, sour smell, or colored growth should be removed.
A fruiting block can carry old mushroom debris that looks ugly without meaning the whole grow is lost. Trim old stumps only when the substrate underneath stays firm, white, and clean smelling.
A tub is riskier because it exposes more surface area. If green mold appears on the surface of a small tub, the practical home decision is usually disposal, not surgery with a spoon.
Can you spray contamination away?
Sprays cannot turn a failed substrate back into clean food because surface treatment leaves the organism and damaged material inside.
Alcohol belongs on tools and hard surfaces, not on food-producing substrate. Peroxide is sometimes discussed for narrow surface mold cases, but it should not be used as a reason to keep green mold in a small indoor grow.
The safer sequence is sealing the bad container, removing it from the grow area, and cleaning the hard surfaces it occupied.
Note
A treatment that makes a spot look quieter for one day has not fixed dirty spawn, wet grain, or a colonization race the mushroom already lost.
Was it your technique or your inputs?
Sometimes the problem arrives before you touch the grow. Old spawn, poorly stored liquid culture, damp straw, contaminated grain, cracked bags, and dirty filters can fail even when your handling is careful.
Inspect spawn when it arrives for the supplier's expected appearance and a clean smell in the correct opening setting. Sour odor inside the bag is a reason to reject it before building a full project.
Store substrate inputs such as straw, coir, pellets, and hardwood fuel away from leaks, pests, and condensation, then label each batch so a failed spawn test remains traceable.
Run a small test when a failure repeats. One clean quart jar or one small bag teaches more than ten large bags built from the same questionable input.
How should you restart after a failure?
After a failure, restart smaller than you want. One jar, one bag, or one small tub is enough to test whether the problem was spawn, substrate, handling, or the grow room.
Keep the test recipe boring by using the same substrate, spawn ratio, container, and room conditions before changing one suspected variable.
Match the first correction to the failed stage. Improve drainage for a wet batch, replace sour spawn or grain before mixing, and clean the transfer surface when green growth follows every transfer.
A clean small batch is proof that the basic process still works. A second failure with the same warning tells you the problem is still upstream, so scaling up will only make the cleanup larger.
Growing MushroomsHow Do You Build an Outdoor Mushroom Bed That Lasts?How do you keep clean and dirty work apart?
Do not clean a failed tub beside open spawn or fresh substrate because the dirtiest task should never share air and tools with the cleanest task.
Handle clean work first, then handle questionable containers last. Wash hands, change gloves if you use them, and move tools from clean to dirty, not dirty to clean.
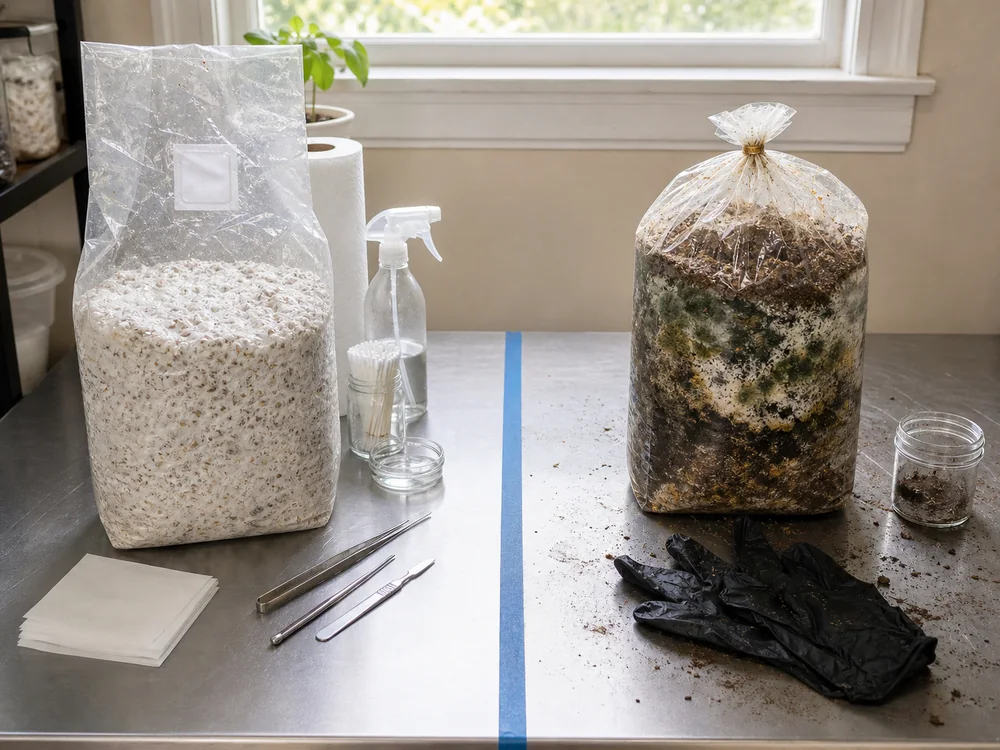
This clean-first work order protects home grows more reliably than adding fancy equipment to a confused process.
How do you clean up after a failed grow?
Remove the bad container first, then clean the room. Wipe shelves, trays, scissors, tub walls, and nearby surfaces with a damp cloth so dust and spores are not blown around.
Wash reusable tubs with soap and water, rinse them, and let them dry fully before storage. Damp storage keeps odors and residues alive, and it makes the next setup harder to judge.
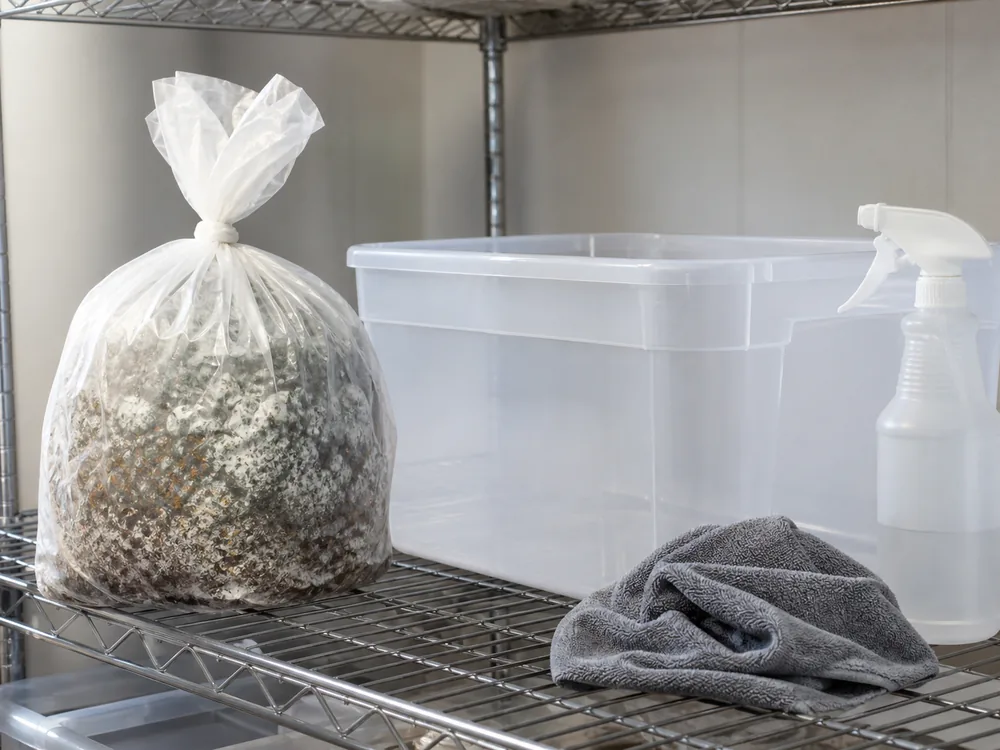
Throw away single-use bags, filters, and liners that held visible contamination instead of washing them for another food grow.
Keep children and pets away from rejected grows. They can touch wet substrate, track it through the room, or treat a fuzzy block like something to play with.
How do you prevent the next outbreak?
The best diagnostic tool is a record of the failure date, smell, color, moisture, spawn source, substrate batch, room temperature, and every intervention.
Repeated failures identify the weak stage. Sour grain points to grain preparation, cooling, or spawn storage, while green patches after mixing point to substrate handling, dirty tools, weak pasteurization, or the work area.
- Wet substrate
- Drain longer and check field capacity before inoculation.
- Dirty spawn
- Reject sour, slimy, or discolored spawn before it reaches bulk substrate.
- Slow colonization
- Check temperature, spawn age, substrate depth, and air leaks before scaling up.
- Repeated green mold
- Clean the work area, replace suspect supplies, and run a smaller test batch.
- Ugly but clean fruits
- Fix fresh air and surface moisture before blaming disease.
The mushroom life cycle matters here because colonization is the protected feeding stage. If the mycelium does not claim the food before competitors do, fruiting cannot rescue the project.
Is a normal-looking cap safe to eat?
Do not treat questionable mushrooms as food merely because the cap itself looks normal when the block beneath it smells sour or carries mold.
A clean cap growing from a sour or moldy block should still be rejected. The grow has already told you the environment is not trustworthy.
Food decisions follow cultivation decisions. A clean block can produce a harvest for cooking, while a suspicious block stays out of recipes, shared meals, and pet bowls.
If someone already ate mushrooms from a suspect grow and feels sick, treat that as a health question, not a growing question. Use mushroom poisoning symptoms to frame the urgency while you contact Poison Control or local medical care.
Sources for contamination control
This contamination framework follows Penn State Extension notes on green mold, Cornell Small Farms cultivation basics, SARE grower reporting on contamination points, and published work on Trichoderma substrates.
Those sources all point to the same practical rule. Give clean mycelium the first chance, remove failed containers early, and fix the preparation step that let the contaminant win.