Grain spawn is the one stage of a mushroom grow that carries no surviving competition, because grain is sterilized rather than pasteurized and is far richer than any bulk substrate. This guide starts from that, covers grain choice and hydration without dressing hobby percentages as measurement, answers the boiling shortcut with what has actually been measured about bacterial endospores, gives inoculation and shaking with the reason behind each rather than a schedule, and separates a bacterial failure from a mold failure by what each one points back at in the method.
Grain spawn is the only stage of a mushroom grow with nothing living in it to defend the jar.
Everything fussy about the method follows from that one fact, and the step people most want to skip is the step it makes non-negotiable.
Why does grain spawn contaminate so easily?
Bulk substrate is pasteurized, which knocks the population down without emptying it. What survives is a mixed community that competes with anything arriving later, so the substrate defends itself to a degree.
Grain is sterilized instead, and sterilized means empty.
That is the whole reason grain gets treated more carefully than any other material in the process.
A bulk substrate can absorb a mistake. A jar of sterilized grain cannot, because the thing that would normally absorb it was removed on purpose.
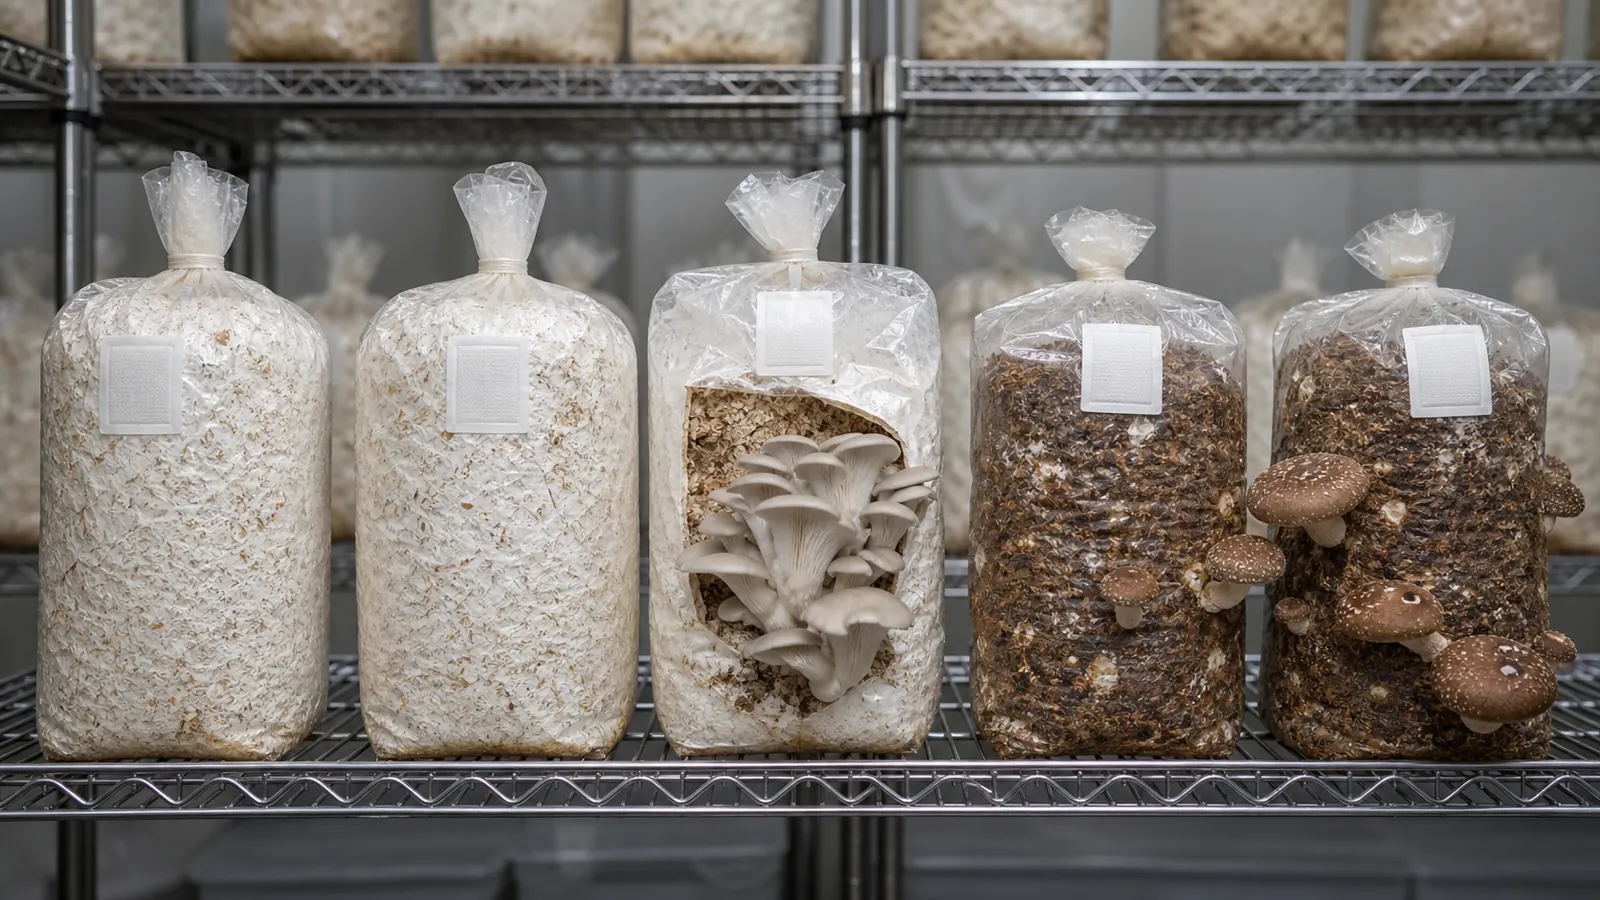
It is worth being precise about what is doing the colonizing here. The white growth filling the jar is fungal mycelium, the feeding body of the fungus, and grain is simply a convenient package of food for it to occupy.
Compare that with a pasteurized bulk substrate, where a surviving population crowds newcomers out and a small error usually costs nothing.
Growing MushroomsWhat Does a Mushroom Farm Actually Cost to Start?Which grain should you use, and how wet?
Several grains work, and the argument between them is smaller than the internet suggests.
- Grains in use
- Rye, wheat, millet and sorghum are all standard
- One published preference
- A University of Florida extension protocol calls millet an excellent substrate
- Soaking
- The same protocol soaks seed for about twelve hours, which avoids fermentation
- The target
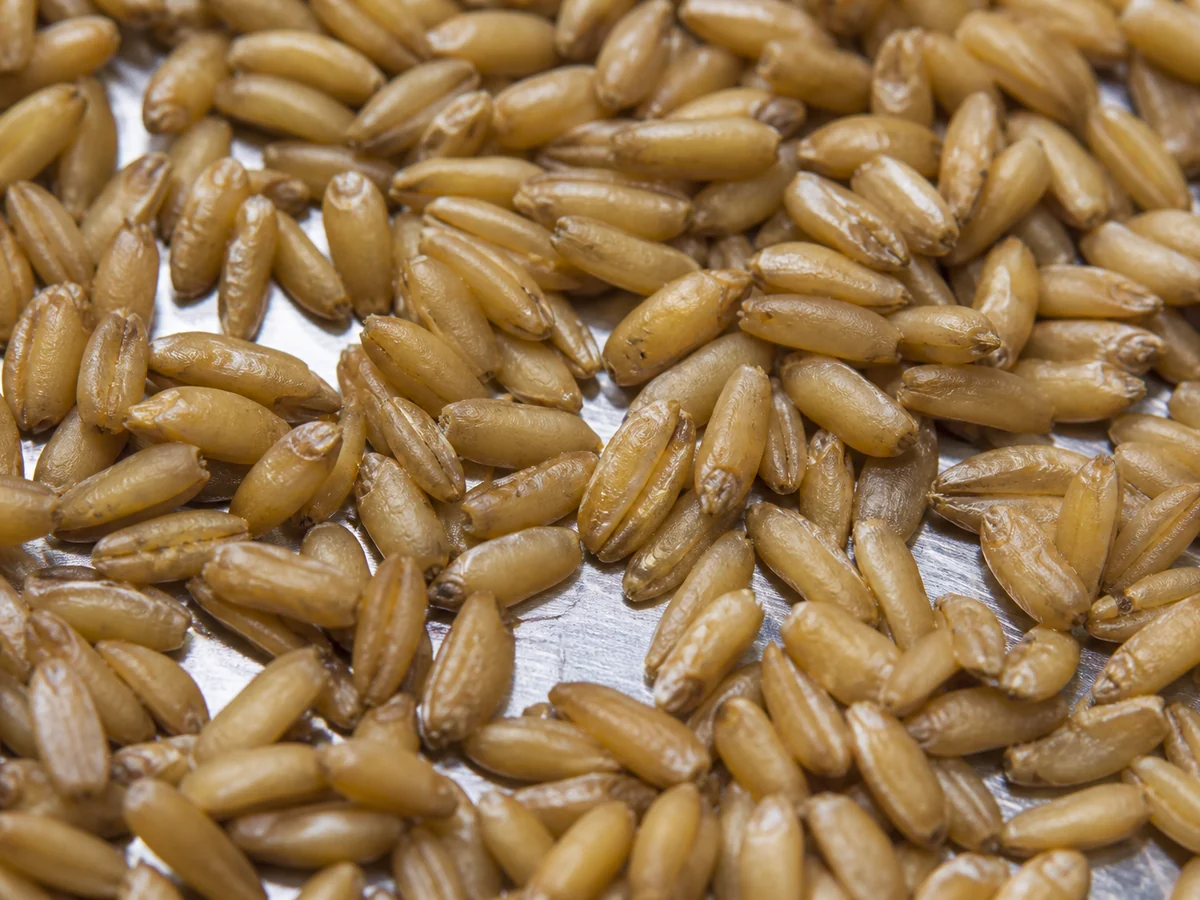
- Kernels plump and separate, damp on the surface, with no water standing in the container
- The visible failure
- Free water at the bottom of a jar, which gives bacteria somewhere to live
The target state is easier to recognize than to specify.
Moisture percentages circulate widely in this hobby, usually somewhere near half by weight. They are repeated confidently from source to source without a measurement anyone can trace, so treat them as folklore that happens to be roughly right rather than as a specification.
Judging by eye is more reliable anyway. Tip the container: if anything runs, there is too much water, and if kernels are wrinkled or crack when pressed, there is too little.
Species choice makes more difference than grain choice at this stage. If you are still deciding, some of the easier beginner species colonize aggressively enough to outrun small mistakes that would cost you a jar with something slower.
Can you boil grain instead of pressure sterilizing?
This is the step people want to skip, because a pressure canner is the one item in the process that costs real money.
The equipment question deserves a real answer rather than an assertion, and the physics of it is short enough to state.

Four treatments get used on grain. Only two of them do what a sterilized jar actually needs.
| Approach | Conditions | What it reliably destroys |
|---|---|---|
| Pressure sterilizing | 15 psi, 30 minutes in a pressure cooker per one extension protocol | Vegetative cells and, at these conditions, bacterial endospores |
| Standard autoclaving | 121 degrees Celsius at 15 to 20 psi, typically 20 minutes or more | The reference condition the above is approximating |
| Boiling | 100 degrees Celsius at atmospheric pressure, any duration | Vegetative cells, but not endospores reliably |
| Pasteurizing | Well below boiling | Neither, at grain nutrition levels |
Pressure is the variable that matters, not time.
Water boils at 100 degrees and will not go higher at ordinary atmospheric pressure no matter how long the pot sits there. Raising the pressure raises the boiling point, and that is the only way a domestic pot reaches the temperature that matters.
One detail in the reference conditions is easy to skip past. The microbiology text notes that exposure length depends on the volume and nature of the material being sterilized, which is a statement about heat reaching the middle rather than about the clock.
A jar of wet grain is dense, and heat has to travel through all of it.
That last point accounts for a share of failures that look like bad luck. A timer started too early gives the grain less time at temperature than the number on the protocol suggests.
The honest summary is that boiling raises your failure rate rather than guaranteeing failure.
Plenty of people boil and get usable jars, because not every batch of grain carries surviving endospores. What they cannot do is know in advance which batch does, and the jar looks identical for the first week either way.
Warning
A boiled jar and a pressure sterilized jar are indistinguishable on day three. The difference shows up around the second week as a wet gray patch and a sour smell, by which time the incubation time is already spent.
How do you inoculate without contaminating it?
The transfer itself is short, and most avoidable failures happen inside those few seconds.
Jars have to cool first. The extension protocol names about 50 degrees Celsius, and the reason cuts both ways, because a hot jar kills the culture while a jar that is still warm keeps condensing water onto its own walls.
Before any of that, the lid itself has to be right. A colonizing jar consumes oxygen and produces carbon dioxide, so a fully sealed lid starves the culture, while an open one is simply an invitation.
- A filter patch or stuffed hole lets gas through and stops spores
- Micropore tape over a punched hole does the same job for less money
- A solid lid works only if the jar is opened periodically, which defeats the point
- Whatever the lid, it has to survive the pressure cooker without deforming
Still air matters more than sterile air at home scale. Most contaminants arrive on dust that is already in the room and moving, so working in a closed room that has been left undisturbed for an hour does more than any amount of surface wiping.
The practical version of leaving the air alone is preparation: lay out everything you will touch and decide the order, and open the jar only when the next movement is already known, because hesitating with the lid off is what costs jars.
Cooling is the part that tests patience. A jar out of the pressure cooker holds heat for hours, and the protocol target of about 50 degrees Celsius is reached long after the outside of the glass feels safe to handle.
Rushing that is worse than waiting overnight. A culture placed on grain that is still too hot dies quietly, and the jar then sits for a fortnight looking merely slow rather than dead.
Growing MushroomsHow Do You Build an Outdoor Mushroom Bed That Lasts?When should you shake the jars?
Shaking is given as a schedule almost everywhere, which leaves readers unable to adapt it when their own jar does something the schedule did not predict. The reason behind it is simple enough to replace the schedule entirely.
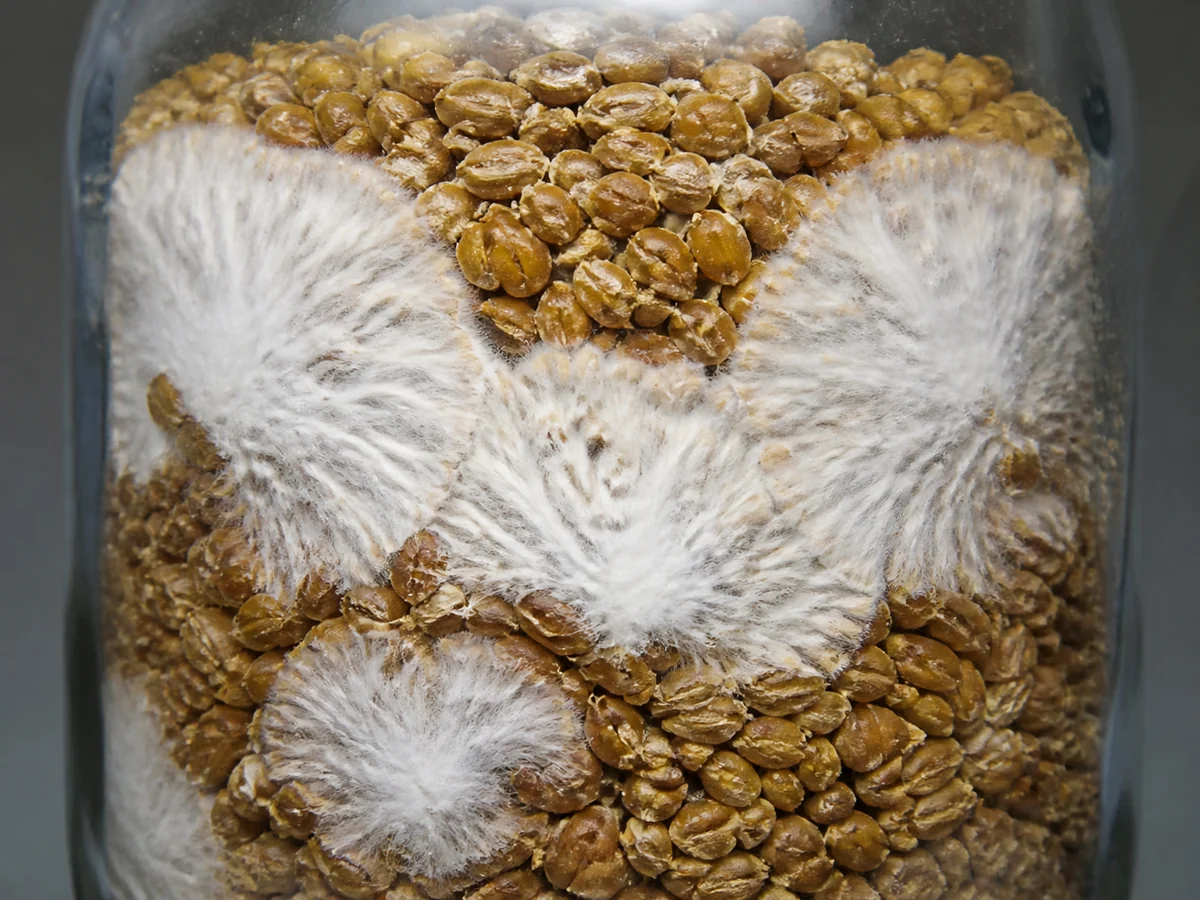
Mycelium spreads outward from wherever it is already growing.
Shaking breaks one growing mass into many, and each fragment becomes a new front, so colonization finishes sooner because it starts from more places at once. That immediately gives the timing, without anyone needing to memorize a calendar.
| When | Do what | Why |
|---|---|---|
| Straight out of the pressure cooker | Shake while hot | The extension protocol shakes seed then, to stop the grain clumping as it cools |
| Before the culture has taken hold | Leave it alone | Scattering a culture that has not established just spreads it thin |
| Once growth is clearly established | Shake to redistribute | Many fronts finish faster than one |
| Any jar showing a contaminant | Never shake | Shaking distributes the contaminant as efficiently as the mycelium |
The published incubation window gives a sense of scale, and the same protocol incubates at 23 degrees Celsius in darkness and expects full colonization in around 10 to 20 days.
A jar running behind that is not automatically a failed jar, and slow colonization has its own set of causes worth checking before anything is thrown away.
Is this jar contaminated or just slow?
Two failures account for almost everything a home grower meets, and they point back at different mistakes.
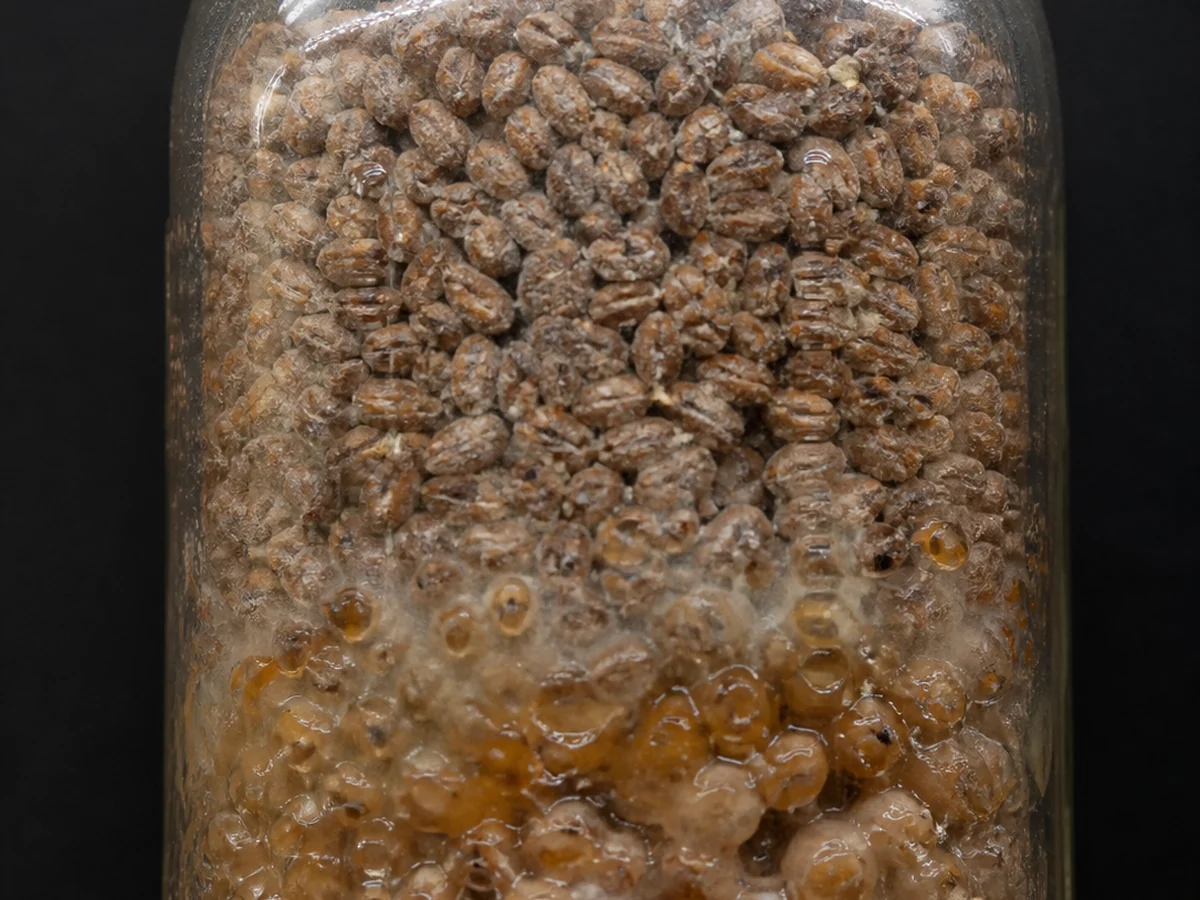
The bacterial failure is wet rather than fuzzy. It shows as gray or amber slime through the grain, often lowest in the jar where any free water collected, and the clearest single sign is a sour smell the moment the lid comes off.
That one usually points back at sterilization.

The mold failure looks different in every way. It arrives colored and fuzzy, most often blue green, and it spreads outward from a point rather than through the mass.
That one usually points back at the transfer.
| What you see | What it smells like | What it points back at |
|---|---|---|
| Gray or amber slime, wet through the grain | Sour, obvious on opening | Sterilization that did not reach endospores |
| Colored fuzzy patch spreading from a point | Musty or nothing much | Something admitted during inoculation |
| White growth that stalls without spreading | Nothing unusual | Not necessarily a contaminant at all |
Neither failure is recoverable, and this is where people lose weeks.
Three things are worth knowing before anyone tries to save one.
- A contaminated jar has no surviving population to push back with
- Opening it to inspect closely releases whatever is in it into the room
- Bagging it before opening, or discarding it sealed, keeps the next batch cleaner
There is nothing left in a sterilized jar to push a contaminant back, so a visible patch on day ten is a jar that has already been lost. If you want to know exactly what took it, identifying the contaminant is a separate job from deciding what to do with the jar.
When is grain spawn ready to use?
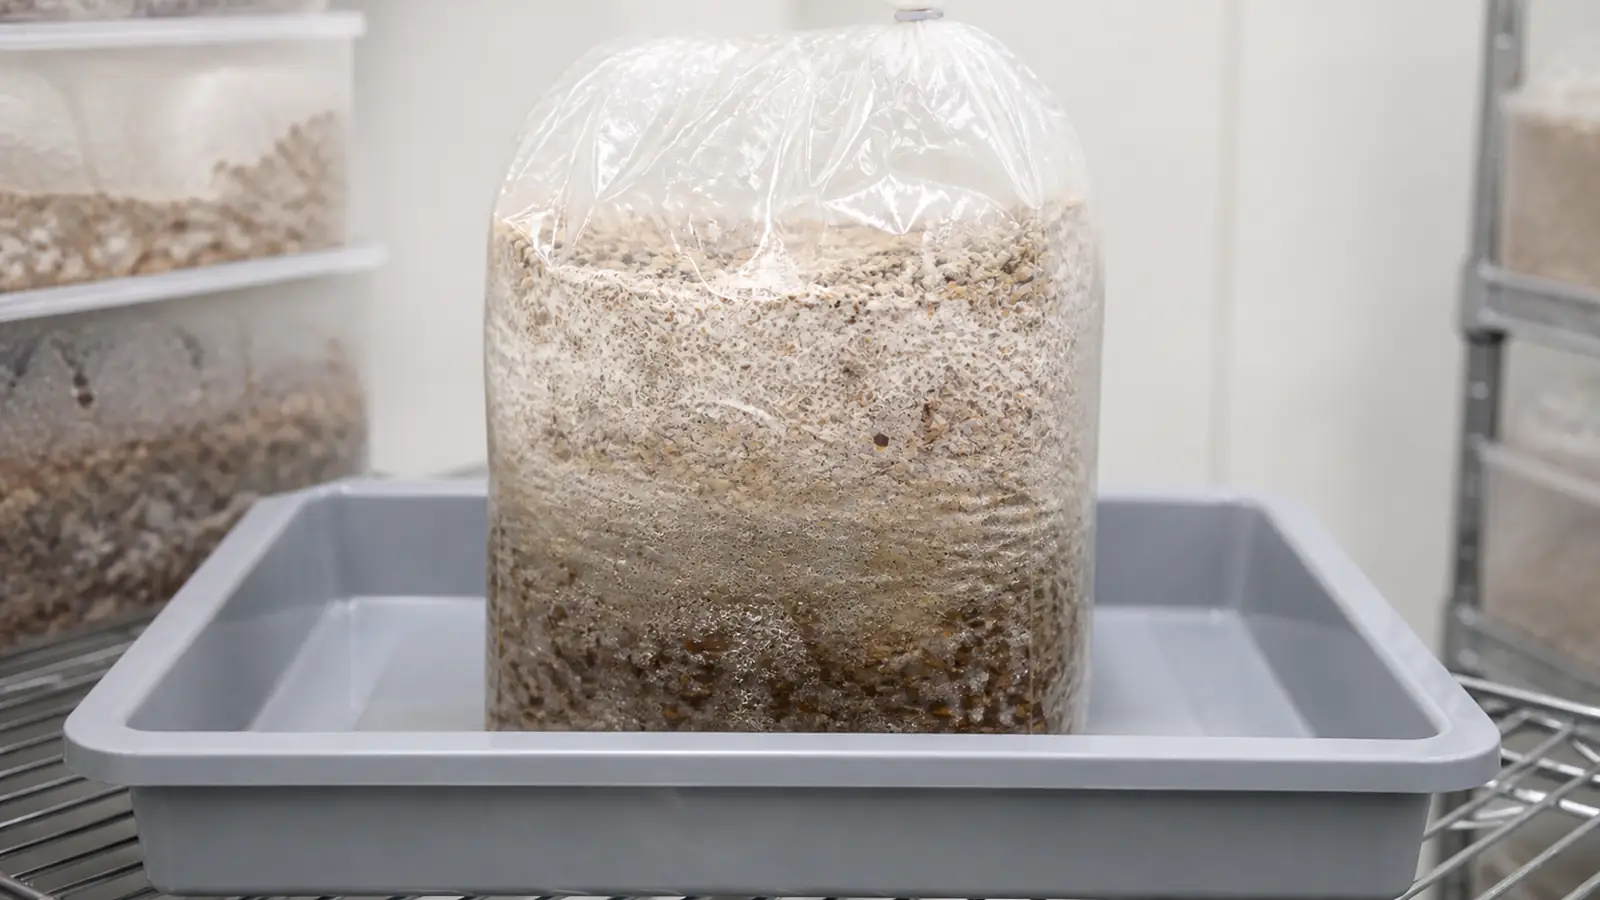
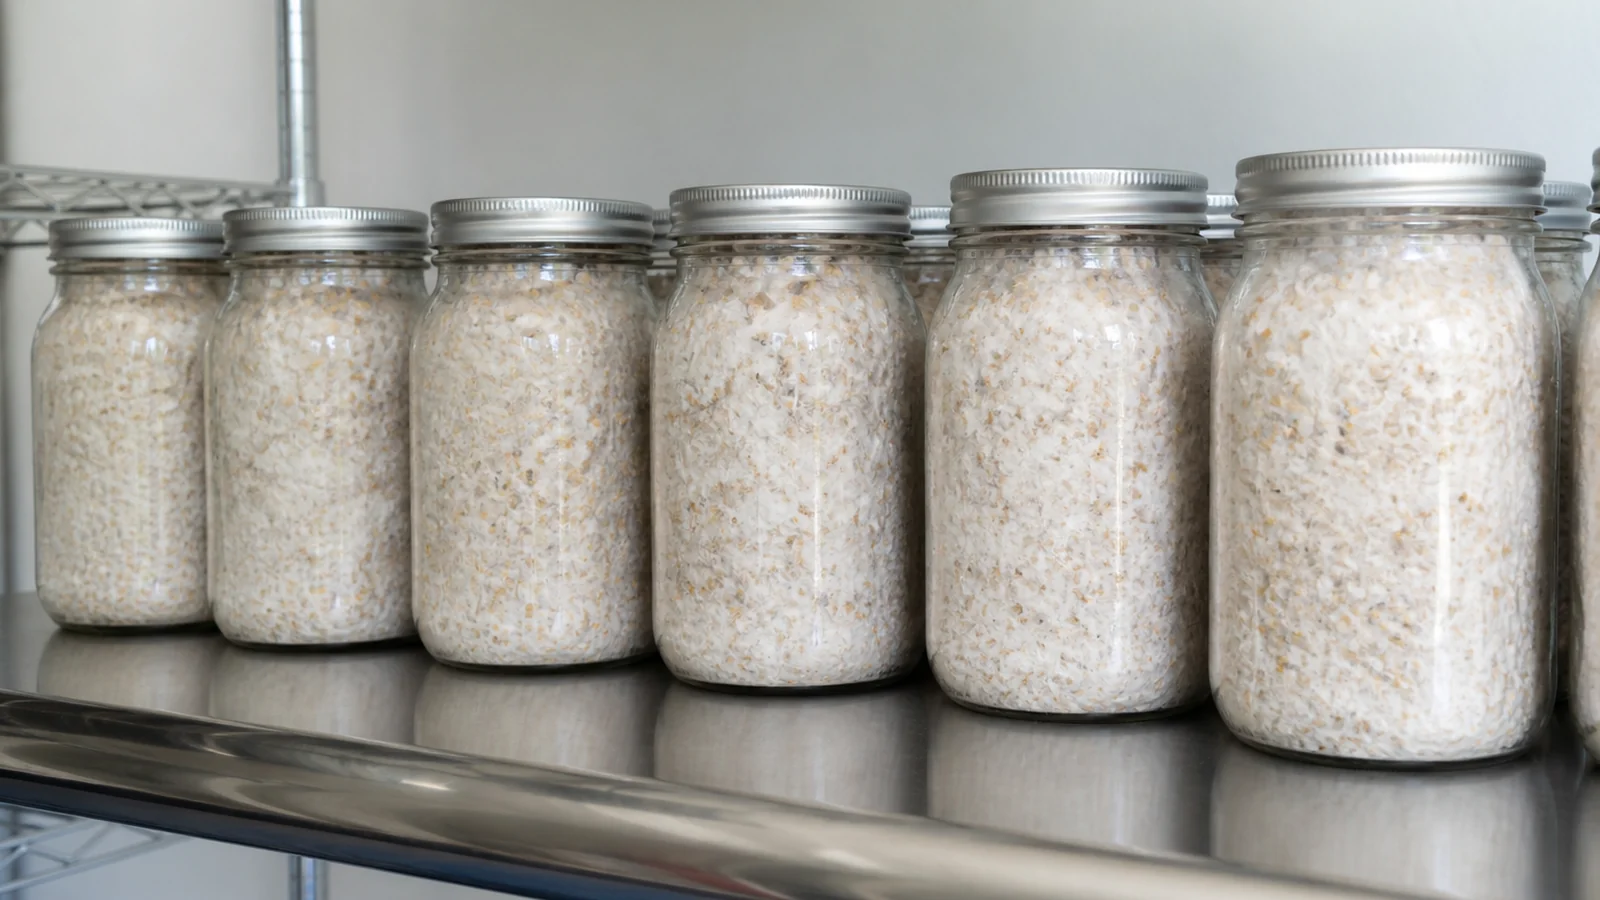
Spawn is ready when the grain is uniformly white and the jar holds together as a block when tipped.
It does not improve after that, because fully colonized spawn slowly loses vigor while it sits, so the useful window opens at full colonization and starts closing immediately.
Tip
If the next stage is not ready, refrigeration slows the decline for most temperate species. Some tropical strains are damaged by it, and the extension protocol specifically warns against refrigerating tropical Pleurotus cultures.
Where it goes next depends on the species. Grain-loving species go into a bulk substrate, which is what monotub growing is built around.
Wood-loving species take a different path entirely, going into supplemented sawdust rather than into a loose bulk mix.
Either way the fruiting stage is still two steps off, because the larger substrate has to colonize in turn before a fruiting chamber becomes relevant at all.
The amount you need is the question that decides how many jars to start, and it is set by the substrate rather than by the jar.
- Spawn is measured as a share of the bulk substrate it will colonize, not as a fixed weight
- A larger share colonizes faster and leaves a contaminant less time to establish
- A smaller share stretches the culture further and raises the risk on every container
- Wood-loving species on supplemented sawdust are usually spawned more heavily than grain-lovers on bulk
The trade is the same one running through this whole page. More spawn buys speed, and speed is the main defense a substrate has.
One last use is worth naming, with its catch attached. A finished jar can inoculate more grain, which multiplies your culture cheaply and multiplies anything wrong with it just as cheaply.
Note
Spawn expands rather than substitutes. Each jar can carry the culture into several times its own volume of bulk substrate, which is why one careful jar is worth more than three rushed ones.
Sources & References
- Isolation of Mother Cultures and Preparation of Spawn for Oyster Mushroom Cultivation, University of Florida IFAS Extension SL449 The twelve hour soak, 30 minutes at 15 psi, shaking straight out of the pressure cooker, cooling to about 50 degrees Celsius, incubation at 23 degrees Celsius in darkness for around 10 to 20 days, the boiling alternative, and the warning against refrigerating tropical Pleurotus cultures
- Using Physical Methods to Control Microorganisms, SUNY Microbiology Standard autoclave conditions of 121 degrees Celsius at 15 to 20 psi for typically 20 minutes or more, that moist heat penetrates cells better than dry heat, and that some bacterial endospores survive up to 20 hours of boiling