A monotub fruits bulk substrate by balancing moisture from the substrate with steady fresh-air exchange. Clean spawn, field-capacity substrate, adjustable holes, and patient surface reading matter more than the tote itself.
The monotub method is a low-cost way to fruit bulk mushrooms in a plastic tote. Its central balance is holding humid air near the substrate while still letting stale air leave.
Use it after you already have clean spawn and a prepared bulk substrate. A monotub cannot fix dirty grain, soggy substrate, or a species that wants logs instead of a bulk tub.
How does a monotub actually work?
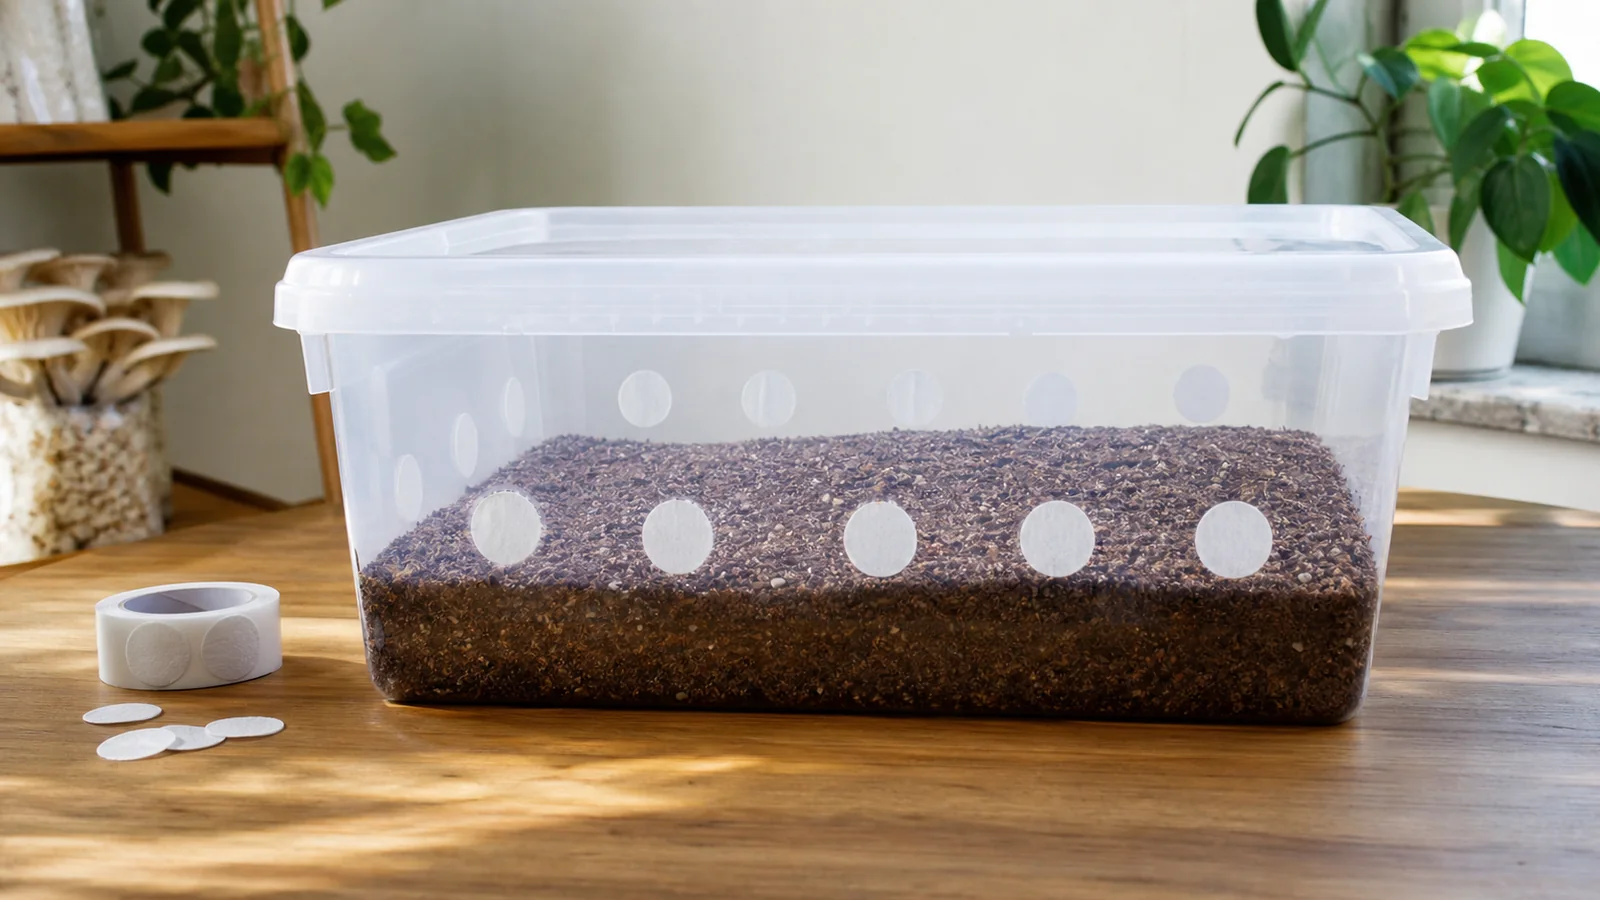
A monotub works like a small fruiting room. The substrate supplies moisture from below, the lid slows evaporation, and the holes let carbon dioxide leave while fresh air enters.
The colonized substrate inside the tote is the real crop, so the chamber design matters only because it protects that living surface.
A useful monotub lets you observe without handling. Clear walls help you check condensation, colonization, pinning, and surface moisture before you open the lid.
Cornell Small Farms describes indoor mushroom production as a controlled environment where temperature, humidity, airflow, and light are managed together. A monotub is the home scale version of that same idea, but with far less equipment.
What does the room need before the tub?
Room conditions determine how aggressively the tub must retain moisture or exchange air because a dry bedroom and a humid basement impose different demands.
Place the tub where temperature stays steady, light is indirect, and air moves gently around the room. Avoid heaters, AC vents, open windows, compost buckets, litter boxes, and shelves that collect dust from soil or potting mix.
A small thermometer and humidity reading near the tub can prevent bad guesses. If the room swings hard between day and night, the tub will show condensation changes that look like a fruiting problem but really started outside the tote.
The best room stays clean, calm, easy to inspect, and free from fans or direct sun that can change the tub faster than the grower notices.
When is a monotub the right tool?
Choose a monotub when the mushroom and substrate can handle bulk fruiting. Fast decomposer species and clean prepared substrates make more sense than slow wood projects.
- Best fit
- Legal edible decomposer species that fruit well from clean bulk substrate.
- Easier first grow
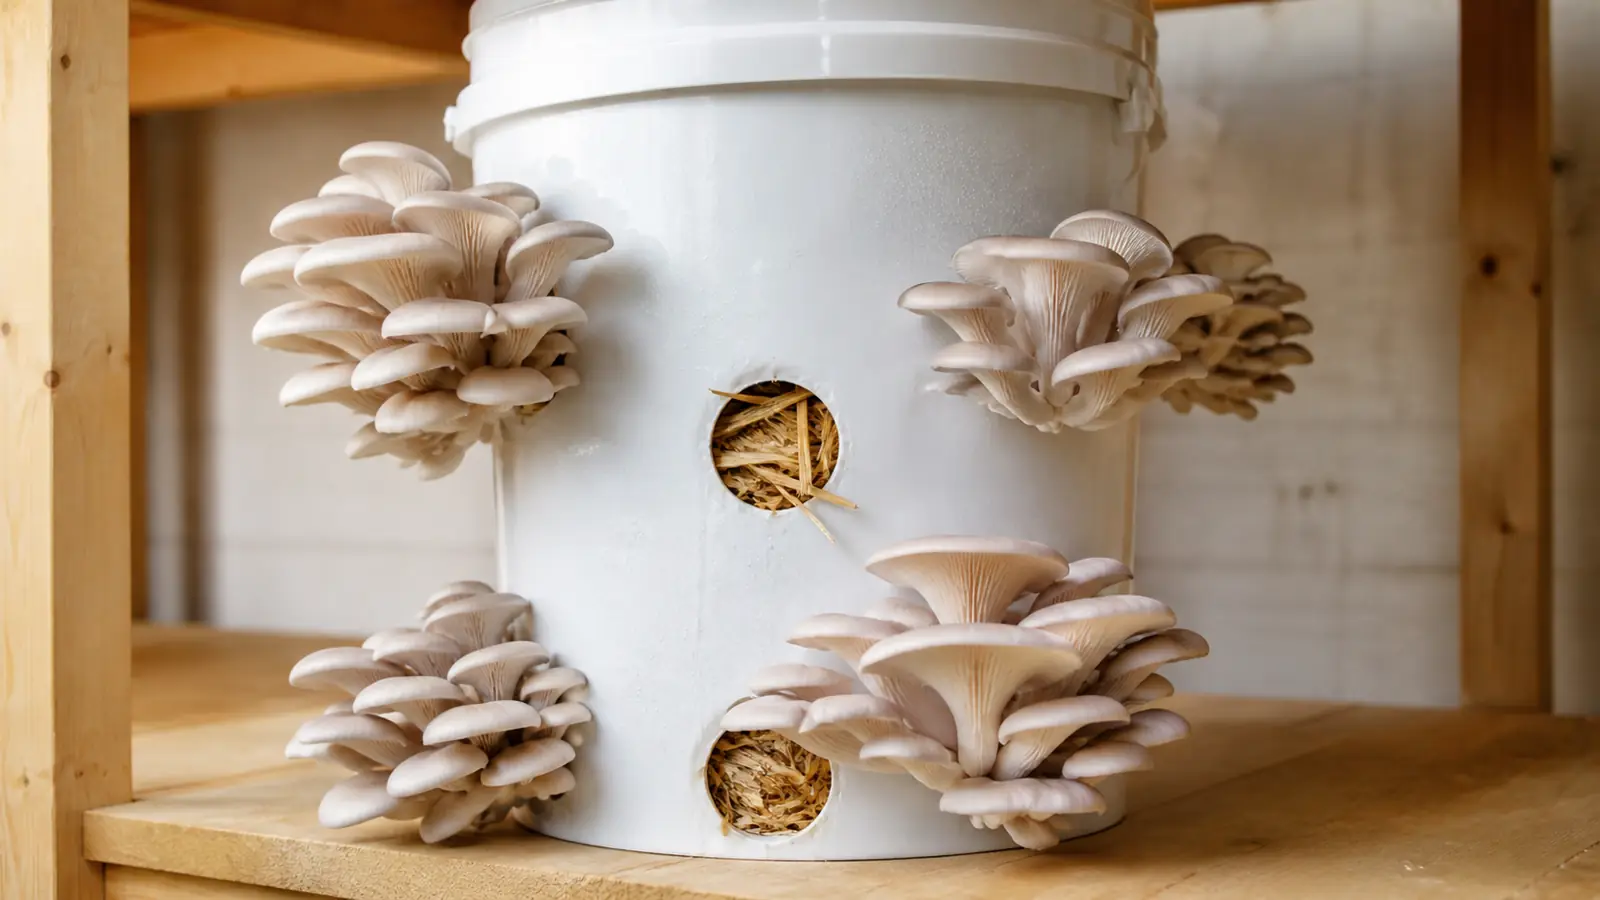
- A ready-to-fruit oyster block or bucket gives faster feedback with fewer controls.
- Upstream gate
- Clean spawn and correctly hydrated substrate must enter the tub before chamber tuning begins.
- Wrong fit
- Slow log species and wood-dependent fungi need a different substrate and fruiting method.
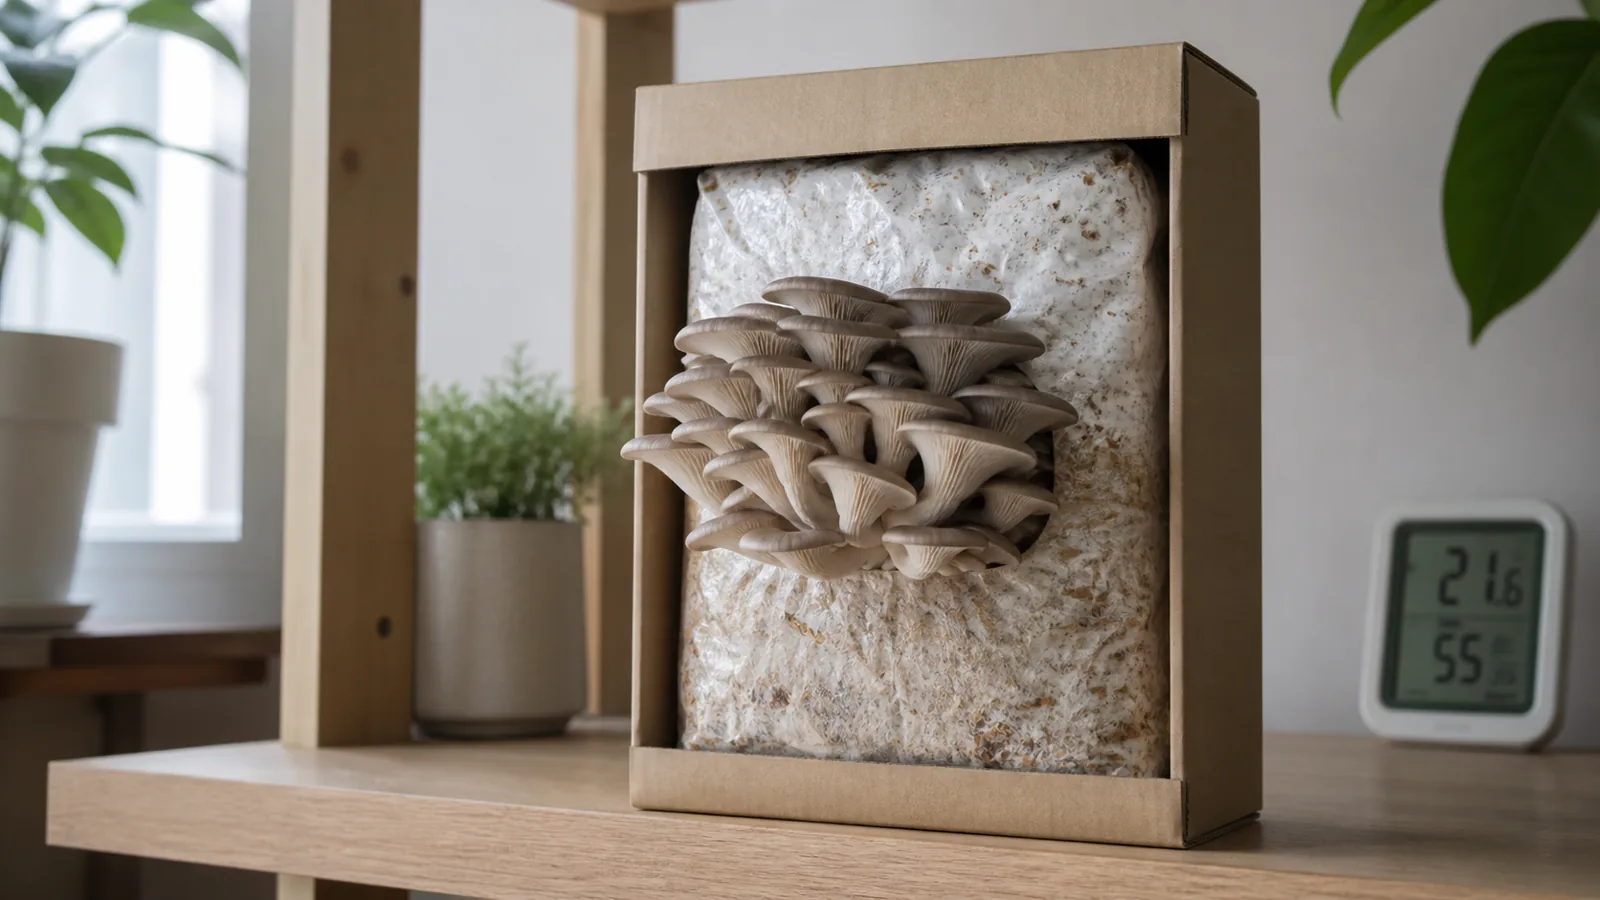
The method is not the easiest first mushroom grow for everyone. A ready-to-fruit block or a simple oyster mushroom growing setup gives faster feedback and less substrate to lose.
| Goal | Better choice | Why |
|---|---|---|
| Learn bulk fruiting | Small monotub | Shows humidity, air, and surface behavior in one chamber |
| First edible harvest | Oyster block or bucket | Fewer moving parts and faster feedback |
| Grow shiitake | Logs or sawdust blocks | Shiitake wants wood, patience, and a different rhythm |
| Test a new strain | Small tub or bag | Limits loss if the culture or substrate fails |
| Grow food safely | Legal edible species | Keeps the method focused on culinary cultivation |
This mushroom-growing progression must still follow the species notes because a tote cannot erase a need for wood, cold shock, heavy fresh air, or a different fruiting container.
For edible home grows, the cleanest progression is simple. Learn a small block or bag, learn moisture on prepared substrate, then move into a tub when you can explain what you are changing and why.
Growing MushroomsWhat Does a Mushroom Farm Actually Cost to Start?How many holes does a monotub need?
Airflow is the design decision that determines whether the substrate keeps a humid surface without trapping stale air.
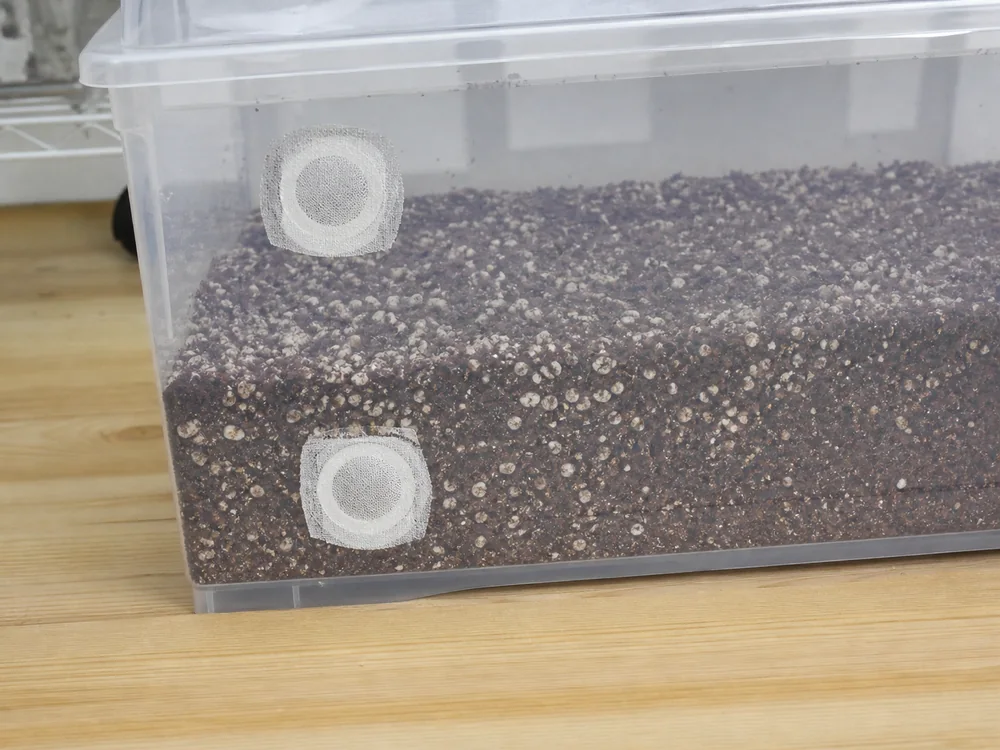
Filter patches, micropore tape, and loose polyfill control how easily air moves through each hole. Tight filters retain humidity but can leave the tub stale, while open holes breathe better and can dry the surface.
Key takeaway
Start with a conservative hole setup you can adjust. It is easier to loosen airflow than to rescue a dry, cracked surface after days of over-venting.
Hole placement also depends on the room. A dry bedroom, a humid basement, and a room with a fan nearby will make the same tote behave differently.
Do not copy another grower's tape pattern because the same hole layout behaves differently in a dry heated room and a humid basement.
How deep should the substrate be?
Substrate depth is a moisture buffer. A shallow layer dries before pins can hold, while an overly deep layer can stay warm, dense, and difficult to read at the center.
Most small home tubs work best with a level layer that leaves enough headroom for mushrooms and enough air space for the holes to matter. The exact depth depends on tote size, substrate, species, and spawn amount.

Do not fill a tub merely because the tote has empty space because extra depth increases heat and moisture retention without guaranteeing more mushrooms.
A level top also gives cleaner feedback. When one corner dries, one wall forms side pins, or one patch stays bare, you can see where the condition changed instead of guessing through hills and pockets.
How do you know the spawn is clean?
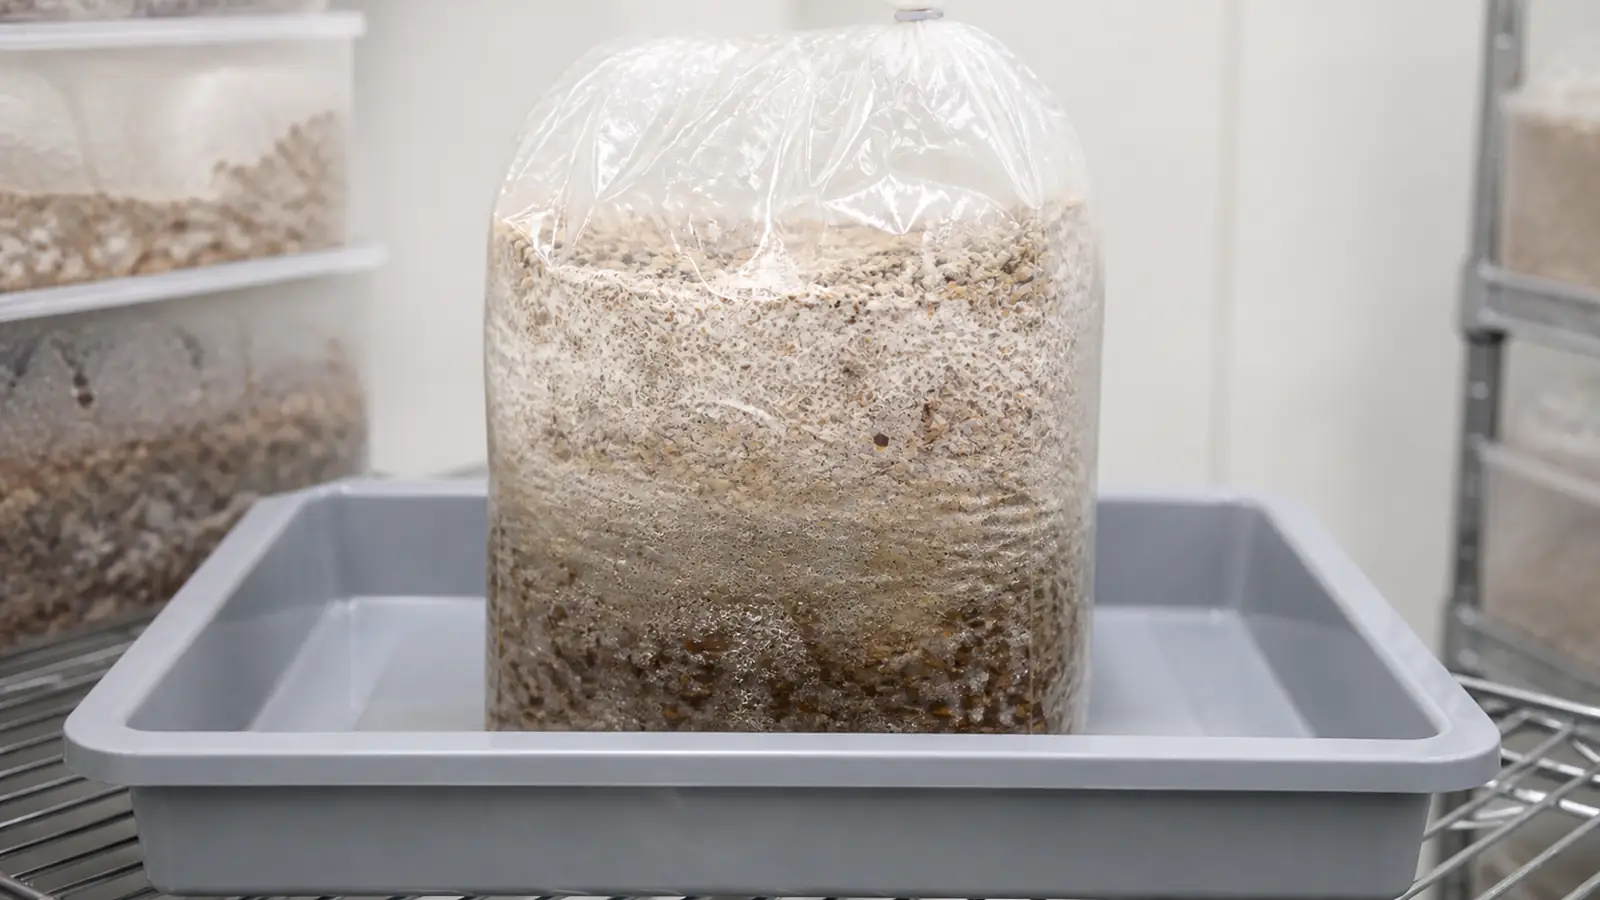
Clean spawn is the gate before a monotub begins. If grain smells sour, looks slimy, or shows green, black, pink, or fast gray growth, do not mix it into bulk substrate.
Healthy spawn should smell mild and mushroom-like, bind its grain or sawdust together, and show the expected mycelial color without wet bare patches.
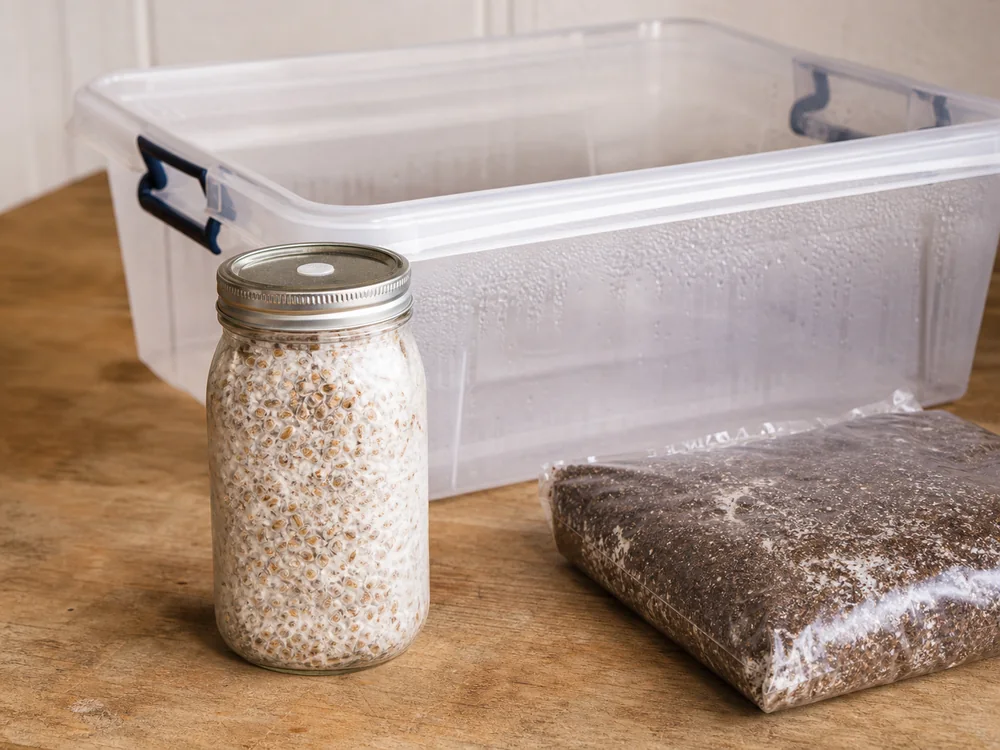
Dirty spawn spreads through the whole tub during mixing. Once that happens, discard the humid container as a contaminated food source instead of treating it as a repair project.
The mushroom grow contamination decision belongs before mixing, not after the lid goes on. Reject weak spawn early and the next tub starts cleaner.
How wet should bulk substrate be?
Bulk substrate should feel damp and springy rather than dripping, leaving only a few drops when squeezed firmly.
Too-wet substrate packs tight and creates low-oxygen pockets. Penn State Extension notes that wet, dense mushroom substrate with poor ventilation can favor microbial problems, which is exactly the failure a small tub hides until smell or slime appears.

Too-dry substrate has the opposite problem. It colonizes unevenly, loses surface beads quickly, and struggles to support pins once fresh air increases.
Learn the bulk substrate moisture test outside the monotub because the hand check is easier to correct before clean spawn is exposed.
Growing MushroomsHow Do Mushroom Sawdust Blocks Work from Mix to Fruit?Should you pack the substrate down?
Mix spawn and cooled substrate evenly so the mycelium can claim the food from many points. Large unmixed pockets slow colonization and leave open space for competitors.
After mixing, level the substrate with a light hand so the tote has an even surface without compressed zones that trap stale moisture and favor bacteria.
Substrate depth should fit the tote. A very shallow layer dries fast, while an overfilled tub leaves less air space and can trap heat.
Label the tub with the spawn date, substrate recipe, species, strain, and an identifying number that matches the grow notes.
How long does a monotub take to colonize?
Colonization is the quiet stage. The mycelium is spreading through food, closing gaps, and building the surface that will later form pins.
Colonization can slow in a cool room, with a low spawn ratio, or inside dense substrate. Cornell describes many inoculated mushroom blocks incubating for weeks before fruiting, so a calendar alone is not enough.
Do not open the lid every day because handling changes the air and adds contamination risk without making colonization faster.
Note
Look through the walls first. Open only when the tub needs a real action, such as harvest, disposal, or a careful condition change.
A ready surface is mostly colonized, firm-looking, and free of sour odor, slime, and colored mold. Bare wet patches are not a fruiting signal.
If the tub stalls, check the inputs before adjusting the fruiting setup. Cold rooms, old spawn, wet substrate, low spawn ratio, and dense packing all slow colonization before fresh air is even part of the problem.
When does a monotub start fruiting?
Fruiting starts when the colonized surface shows knots, pins, or a clear need for more air, following the surface's demand rather than a fixed calendar date.
Tiny beads of moisture are useful, while puddles signal excess water. A dry crust, matted surface, or cracked edge points to too much drying or rough handling.
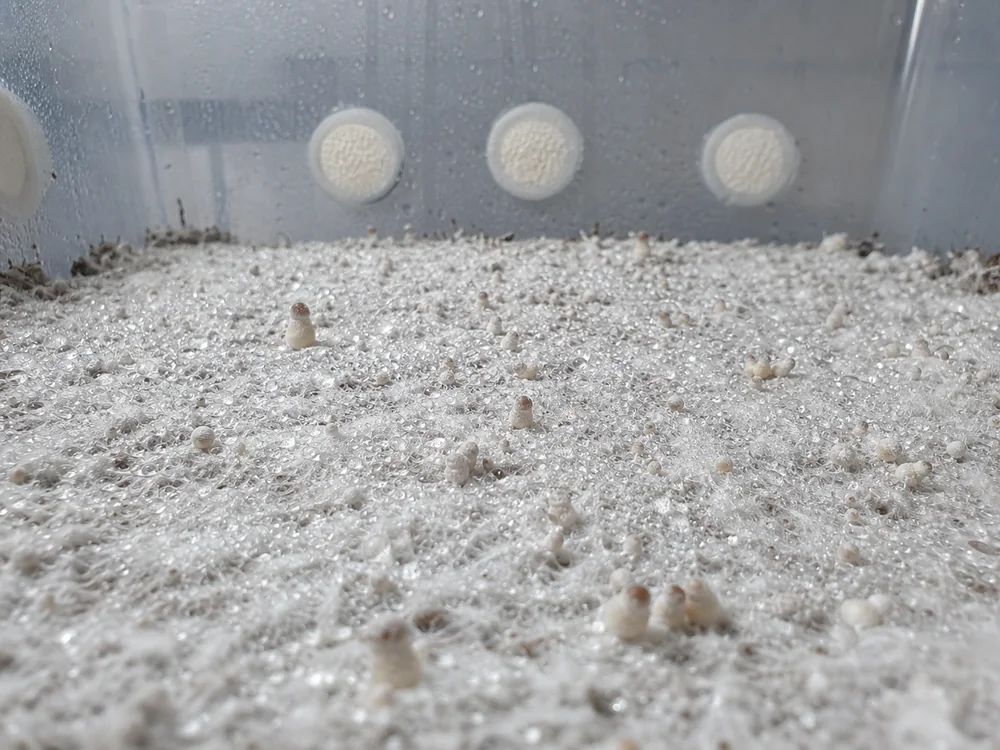
Fresh air should come from the tub design and the room, not from constant fanning. Repeated lid opening gives short bursts of air but also disrupts the humid boundary layer near the surface.
If the surface looks healthy but stems stretch and bases turn fuzzy, increase fresh-air exchange in one small step instead of removing every filter.
Where in the tub is the problem?
The fastest way to read a monotub is to ask where the problem lives. Fruit shape, surface moisture, and substrate smell point to different fixes.
Long stems, tiny caps, and fuzzy bases usually point toward stale air when the substrate still smells clean. Puddles, slime, sour odor, and green patches point away from airflow tuning and toward disposal.
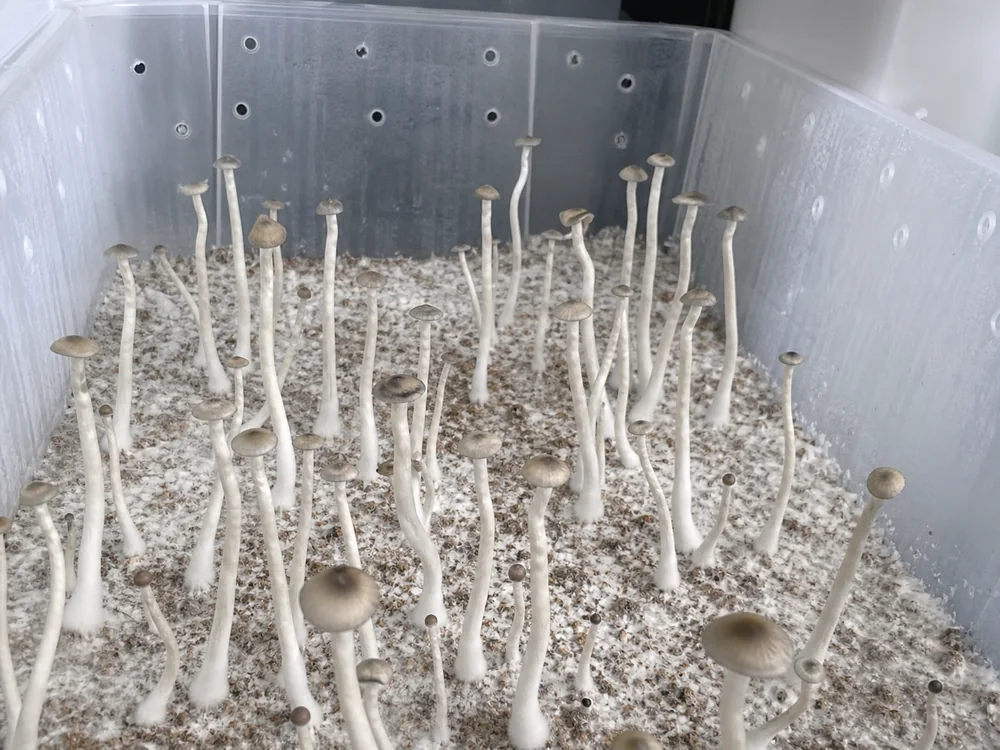
Reading the symptom is only half the job, because the response has to change one condition at a time.
Increase air exchange when stems stretch and caps stay small.
Reduce direct drying when the surface cracks or pins stall.
Remove a tub that smells sour or shows colored mold.
Mist until water pools on the surface.
Open a contaminated tub indoors for better photos.
Change holes, misting, temperature, and light all at once.
One change at a time produces a useful lesson, while four simultaneous adjustments leave no clear cause for improvement or decline.
A simple note should record the date, the single change, and the surface appearance on the following day. The tub teaches quickly when each response remains tied to one adjustment.
Growing MushroomsHow Do You Build an Outdoor Mushroom Bed That Lasts?What causes side pins?
Side pins form when the gap between tub wall and substrate has better humidity and air than the top surface. They are a signal, not a moral failure.
A liner can help because it clings to the substrate as it shrinks. That reduces the side gap where mushrooms like to form.
A liner cannot fix a top surface that is too dry, too wet, or too stale because mushrooms will still form wherever conditions feel better.
Keep liners clean, trimmed below the rim, and flat against the substrate. Do not let water collect between liner and block.
Side pins are also useful feedback for the next grow. If the side gap produced better mushrooms than the top, the next tub probably needs a better surface moisture balance, a cleaner liner fit, or gentler airflow over the top.
When should you harvest a monotub?
Harvest timing depends on the species, but overmature mushrooms create avoidable cleanup. Heavy spores, soft tissue, and torn stumps make later flushes harder to manage.
Cut or twist each cluster cleanly at the base and remove loose tissue before it can rot in the humid chamber.
After harvest, let the substrate rest. Rehydrate only if the block is light or dry, and follow the species and substrate rather than soaking by habit.
SARE oyster mushroom trial plans often track first and second flushes separately, which reflects a practical grower reality. Later flushes can be useful, but they are smaller and depend on the block staying clean.
Do not let one late mushroom hold the whole tub hostage. If most of the flush is ready, harvest the mature mushrooms and leave only firm small pins that still have a clean surface around them.
Can you reuse a monotub?
Remove a finished substrate from the grow area while it remains slightly damp because dried fragments become harder to clean from tote corners.
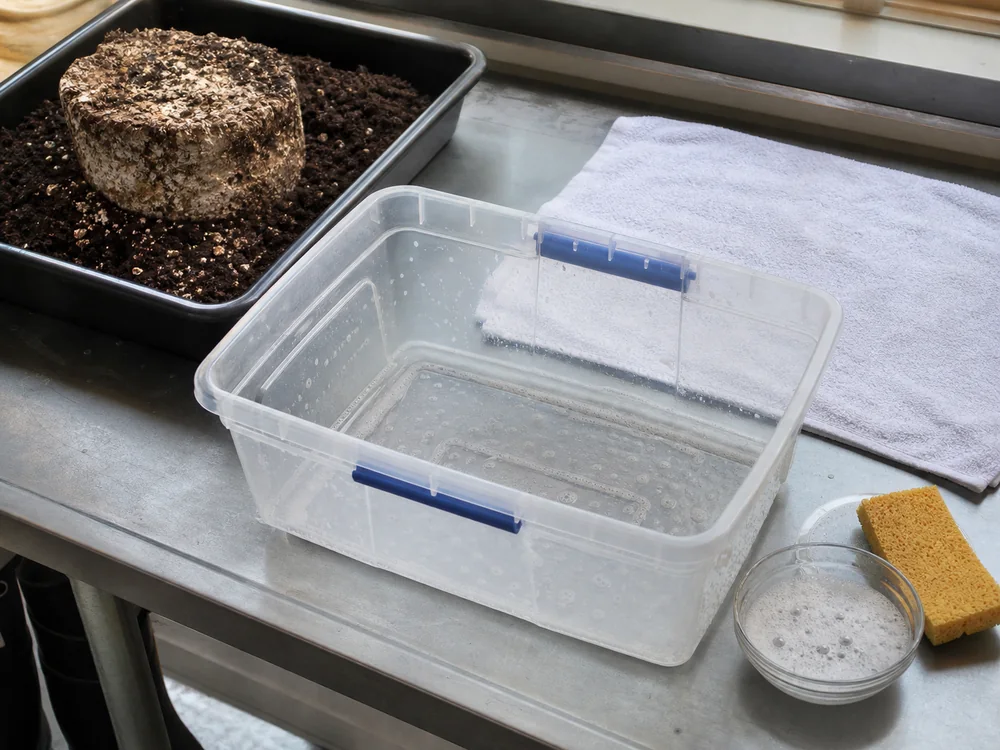
Wash the tote with soap and water, rinse it well, and let it dry completely. Store filters, tape, and liners away from soil, compost, pet bedding, and open trash.
Retire the grow early if the substrate smells sour, grows colored mold, or becomes slimy. A risky second flush is not worth contaminating shelves and tools.
Keep the empty tub out of active work until it is dry. Damp storage traps smells and makes old residue harder to separate from a new problem.
Which mushrooms may you legally grow this way?
Use this method only for legal edible mushroom projects where you live, even though the same plastic-tub hardware appears in other online contexts.
Oyster mushrooms are the clearest edible match for many beginners because they grow fast and show air problems quickly. Hardwood logs or sawdust blocks fit shiitake better than a generic tub plan.
A tub still follows the same fungal sequence as any other grow. Mycelium must claim the food before fruiting can succeed.
A small first tub is usually the best teacher. It limits loss, fits on a clean shelf, and forces you to notice the surface instead of relying on a large mass of substrate to cover weak technique.
Sources for monotub decisions
This framework applies controlled-environment cultivation principles from Cornell Small Farms indoor production, substrate and fruiting observations from SARE oyster mushroom cultivation work, and contamination-risk principles from Penn State Extension mushroom resources.
Use supplier strain notes for exact fruiting temperature, humidity, and harvest timing. The monotub method gives the chamber logic, but the species still decides the range.