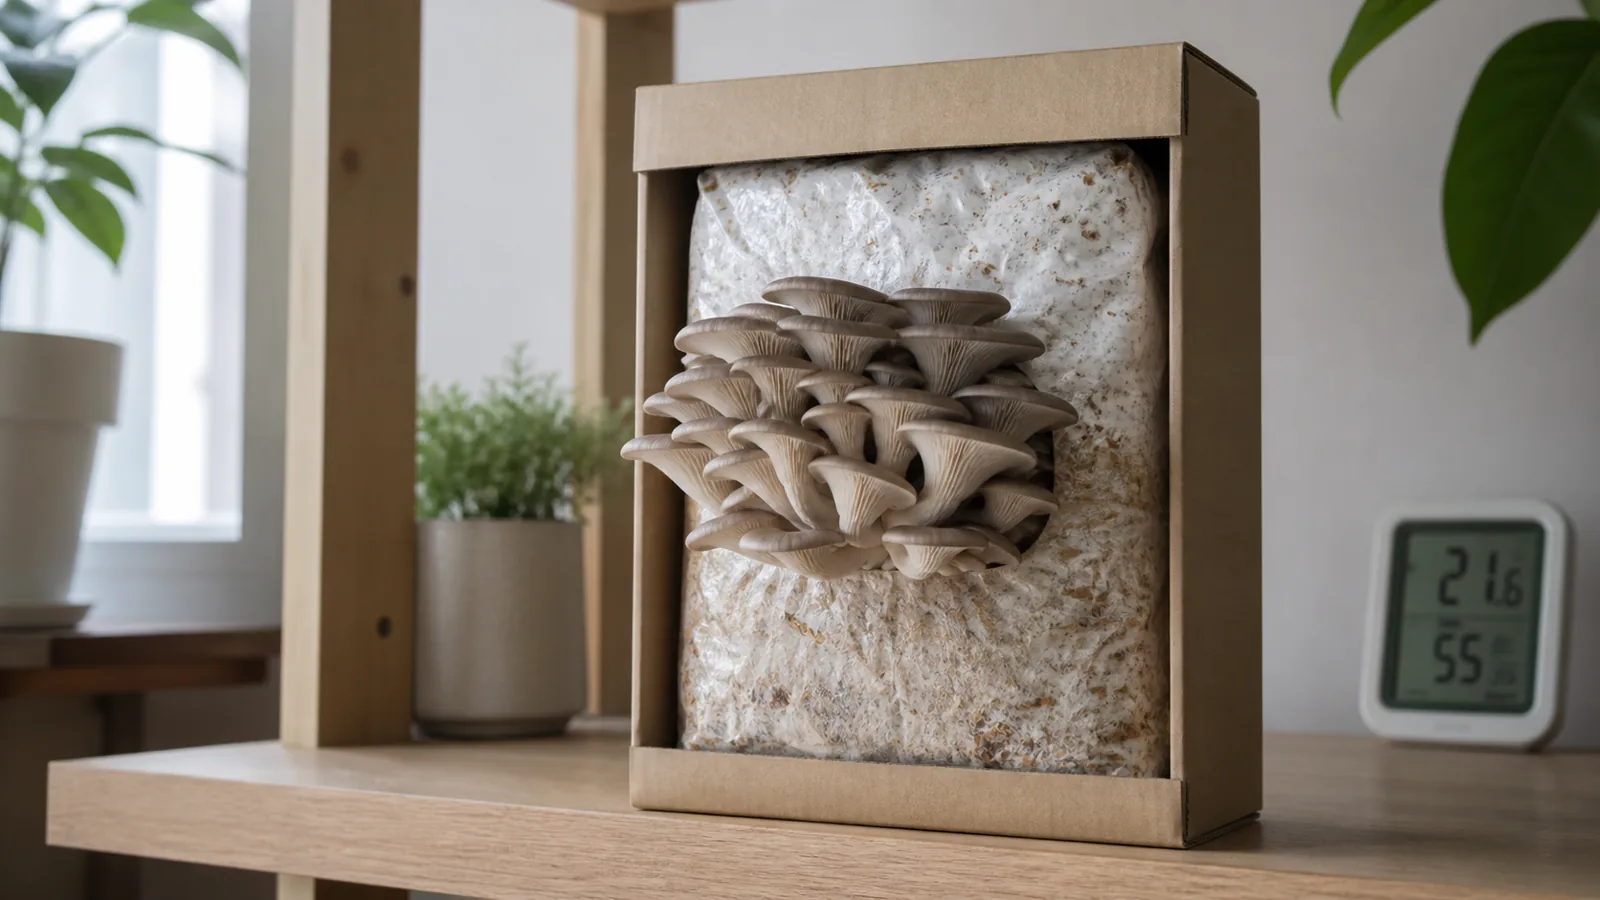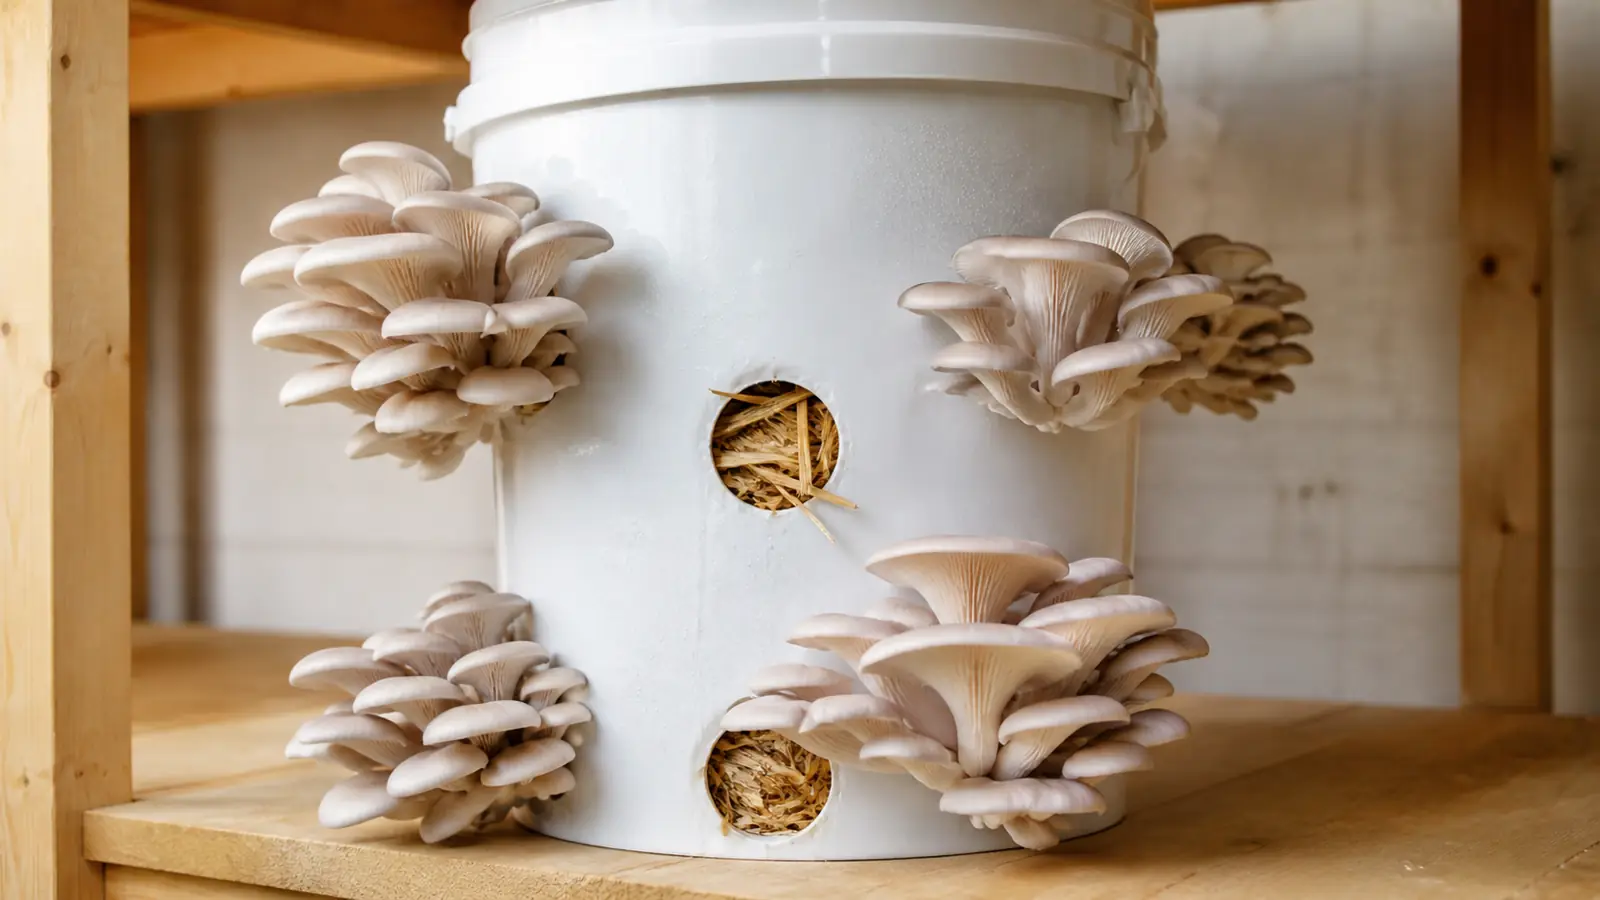
Aborted pins formed successfully but stopped developing. Photograph and map the flush before removing anything, protect healthy pins, then use the location and timing of failures to distinguish drying, direct water, heat, stale air, crop overload, and contamination.
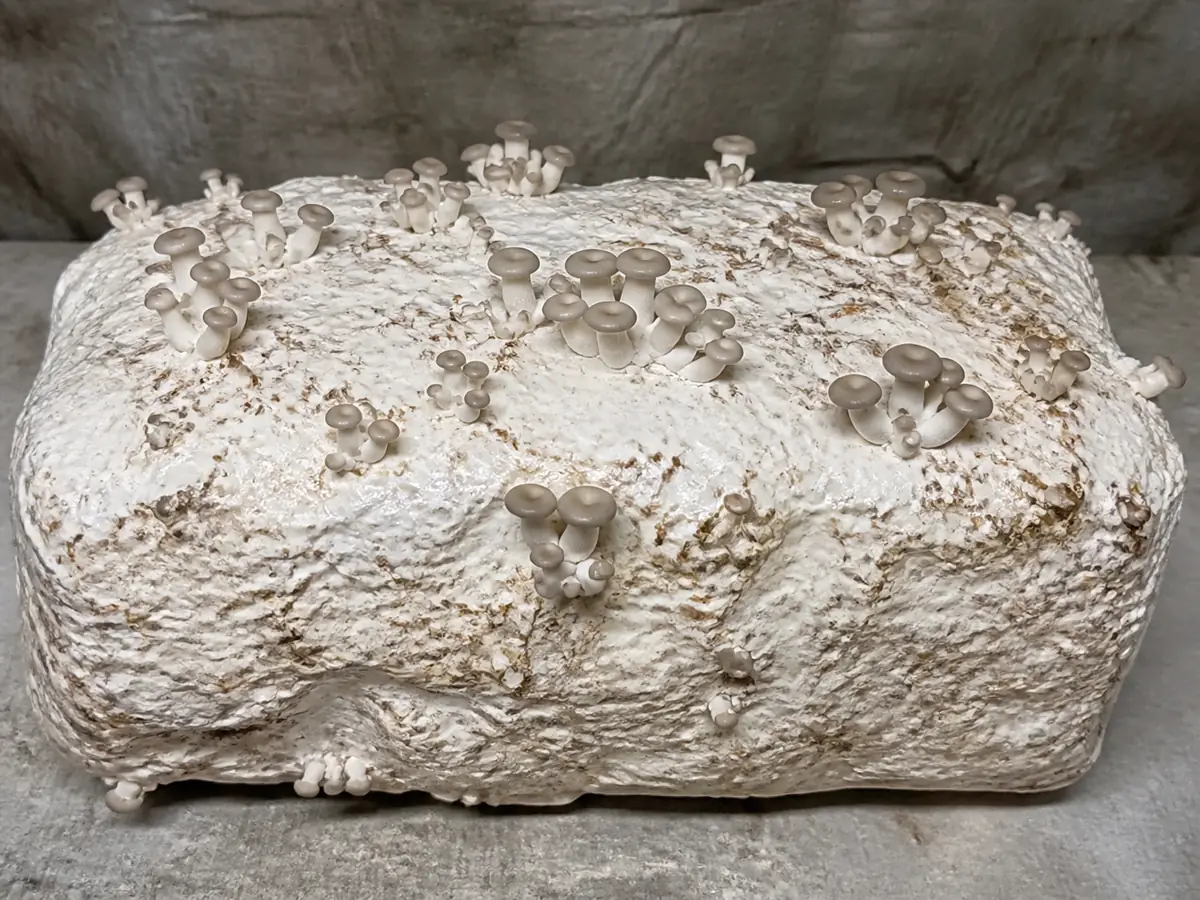
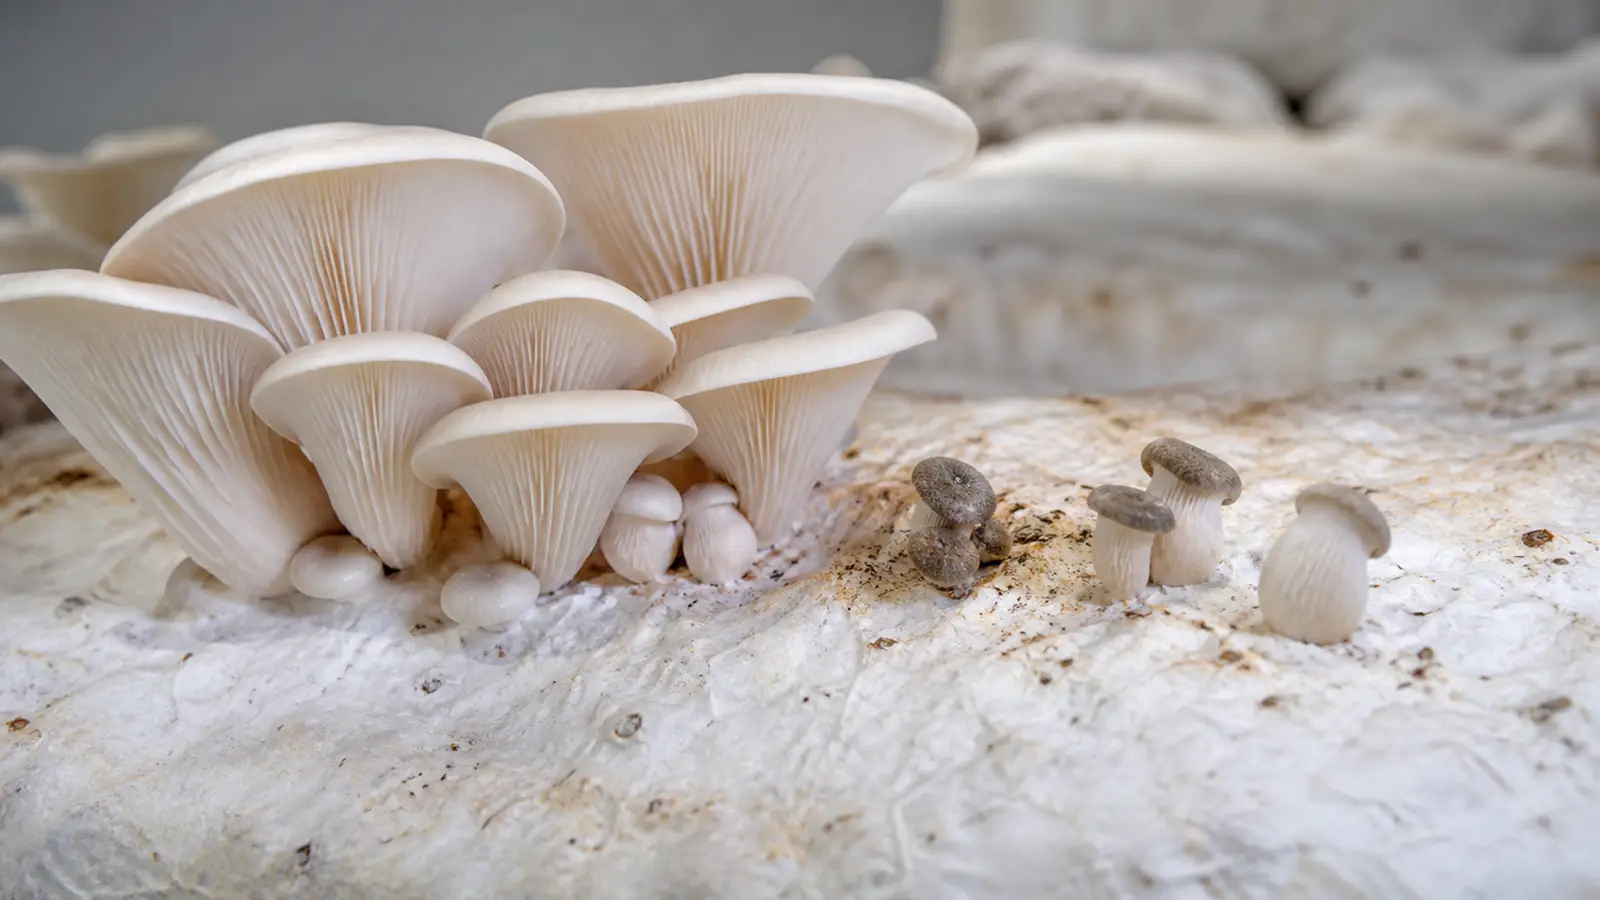
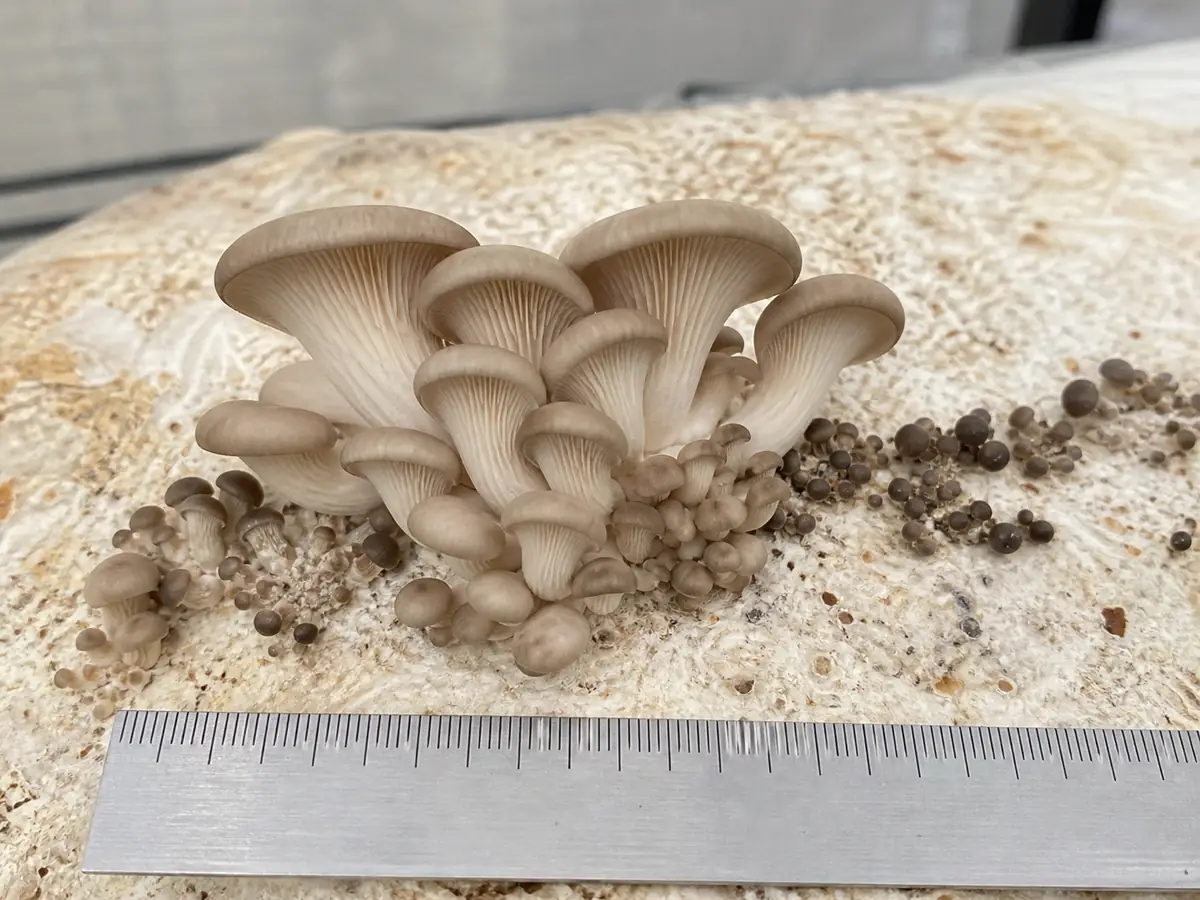
An aborted mushroom pin formed successfully and then stopped developing before harvest. Confirm stopped growth over time before changing the room, because young caps can be naturally dark and a healthy cluster often contains pins of different ages.
Photograph the entire fruiting surface before removing anything. The location of each failed pin, the condition of neighboring pins, and the hour or day when growth changed reveal more than one chamber humidity reading.
Have the pins actually stopped growing?
The pin has a defined early fruit-body shape and was visible in an earlier photograph.
Its size remains unchanged while comparable neighboring pins enlarge.
It darkens abnormally, wrinkles, dries, softens, collapses, or detaches.
It is merely smaller or younger than the leading cluster.
Its cap is dark but enlarges normally for that species or strain.
Penn State describes initials developing into primordia, pins, buttons, and rapidly expanding mushrooms.
A grow with no stable primordia has a no-fruiting problem, while a pin that crossed this sequence and stopped belongs to a later stage.
Place a ruler outside the container or use one fixed feature for scale. Compare photographs taken from the same angle over 24 to 48 hours, shortening the interval when the species normally develops quickly or the tissue appears to be decaying.
Compare the pins with supplier photographs of the same cultivated strain and stage. Pink, yellow, blue, gray, and brown oyster strains can begin with very different cap colors, while lion's mane begins as a compact pale mass rather than a conventional cap and stem.
A cap that becomes darker while doubling in size is still developing.
A pin that stays fixed, loses firmness, and separates from the growth pattern gives stronger evidence of abortion.
Do not squeeze a pin to test it. Handling bruises living tissue and can move bacteria between a dead pin and the healthy cluster that still has harvest value.
Where on the block are the pins aborting?
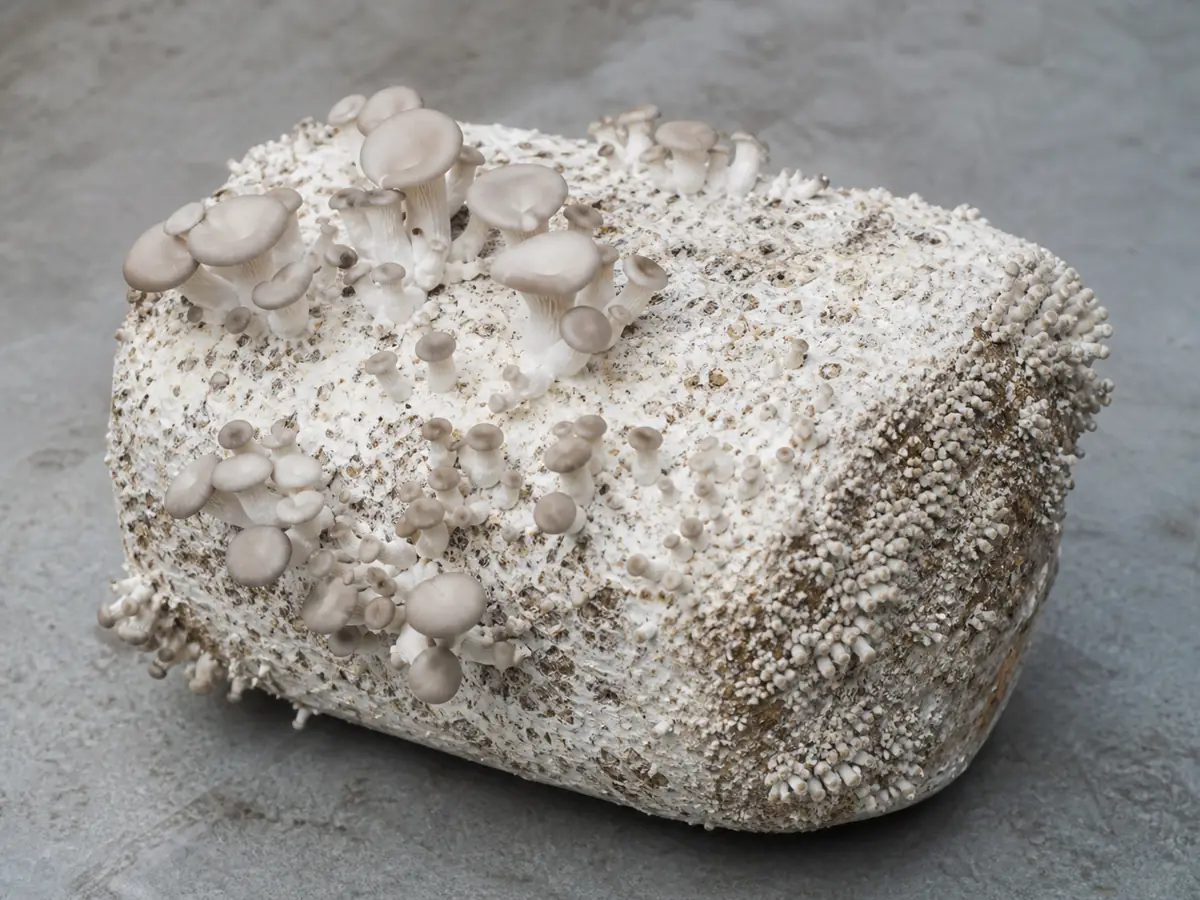
Draw the block or container as four zones and mark each abort. Use the fan-facing edge, sheltered edge, top, base, cluster center, and individual fruiting holes as meaningful locations rather than averaging them into one failure rate.
A few small pins can stop as the substrate directs resources into stronger neighbors. When healthy pins continue enlarging throughout the same zone, the block has not failed and aggressive intervention can cause more damage than the original loss.
Compare the map with equipment and recent actions.
A humidifier outlet, heater cycle, open door, direct fan, heavy misting, moved shelf, or power interruption can align with the exact side and time of the aborts.
How do you protect the pins still growing?
Healthy neighboring pins are the control group. Their continued expansion proves that the substrate still supplies water and nutrients somewhere, and their form shows which local environment already works.
| Keep stable | Why it protects the flush |
|---|---|
| Substrate position | Rotation changes light, air, temperature, and drainage at once |
| Healthy cluster surface | Touching and direct spraying injure delicate tissue |
| Supplier temperature range | Large swings add stress while pins expand rapidly |
| Gentle room exchange | Sudden fanning may dry the surviving edge |
| Observation angle and interval | Comparable photographs reveal whether correction works |
Do not strip every small pin, soak the block, or restart fruiting conditions from zero.
Preserve the working zone while you trace the failed one, then make the smallest local or room correction supported by the map.
If the whole crop softens, smells abnormal, heats unexpectedly, or develops slime or color, stop treating it as a local abort pattern. Isolate the culture because the substrate itself may be failing.
Inspect the block face behind the failed pins without tearing it open. Clean firm white growth supports a local fruiting problem, while a wet recessed cavity, spreading discoloration, insects, or tissue collapse points to substrate contamination.
Check nearby blocks from the same room and batch. Matching failures on the same shelf side support an environmental zone, while one affected block surrounded by normal crops supports a container, substrate, or culture-specific fault.

Did the pins simply dry out?
Pins contain little reserve water and expose a large surface relative to their size.
Cornell emphasizes high humidity during the first days after initiation because a dry boundary layer can stop these small structures before the substrate looks depleted.
Inspect the pin skin and the mycelium immediately around it. Wrinkling, a dull matte surface, crisp edges, surface cracking, and failures concentrated beside airflow support excessive evaporation.
Note
Raise humidity around the fruiting surface or remove a direct draft gradually. Do not correct a dry-looking edge by pouring water into the block or pointing a humidifier stream directly at the pins.
Sensor position matters.
A probe beside the humidifier can report saturated air while the fan-facing block surface remains dry, and a sensor at the exhaust can report low humidity while sheltered cluster centers stay wet.
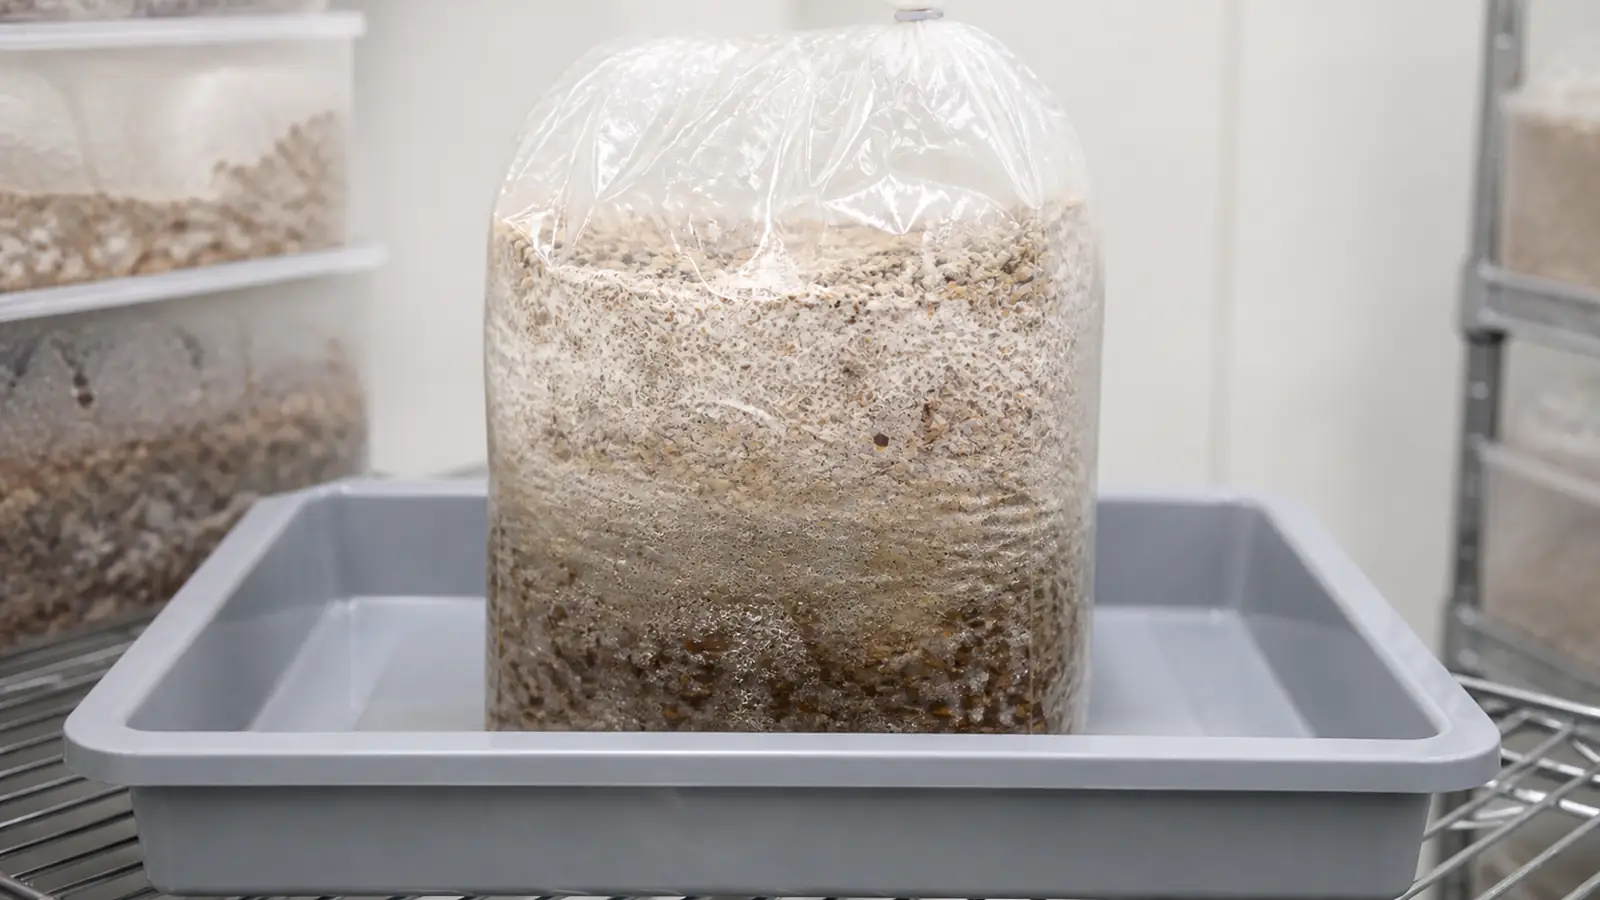
Check substrate weight and shrinkage when the method provides a known starting weight. A light block pulling away from its bag can lack stored water, while a heavy block with dry windward pins needs protection from air speed more than another internal soak.

Did misting kill the pins?
Humidity is water vapor in air, not large droplets striking young mushrooms. UC Extension warns that substantial watering before button stage can damage pins, and water trapped inside a dense cluster can also support bacterial decay.
- Impact
- Large spray droplets can bruise or saturate delicate primordia.
- Pooling
- Concave block surfaces and tight cluster centers hold water after the room air has dried.
- Runoff
- Water traveling down a bag can collect at lower fruiting sites and the container base.
- Condensation
- A cold surface can collect droplets even when the humidifier is not aimed at it.
Look for translucent tissue, soft bases, amber or cloudy droplets, slippery surfaces, and failures directly below a drip path.
Stop direct misting while preserving room humidity and improve drainage without blasting the crop with dry air.
Do not eat pins that softened, decayed, or sat in questionable water. Remove food crops from any area exposed to cleaning chemicals, dirty condensate, or an unknown contamination source.

Are long stems a sign of stale air?
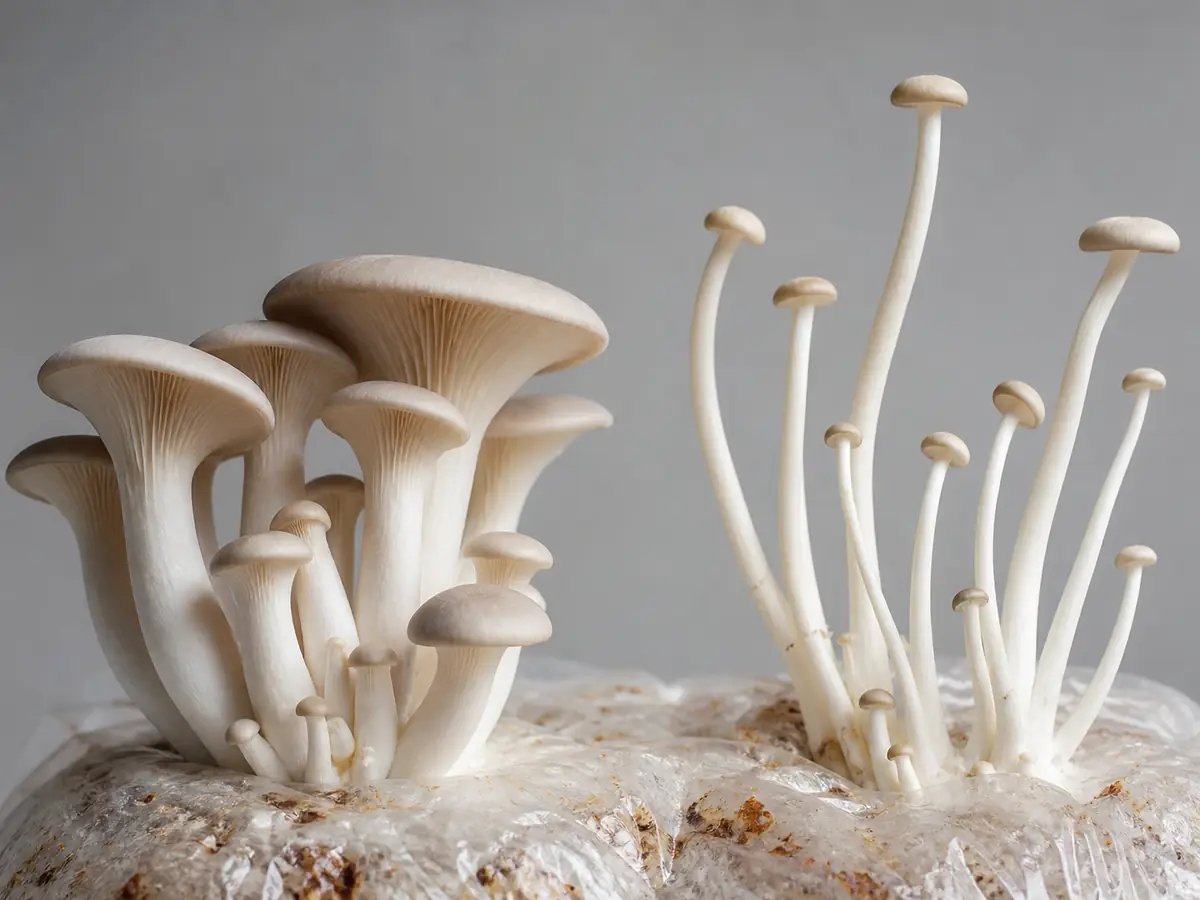
Pins that remain alive but stretch into long stems with undersized caps show a different problem from dry blackened aborts. Their shape supports excess carbon dioxide or inadequate room-air replacement, especially when the effect appears in sheltered corners.
Penn State connects pin and mushroom development with air movement, carbon dioxide, temperature, substrate moisture, and crop load.
Read morphology together with measured conditions because excess heat can speed weak growth and a direct fan can correct carbon dioxide while causing new drying.
- Increase room air replacement in small measured steps.
- Keep circulation indirect and check the former sheltered zone.
- Compare air and substrate core temperatures at the same time.
- Hold humidity at the fruiting surface while stale air leaves the room.
Uniform room circulation matters more than high air speed. The objective is to prevent stagnant pockets without turning the nearest cluster into an evaporation test.
Temperature shocks also leave a time signature. If pins across every zone stop after a heater failure or hot afternoon, return the room gradually to the strain range and protect living pins rather than applying another shock.
Did the block set more pins than it can carry?
Not every initial becomes a harvestable mushroom. Penn State notes that pin number influences eventual mushroom size, which means a dense set can be selectively reduced as available water, substrate resources, and surface space support the strongest fruit bodies.
This biological selection is most plausible when some pins stop but the remaining crop stays clean, evenly moist, well formed, and actively enlarging.
A simultaneous collapse, odor, slime, color, or heat is not normal selection.
Compare first and later flushes. A heavily productive first flush can leave less stored water and accessible nutrition, while an older block may form many initials but carry fewer to maturity.
Count the visible pin set from the first clear photograph and compare the share that continues to enlarge.
A few scattered losses inside an otherwise uniform expanding flush fit selective allocation better than a band of failures that follows a fan, drip line, hot shelf, or damaged surface.
Cap and stem proportions also matter during this comparison. Surviving mushrooms with normal species form support resource selection, while widespread thin stems, undersized caps, or dry margins show that the room still limits the crop.
Do not try to save every pin by increasing water and nutrients during fruiting. Adding supplements to an exposed block feeds competitors, and heavy rehydration can damage the living crop.
How do you remove dead pins?
Leave uncertain pins long enough to confirm stopped growth. Once a pin is clearly dead, soft, or decaying, remove it when you can do so without pulling or bruising healthy attached mushrooms.
- Clean hands and a narrow tool before and after the task.
- Lift one dead pin at its base without pulling healthy attached mushrooms.
- Keep removed tissue away from food containers and stop if removal reveals abnormal wet tissue.
- Work from healthy clusters toward the failed zone, then clean the tool again before returning to living tissue.
This direction reduces the chance that residue from a soft pin reaches an intact wound or neighboring fruiting opening.
Collect removed tissue in a small disposable container rather than dropping it into the chamber tray. A pin that continues to decay beside the block can attract flies and keep a local surface wet.
Warning
Isolate the entire culture instead of cleaning individual pins when decay spreads, odor changes, insects breed, or colored growth enters the substrate. Close handling cannot turn a contaminated crop back into safe food.
Trim confirmed edible mushrooms only after they are separated from the grow and inspect them for normal firmness and odor. Aborted or deteriorated pins are diagnostic waste, not a small bonus harvest.

Will the block fruit again after aborts?
After the surviving mushrooms reach harvest, remove residual stem tissue and let the clean substrate complete its method-specific recovery.
Correct the draft, pooling, heat, stale-air zone, or sensor placement before asking the same block to pin again.
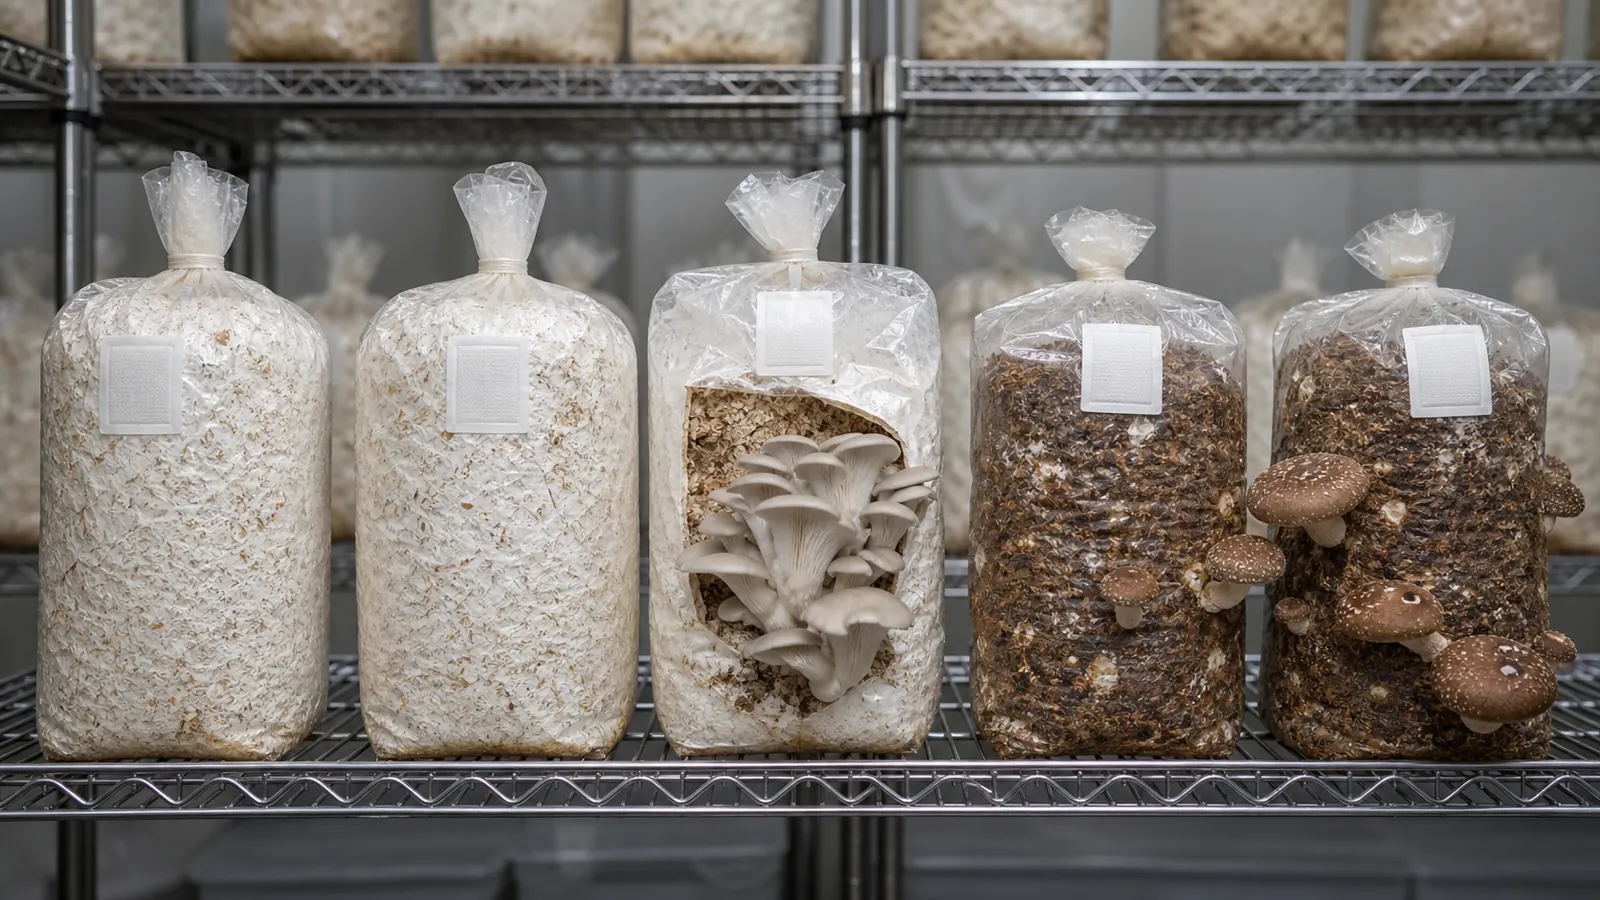
Rehydrate only as the species and container method directs. A shiitake block, oyster block, bucket, and cased tray do not share one soaking schedule, and an already heavy wet substrate should not receive more water.
Weighing a block before fruiting, after harvest, and after any approved rehydration gives the next flush a useful water record.
Weight cannot diagnose cleanliness, but it can prevent an already heavy block from receiving the same soak used for a light depleted one.
Rest the substrate away from direct fan flow while damaged surfaces recover. Resume fruiting only when all three recovery checks pass.
- Residual stem and dead pin tissue has been removed.
- Temperature is stable inside the strain's range.
- No new odor, slime, color, or insects appear.
- Continue
- The block smells clean, remains well colonized, shows no insects or spreading color, and recovered from harvest without wet collapse.
- Hold
- The block is clean but still heavy, warm, or visibly stressed, so it needs recovery rather than another trigger.
- Retire
- The substrate is sour, slimy, contaminated, insect-infested, structurally spent, or unable to support clean growth.
Record whether the next pin set improves in the exact zone that failed. A more even flush after one corrected condition validates the diagnosis, while repeated local failure points back to room geometry or container structure that still has not changed.