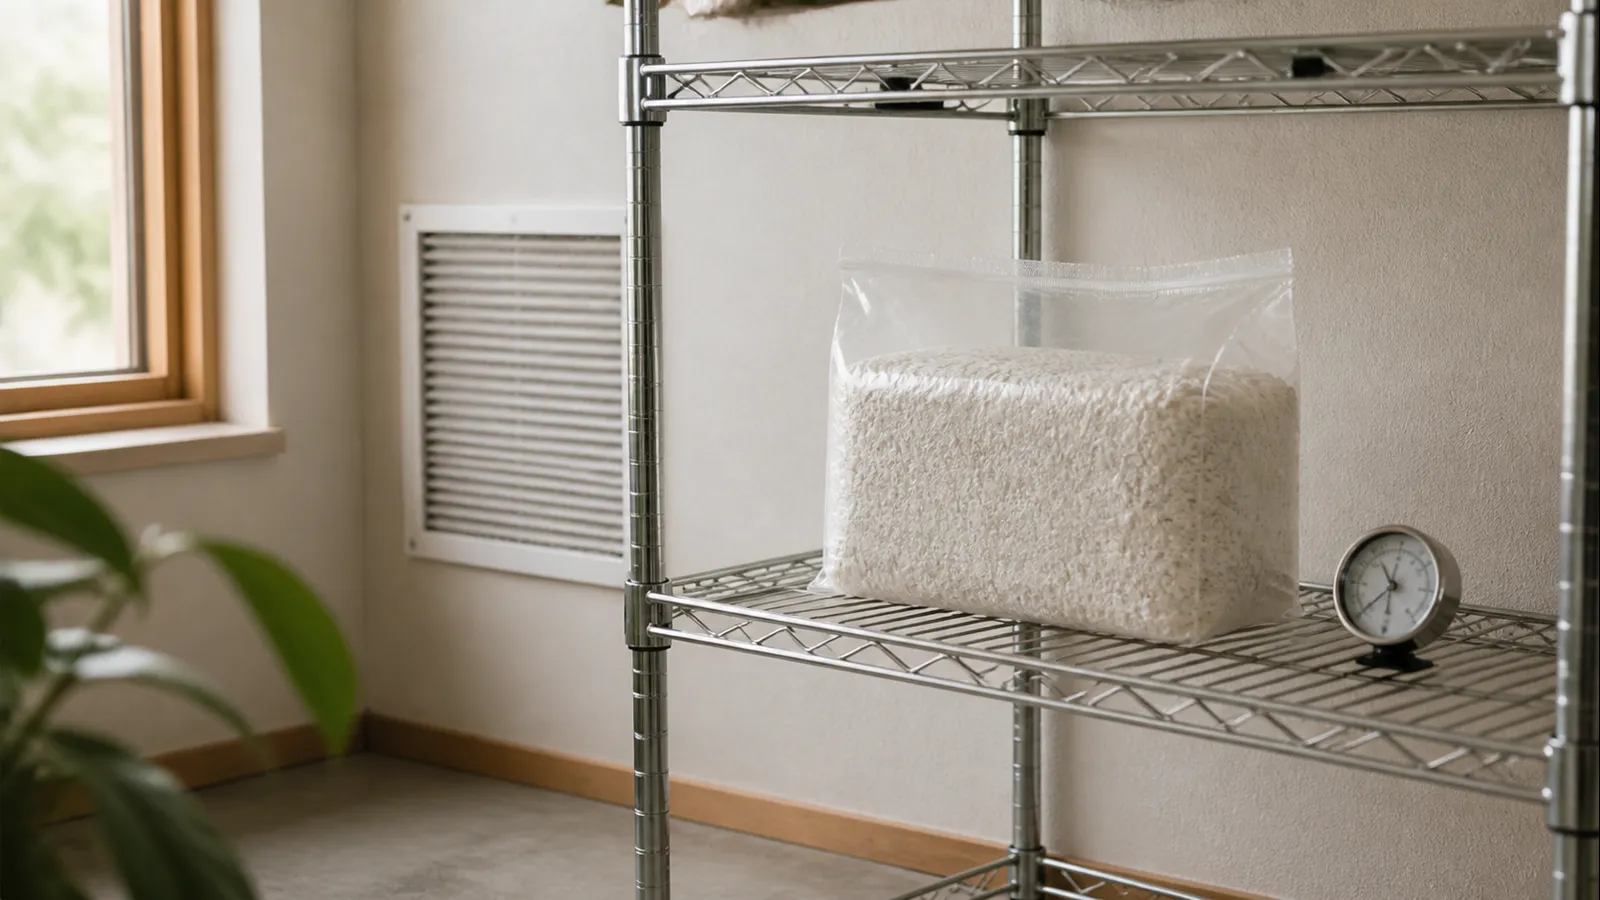
Oyster mushrooms are the easiest cultivated mushroom for most beginners because they colonize fast and fruit on cheap plant material.
Choose the first setup
Start with a ready-to-fruit block if you want the cleanest first harvest. Start with pasteurized straw and grain spawn if you want to learn the full grow cycle.
Both setups can work. The real choice is how much contamination risk and equipment you want to manage on the first attempt.
| Setup | Best for | Tradeoff |
|---|---|---|
| Ready-to-fruit block | First harvest with little equipment | Costs more per pound |
| Bucket with pasteurized straw | Learning the full cycle | Needs cleaner handling |
| Bag with hardwood pellets | Small indoor space | Needs careful hydration |
| Coffee grounds | Tiny experiments | Contaminates fast when stored too long |
Those setups suit different goals, so the choice is easier to state as a pair of recommendations.
- Easiest first harvest
- Use a ready-to-fruit oyster block from a named supplier.
- Best full-cycle lesson
- Load pasteurized, well-drained straw with clean grain spawn in a small bucket.
- Moisture check
- A hard squeeze releases a few drops rather than a stream.
- Fresh-air signal
- Long stems and tiny caps mean the fruiting chamber needs more exchange.
- Stop sign
- Sour odor, slime, or green, pink, or black growth sends the block out of the grow area.
If the goal is food, start with fast oyster mushrooms before slower wood lovers such as cultivated shiitake.
Pick a substrate that forgives mistakes
Oyster mushrooms grow fast on clean, damp plant material. Pasteurized straw is the classic beginner substrate because it holds air and gives mycelium room to run.
Hardwood pellets can work in bags when hydration is accurate. Coffee grounds are tempting, but they contaminate quickly unless they are fresh and handled cleanly.
- Chop straw into short pieces so the container packs evenly.
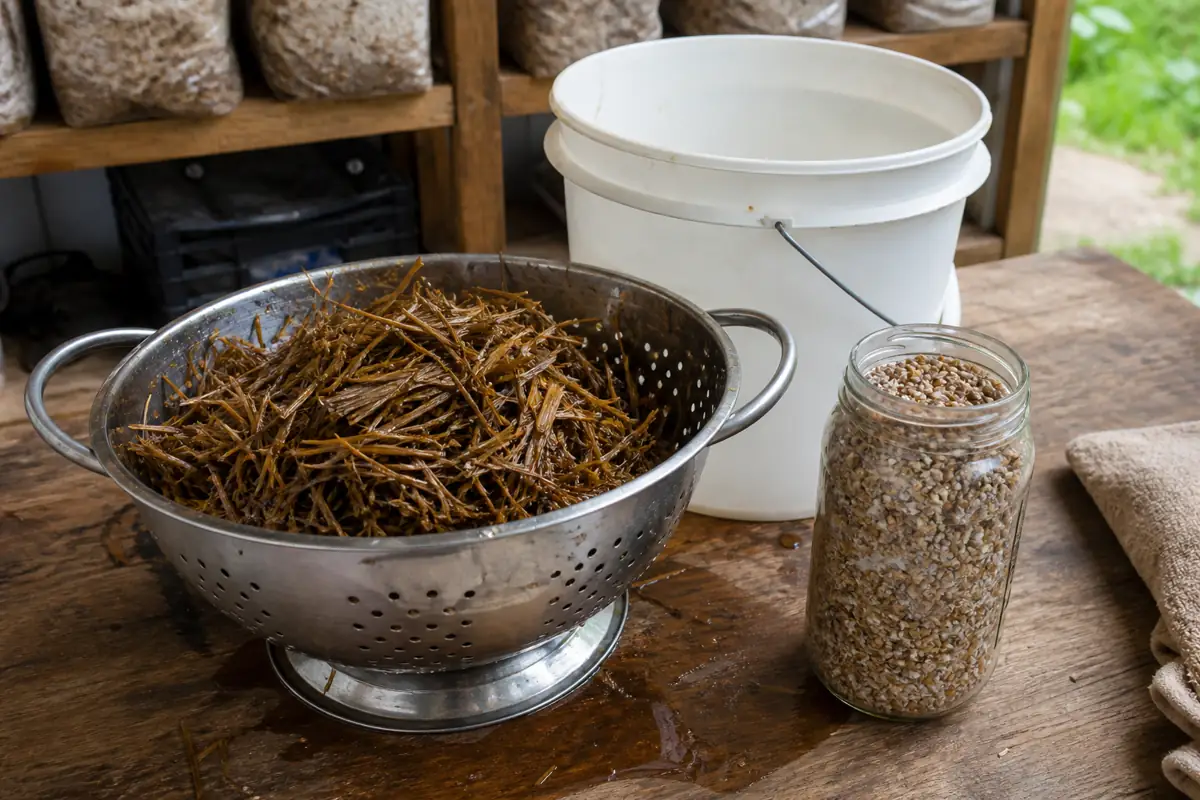
- Soak it in hot water around 65 to 80C for about an hour.
- Drain until it feels damp, not dripping.
- Let it cool before adding spawn.
- Pack loosely enough that air remains in the substrate.
Moisture decides the first outcome
Moisture decides whether oyster mycelium advances or bacteria take over. Cooled straw should feel damp and springy without pouring water when squeezed.
Wet substrate smells sour and creates slimy pockets, while dry substrate stalls before the mycelium can bind the straw.
Use the squeeze test before spawning because a few drops are acceptable and a stream means the substrate needs more drainage.
Load the bucket without wet pockets
Let pasteurized straw cool completely in a clean draining container before spawn comes near it. Warm straw creates condensation inside the bucket and can injure mycelium even when the outside feels safe to touch.
Break up clumps as you load the bucket so compressed knots do not hold more water than the surrounding straw. Loose, evenly damp pieces give oyster mycelium shorter paths between spawn points.
Mix spawn through the full depth instead of placing one thick layer at the top or bottom. Even distribution reduces the distance mycelium must cross before uncolonized straw becomes vulnerable to competitors.
Fill around the fruiting holes without packing the straw into a hard column because compressed straw loses air spaces and creates dense wet zones that colonize slowly.
Wipe straw from the rim before closing the lid and label the bucket with species, spawn date, and substrate batch. A clean seal and a matching record make later odor, timing, or contamination problems easier to trace.
Set the loaded bucket on a washable surface where drainage cannot reach clean supplies. Any liquid pooling under the bucket is evidence that the straw entered too wet or the container is leaking.
Rotate the closed bucket once and inspect every fruiting hole for tightly compressed straw or loose spawn spilling through. Correct those loading defects before colonization binds the contents and hides the original placement.
Record the loaded bucket weight, substrate batch, and room location after drainage stops because those details distinguish normal water loss from a leak, give the next bucket a repeatable baseline under the same conditions, and explain unusual drying or liquid between flushes.
Spawn rate buys speed
Use enough spawn for oyster mycelium to win quickly, with a common beginner target around one part grain spawn to five to ten parts prepared substrate by weight.
More spawn costs more but shortens the risky period before oyster mycelium controls the substrate.
Do not mix hot substrate with spawn because heat can kill the living mycelium. On larger batches, correct straw substrate moisture matters more than bucket shape.
Safety guideDangerous Mushroom Lookalikes That Cause Deadly MistakesClean work without a lab
Oyster mushrooms are forgiving, but forgiving does not mean dirty. Clean the bucket, wipe the work surface, wash your hands, and keep pets, fans, and open trash away while you mix.
Pasteurized straw does not require a lab. Supplemented sawdust raises the cleanliness bar because extra nutrition feeds competitors too.
A slower hardwood project such as growing shiitake changes both the timeline and the contamination controls.
Healthy colonization signs
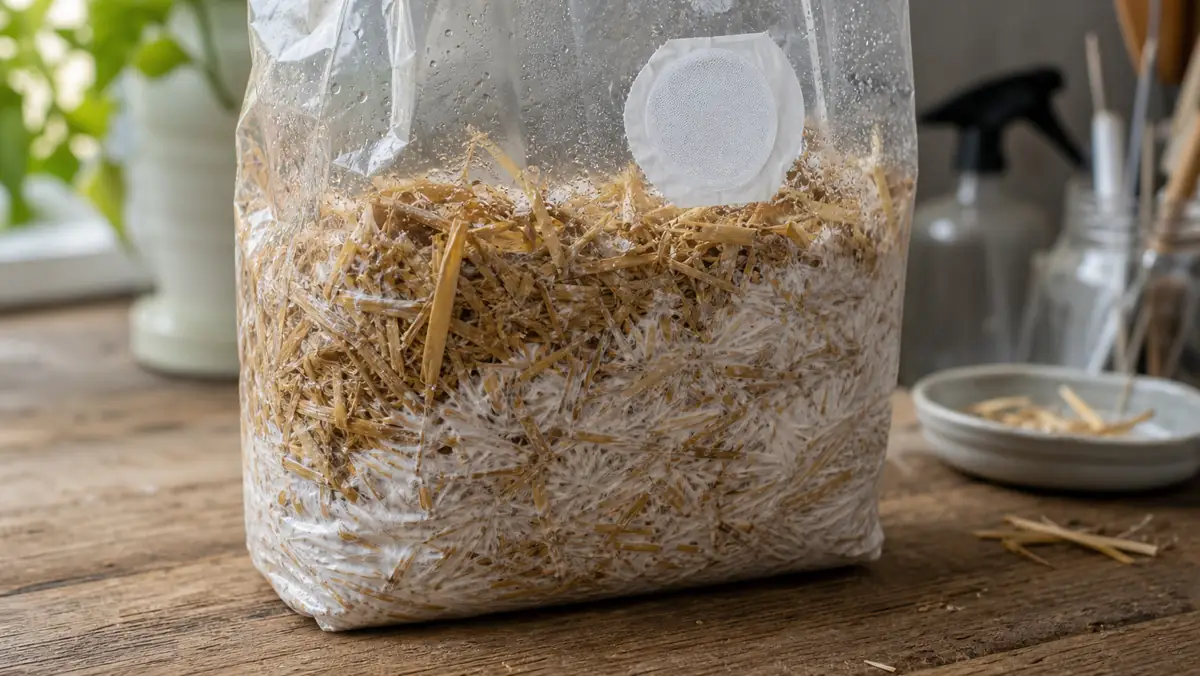
Healthy oyster mycelium turns the substrate white and smells mild, fresh, and mushroomy. It should spread outward in patches until the straw looks bound together.
Many home grows need about two to three weeks. Temperature, spawn rate, container size, and strain change the speed.
When to start fruiting
Move from colonization to fruiting when most substrate is white, stable, mild-smelling, and ready to respond to fresh air.
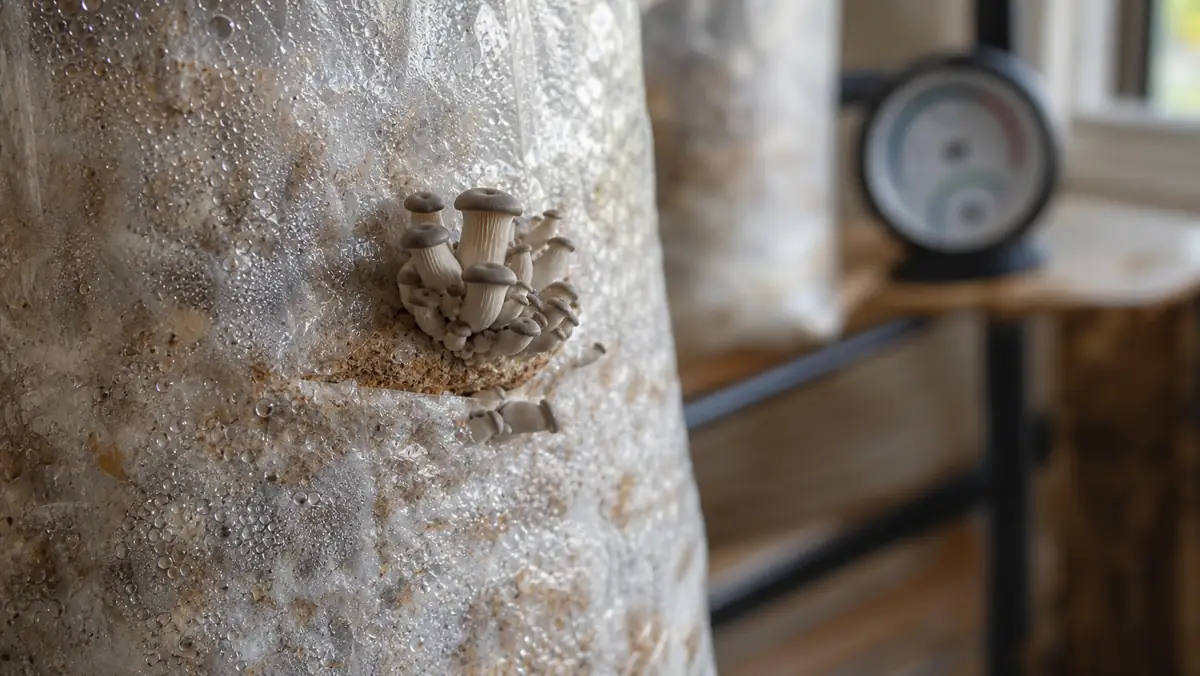
Too little fresh air produces long stems and tiny caps, while dry air cracks caps and stalls pins. A sealed wet chamber may look humid while still suffocating oyster clusters.
Fruiting conditions that matter
Colonization needs protection, while fruiting needs steady air exchange without losing surface humidity.
| Fruiting factor | Good sign | Bad sign |
|---|---|---|
| Fresh air | Broad caps and shorter stems | Long stems and tiny caps |
| Humidity | Pins keep expanding | Pins dry, darken, or abort |
| Light | Clusters form near openings | Growth is weak or directionless |
| Clean surface | White mycelium stays stable | Colored mold spreads |
Container choice controls air because a monotub, slit bag, and drilled bucket expose different amounts of substrate.
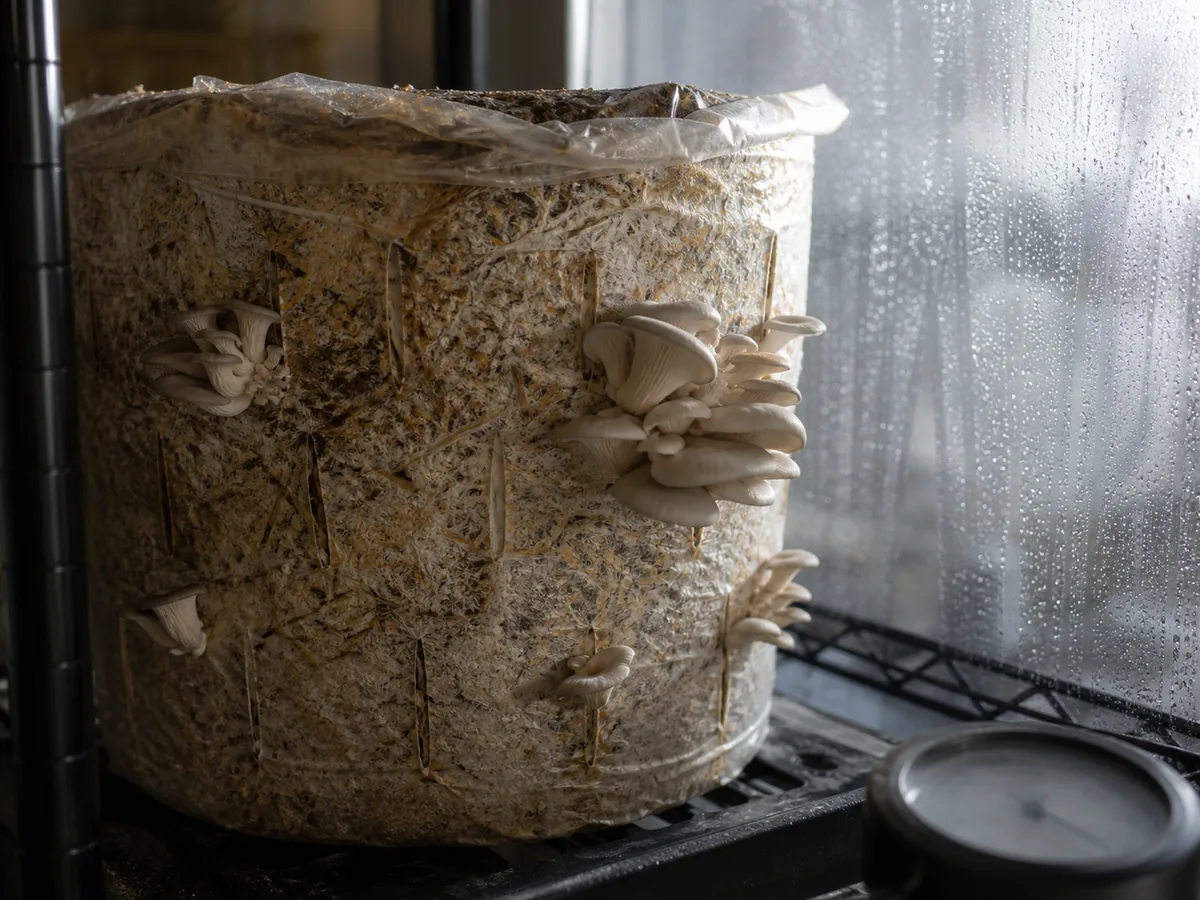
Short stems and open caps are the sign that the container is exchanging enough fresh air.
Note
Humidity is not a substitute for fresh air. Oysters can sit in a wet chamber and still grow long stems when carbon dioxide builds up.
Bucket grows make timing visible
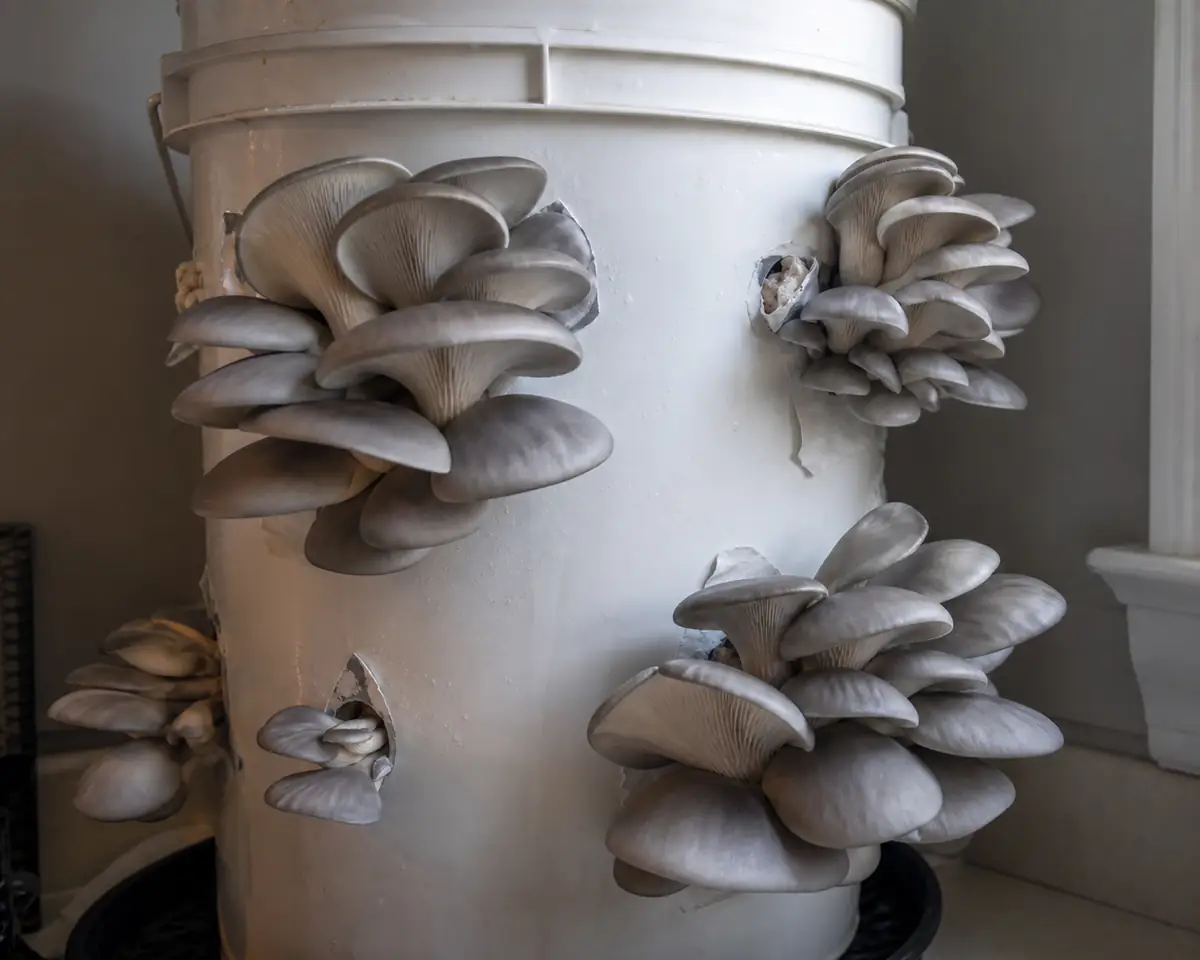
A bucket makes the oyster life cycle easy to read. Pins form at holes, clusters push outward, and harvest timing is visible without opening a bag every day.
Once clusters form, open the fruiting path and mist the nearby air without soaking the mushrooms. Useful humidity stays steady rather than swampy.
Harvest before the caps curl
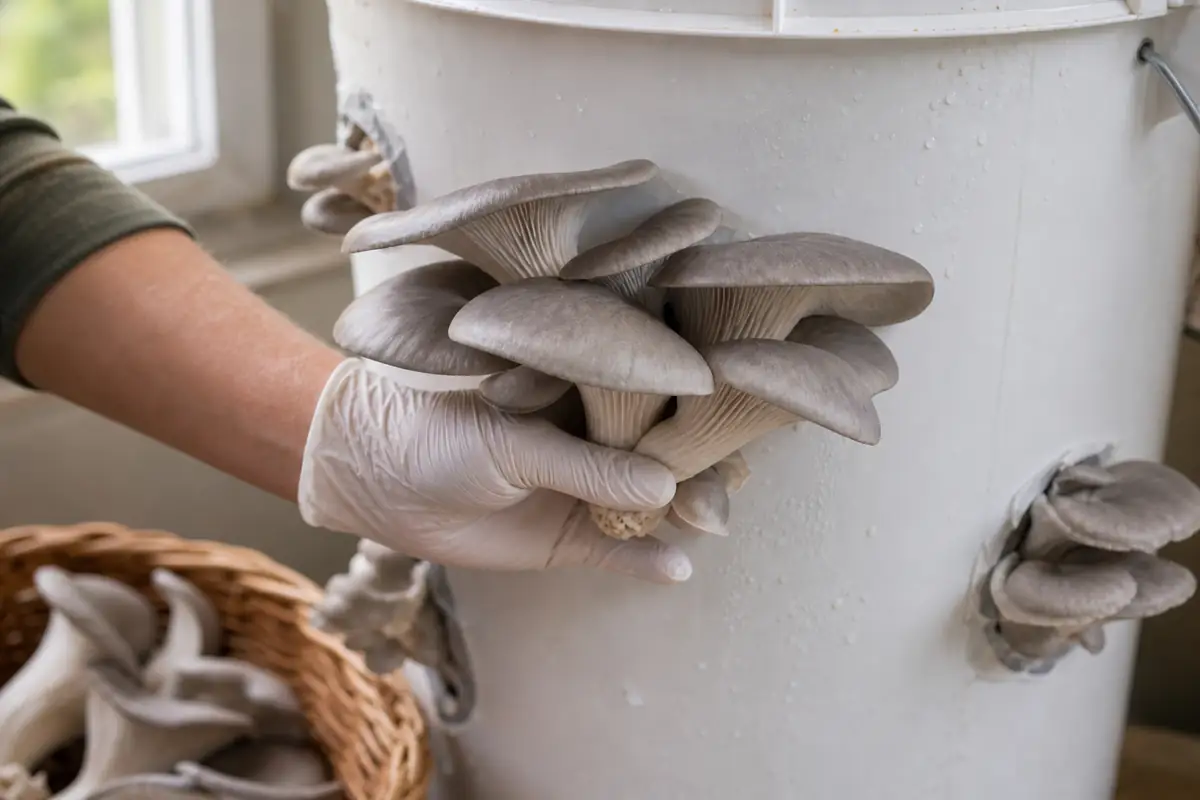
Harvest when the cap edges flatten but before they curl hard upward. Twist or cut the whole cluster at the base so torn pieces do not rot on the block.
Late harvests drop more spores and lose tenderness, so harvest before strongly upturned cap edges make the room messier.
First-grow problem map
Most first-grow failures come from moisture and air rather than complicated equipment. Wet substrate invites bacteria, dry air stalls pins, and stale air stretches stems under tiny caps.
| Symptom | Likely cause | Better next move |
|---|---|---|
| Sour smell | Bacterial contamination or substrate too wet | Start over with better drainage |
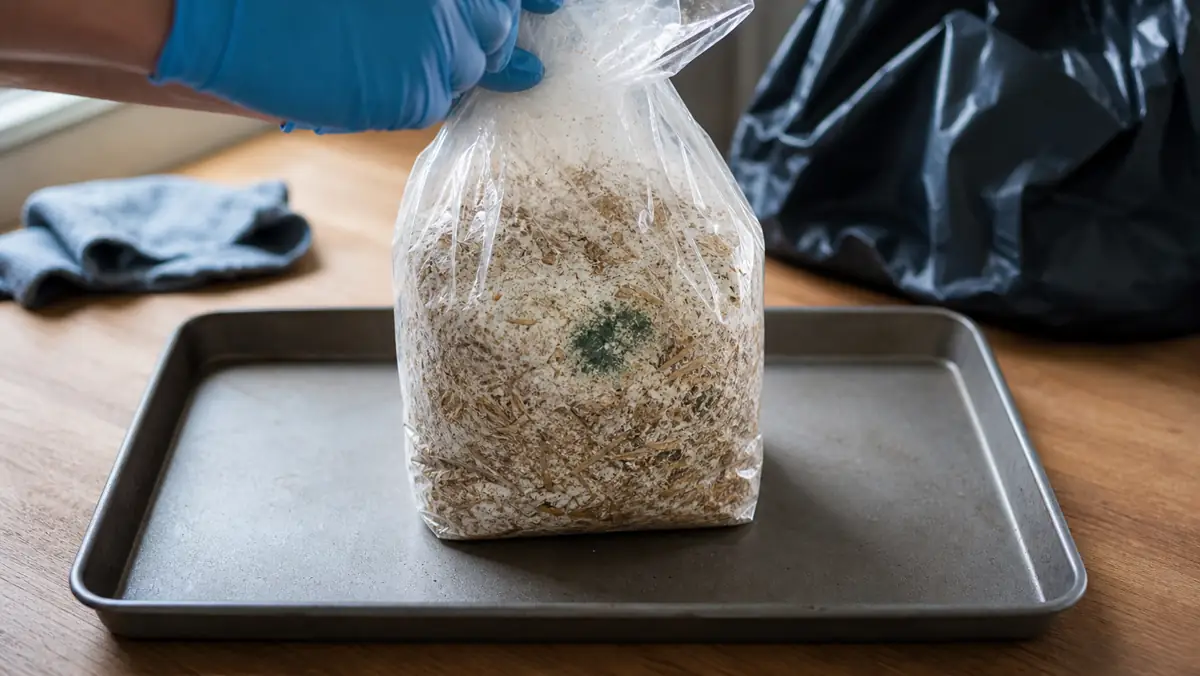
| Green patch | Mold won that spot | Seal and remove the grow |
| Long stems | Not enough fresh air | Increase room exchange and open fruiting holes |
| Cracked caps | Air too dry | Mist the air near the block more often |
| Pins aborting | Dry surface or sudden temperature swing | Stabilize humidity and keep light indirect |
When a grow turns green, pink, black, or sour, treat it as growing contamination rather than a mystery. Salvaging food from a bad block is not worth the indoor mess.
Flushes and realistic yield
A healthy oyster block usually produces multiple flushes, with the first often largest because the substrate still holds the most water and nutrition.
Yield changes with substrate weight, strain, moisture, and handling. A kitchen kit may supply several meals, while a straw bucket can produce several clusters across multiple flushes.
Do not judge success only by pounds. A first grow teaches the smell of healthy mycelium, the timing of pins, and the look of a cluster that is ready to pick.
Spawn beats spores for beginners
Beginners should use grain spawn or a ready-to-fruit block because spores add culture work before the food grow even begins.
Liquid culture can work, but it still needs clean technique and a suitable grain path. Grain spawn is easier to see, easier to mix, and easier to judge when healthy.
Do not use wild oysters as spawn for a beginner food grow because cloning, cleaning, and verifying a wild culture require a confirmed species, sterile technique, and culture skills beyond growing dinner from known spawn.
Put the grow where you can read it
Choose a site with indirect light, easy cleanup, and fresh air. A clean basement corner can work, while a kitchen kit must stay away from trash, fruit bowls, and splashing dishwater.
Oyster mushrooms can release a heavy spore load when left too long. Harvest before caps curl hard upward, and avoid large fruiting blocks in bedrooms or small closed rooms.
A first oyster bucket also helps you choose whether the next project should be easy home mushrooms, shiitake, lion's mane, or another kit.
If the harvest came from a kit or controlled block, the cooking question is simpler than wild identification. The mushroom edibility ladder still matters when someone mixes in wild finds.
Cook and store the harvest
Oyster mushrooms keep best when they are dry, cool, and unwashed. Store them in a paper bag in the refrigerator, then cook them within a few days.
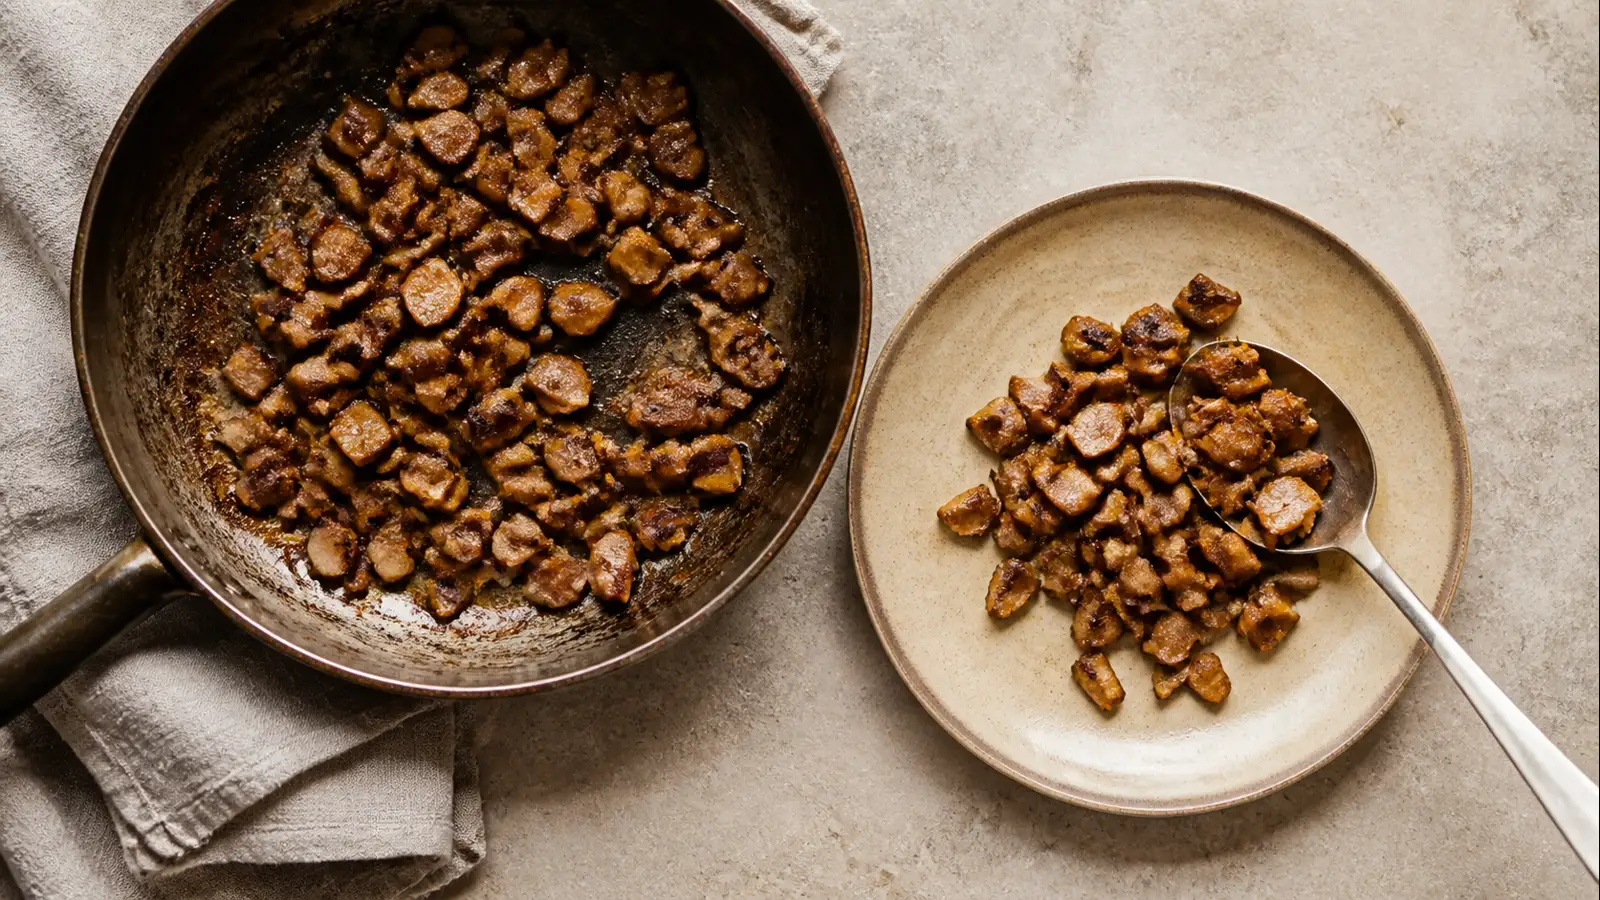
Fresh oyster mushrooms release water quickly in the pan. Give the harvest medium-high heat and open space, then wait for browned edges before adding much salt or sauce.
The mild, quick-softening texture explains why oyster mushrooms cook differently from shiitake.
Timeline by growth stage
A small oyster grow can move quickly, but spawn rate, temperature, and substrate size still control the clock. Kits may pin soon after opening, while straw buckets need a complete colonization stage first.
A practical beginner timeline is simple. Prepare and spawn the substrate, wait for steady white colonization, introduce fresh air and light, then harvest when caps flatten.
| Stage | Typical beginner window | What changes the timing |
|---|---|---|
| Substrate prep | Same day | Batch size and drain time |
| Colonization | About 2 to 3 weeks | Spawn rate, temperature, and container size |
| Pinning | A few days after fruiting conditions improve | Humidity, fresh air, and light |
| First flush | Often within a week after pins form | Strain, moisture, and air exchange |
| Rest between flushes | Several days to 2 weeks | Remaining moisture and block health |
Do not chase the calendar when smell, color, pin formation, or surface condition says the block is at a different stage.
Safety guideForaging Safety Rules That Keep Wild Mushrooms Off Your PlateTemperature should stay boring
Oyster mushrooms tolerate a broad temperature range but still react to change. Warm rooms often speed colonization, while cooler rooms delay both the block and its pins.
The best beginner move is stability. Avoid hot windows, cold floors, heater blasts, and rooms that swing hard between day and night.
If a block smells clean and continues turning white, patience is usually safer than opening it repeatedly.
Fresh air without drying pins
Fresh air solves long stems, but too much dry air can stall pins. The goal is exchange without drying the cluster surface.
A fan pointed into the fruiting chamber is usually too harsh. Use room air movement, open fruiting holes, and indirect misting to protect a small home grow.
Read the fruit bodies before changing the chamber. Long stems with tiny caps need more air, while cracked caps and dark aborted pins need steadier humidity.
Soak only clean, dry blocks
A clean but lightweight block may need water before another flush, while a sour or discolored block needs removal rather than soaking.
For a clean bucket, a short rehydration can help if the substrate feels light and dry after harvest. Drain it well before fruiting again because standing water invites bacteria.
Later flushes are normally smaller because the substrate has spent water and nutrition. The goal is clean food rather than forcing every gram from exhausted straw.
Repeat only the clean pattern
Repeat the method only when the first harvest stayed clean, smelled mild, and produced normal oyster clusters.
Do not change substrate, container, temperature, and fruiting method all at once. If the second grow fails, you will not know which change caused it.
A first grow is successful when you learn the healthy smell, the contamination smell, and the harvest window. The mushrooms are the reward, but the pattern recognition is the skill.
Change one variable next time
After the first clean harvest, change one variable at a time. Correct humidity after drying, increase fresh air after long stems, or fix drainage after sour substrate.
Beginners who change substrate, container, temperature, and fruiting method together cannot tell which change helped.
Keep a short grow log with substrate weight, spawn amount, room temperature, colonization time, first pin, harvest date, and the first problem observed. That record turns the next grow into a controlled adjustment rather than a guess.
Sources behind the grow advice
The beginner sequence here lines up with oyster production guidance from Cornell Small Farms and substrate sanitation advice from Penn State Extension. Both sources separate colonization, fruiting, moisture control, and contamination management.
Use those references for the process, then choose a project size that your room can keep stable and clean.
When the block is finished
A block is finished when flushes become tiny, the substrate feels spent, or the odor changes. Compost clean tired blocks, but seal and remove sour, green, black, or slimy ones.
Do not keep a weak block in the fruiting area merely for one possible cluster because it can expose the next clean grow.
Stopping at the right time protects the next grow. Skilled growers let a block finish its job instead of trying to rescue every exhausted substrate.