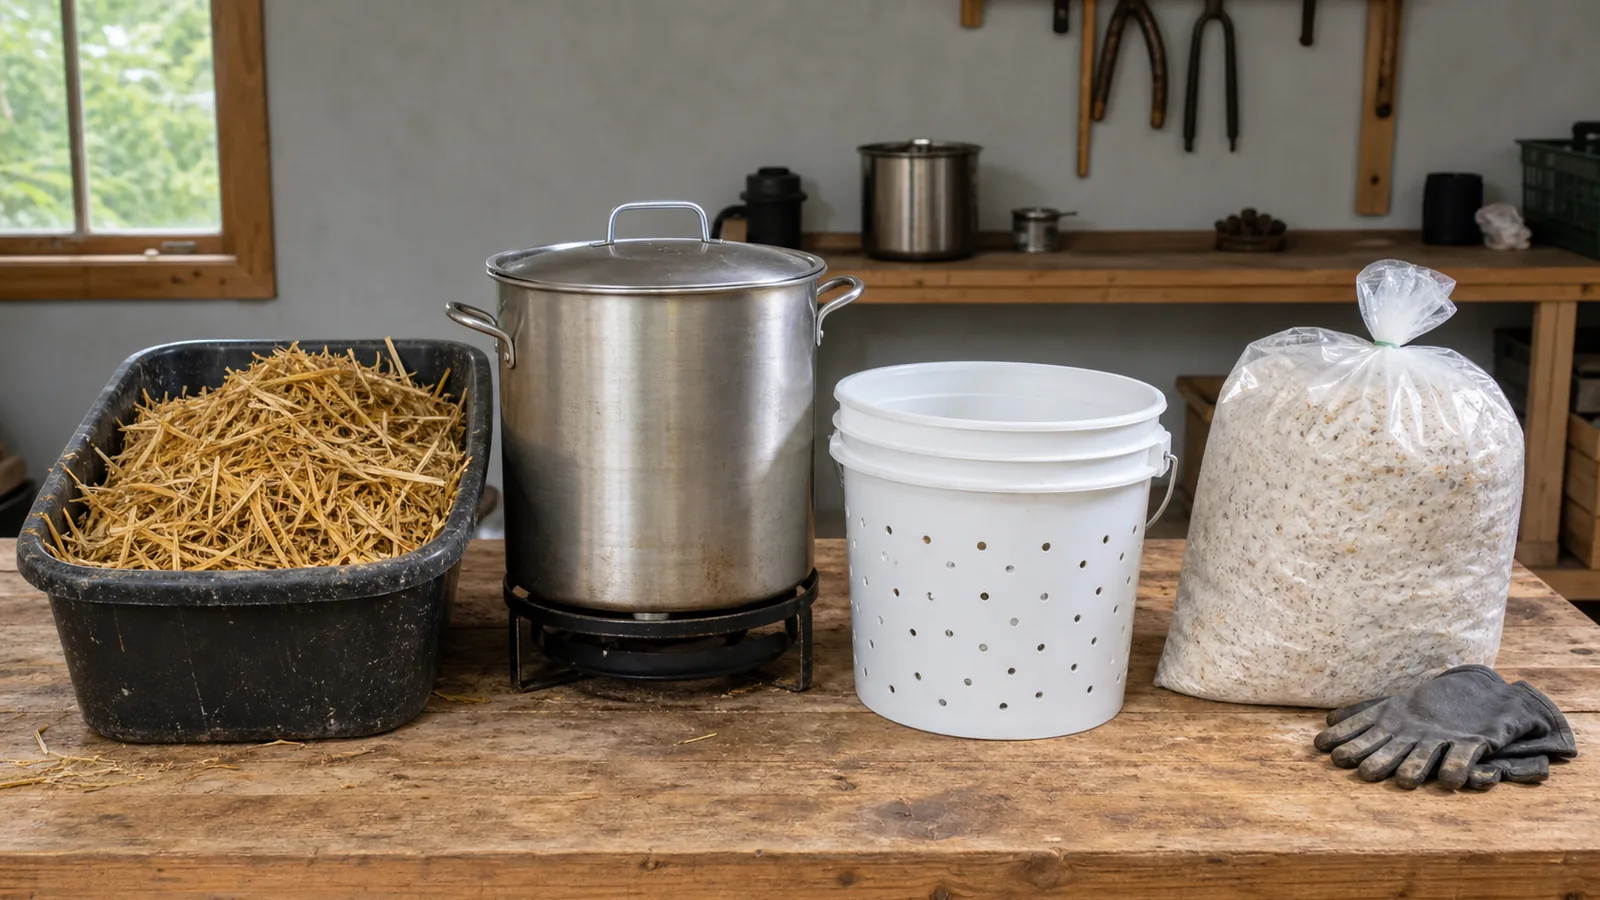
Straw substrate works best for oyster mushrooms because it is cheap, airy, and easy to pasteurize. The core rule is simple: pasteurize straw, drain to field capacity, then inoculate it cleanly before it cools into a contamination problem.
Straw works because oyster mushrooms move fast
Straw is a beginner-friendly mushroom substrate because it is cheap, widely available, and loose enough for air to move through, but it suits fast oyster mushrooms better than slower specialty species.
Oyster mushroom mycelium can colonize pasteurized straw quickly, which gives it a chance to claim the food before many competing molds and bacteria. Slower wood-loving fungi need denser food and cleaner preparation.
Use straw for a low-cost oyster project with quick feedback, hardwood for species that demand wood, and an outdoor method for fungi that depend on soil and seasonal ecology. Matching the food to the fungus makes every later control easier.
- Best crop match
- Oyster mushrooms and other aggressive straw-loving species
- Target moisture
- Damp enough to bend and glisten, never dripping when squeezed
- Clean-up method
- Pasteurization, not sterilization, for most bucket and bag grows
- Main failure sign
- Sour smell, slime, heat, or fast green mold before full colonization
Chop and hydrate before heat
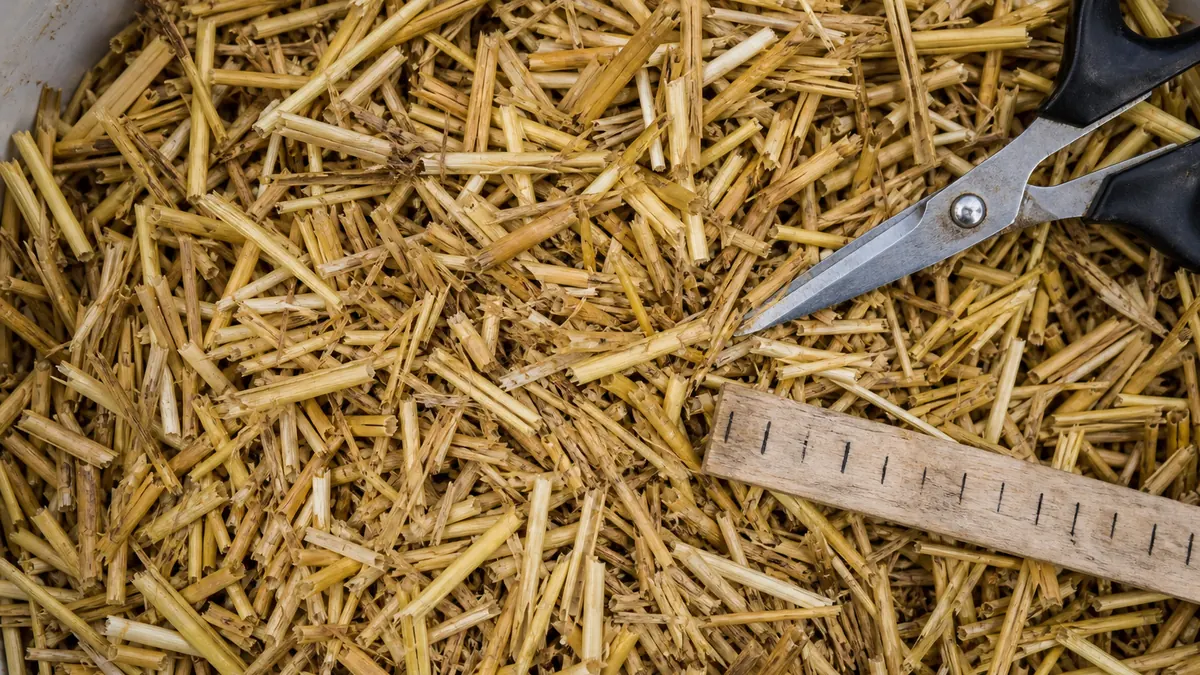
Chop long straw into short pieces so spawn reaches more surface, the container packs evenly, and colonization does not stall around large air gaps.
Hydrate before pasteurization because dry straw heats unevenly and soaking after heat can reintroduce contaminants. Let water enter the stems first, then heat the wet material.
| Step | Target | Why it matters |
|---|---|---|
| Chop | Roughly hand-length or shorter | Gives spawn more contact points |
| Soak | Fully wet straw | Lets heat move through the whole batch |
| Pasteurize | 65 to 80C for about an hour | Reduces competitors without sterilizing the straw |
| Drain | Field capacity | Prevents bacterial wet spots |
| Inoculate | Clean hands, clean container, enough spawn | Lets mycelium claim the straw quickly |
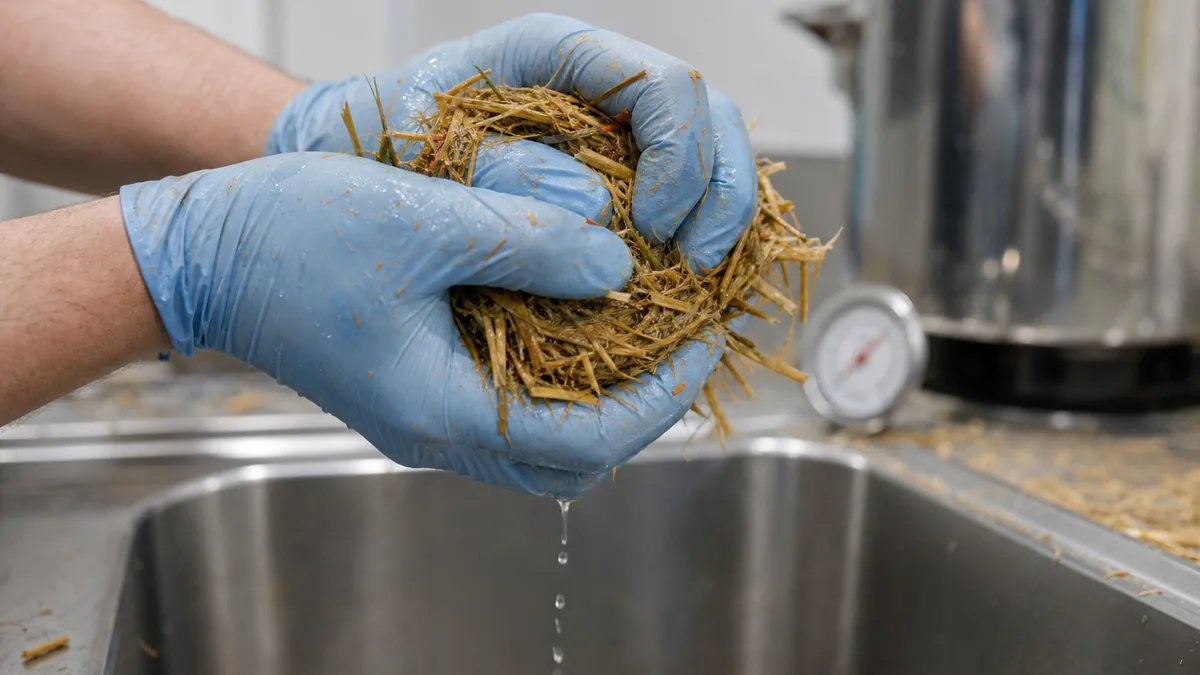
Field capacity is the useful moisture test because a hard squeeze should release only a few drops. A stream means the straw needs more draining, while no drops and a brittle feel usually mean it remains too dry.
Pasteurize straw, do not sterilize it
Straw substrate is usually pasteurized rather than sterilized, which reduces molds, bacteria, insects, and competitor fungi without creating a completely empty food source.
For small home batches, the common method is hot water in a cooler, stockpot, or insulated container. Hold the wet straw around 65 to 80C for about an hour, then drain it on a clean screen, rack, or sanitized tote.
Growing MushroomsHow the Monotub Method Balances Humidity and Fresh AirControl heat through the whole batch
A thermometer belongs in the straw mass rather than only in the surrounding water because a packed center can warm more slowly than the edge.
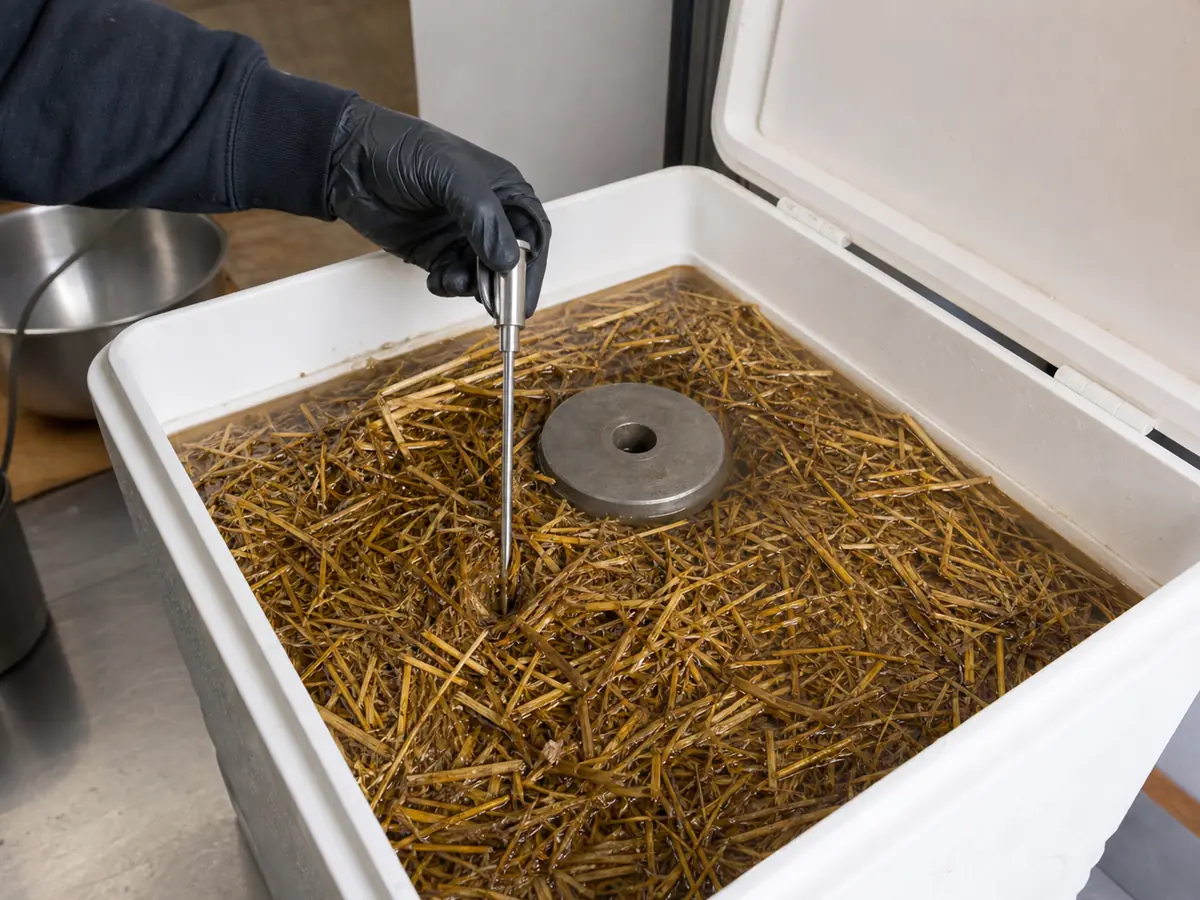
Load wet straw loosely enough that hot water can circulate, then check more than one point after the temperature has stabilized. A cooler reading in the center means the holding period has not started for the whole batch.
Keep the straw submerged with a clean weight so floating stems do not sit above the treatment water and carry a colder untreated zone into the container.
Large batches are harder to control because the bottom can approach boiling while the upper center remains cool. Split an oversized load into two treatments when the vessel cannot hold the full mass inside the target range without crushing it.
Start the holding time only after the coldest checked point enters the working range, then move the finished straw directly to a clean draining surface that was prepared before heating began.
Boiling is not better because extreme heat can soften straw, collapse its structure, and create wet pockets that favor bacteria. The aim is to reduce competitors while keeping the stems springy enough to hold air.
Inoculate with enough spawn and pack loosely
A generous spawn rate costs more but shortens the vulnerable interval before oyster mycelium claims pasteurized straw.
Mix broken-up grain spawn through fully cooled straw so every part of the container receives inoculation. Pack firmly enough to hold shape but leave pore space for oxygen during colonization and fruiting.
Let straw cool before adding spawn
Mix spawn evenly through the full batch
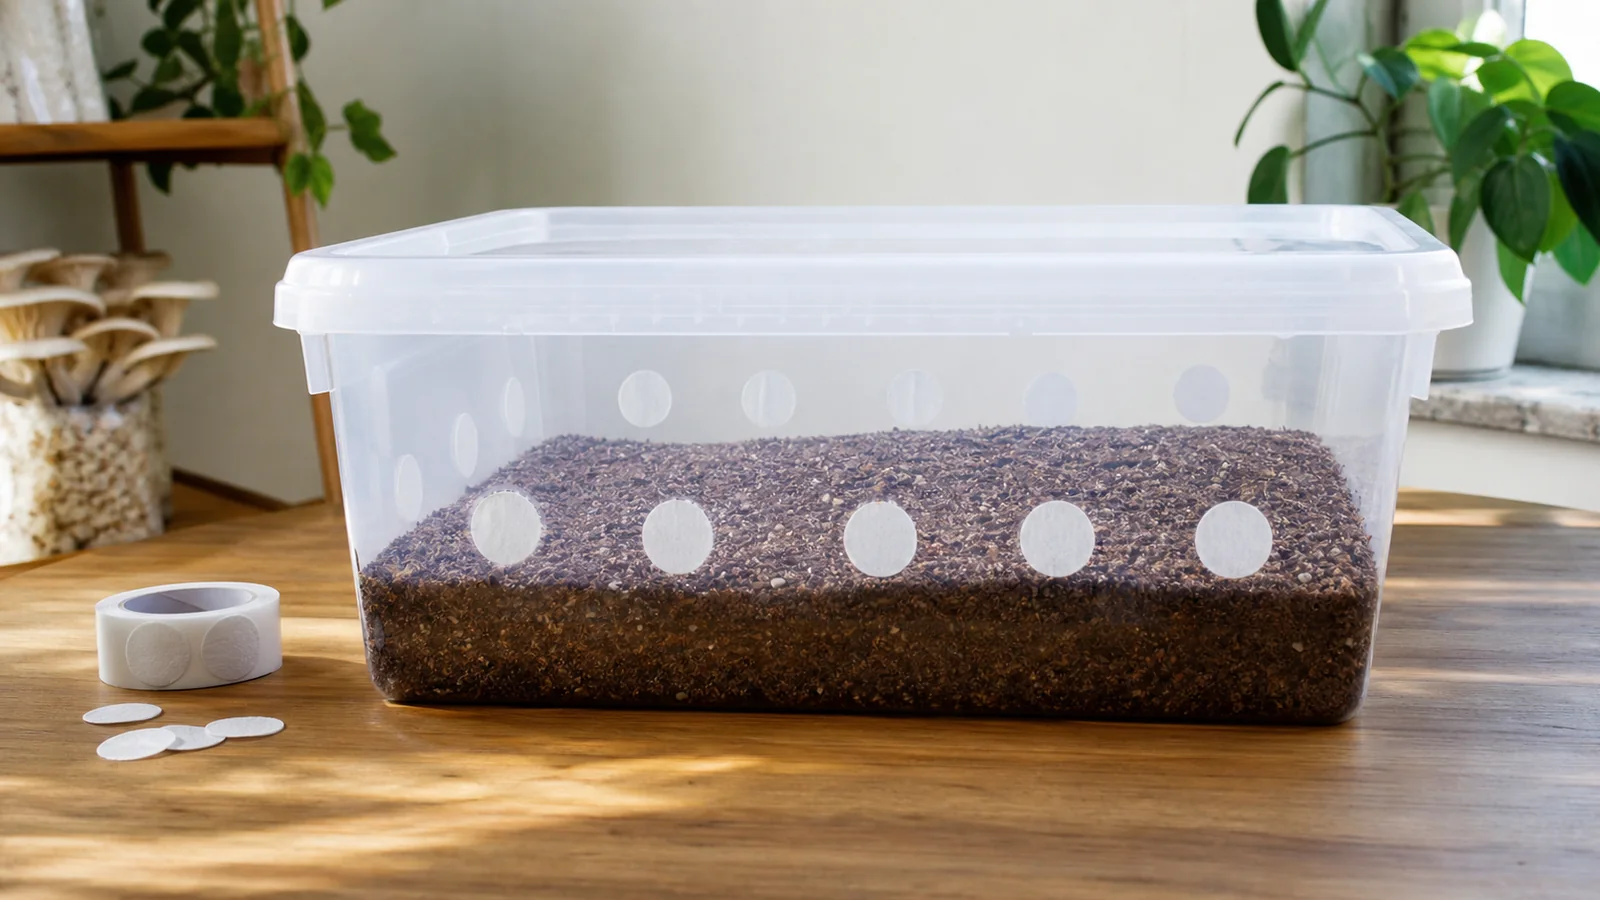
Use clean buckets, bags, or monotubs
Make holes or slits for oyster mushrooms to fruit
Add spawn while the straw is still hot
Pack wet straw so tightly that it turns anaerobic
Leave pasteurized straw sitting overnight before inoculation
A monotub chamber can hold straw, but buckets and bags usually fit oyster side-fruiting better and reduce repeated handling.
Read contamination by smell, color, and wetness
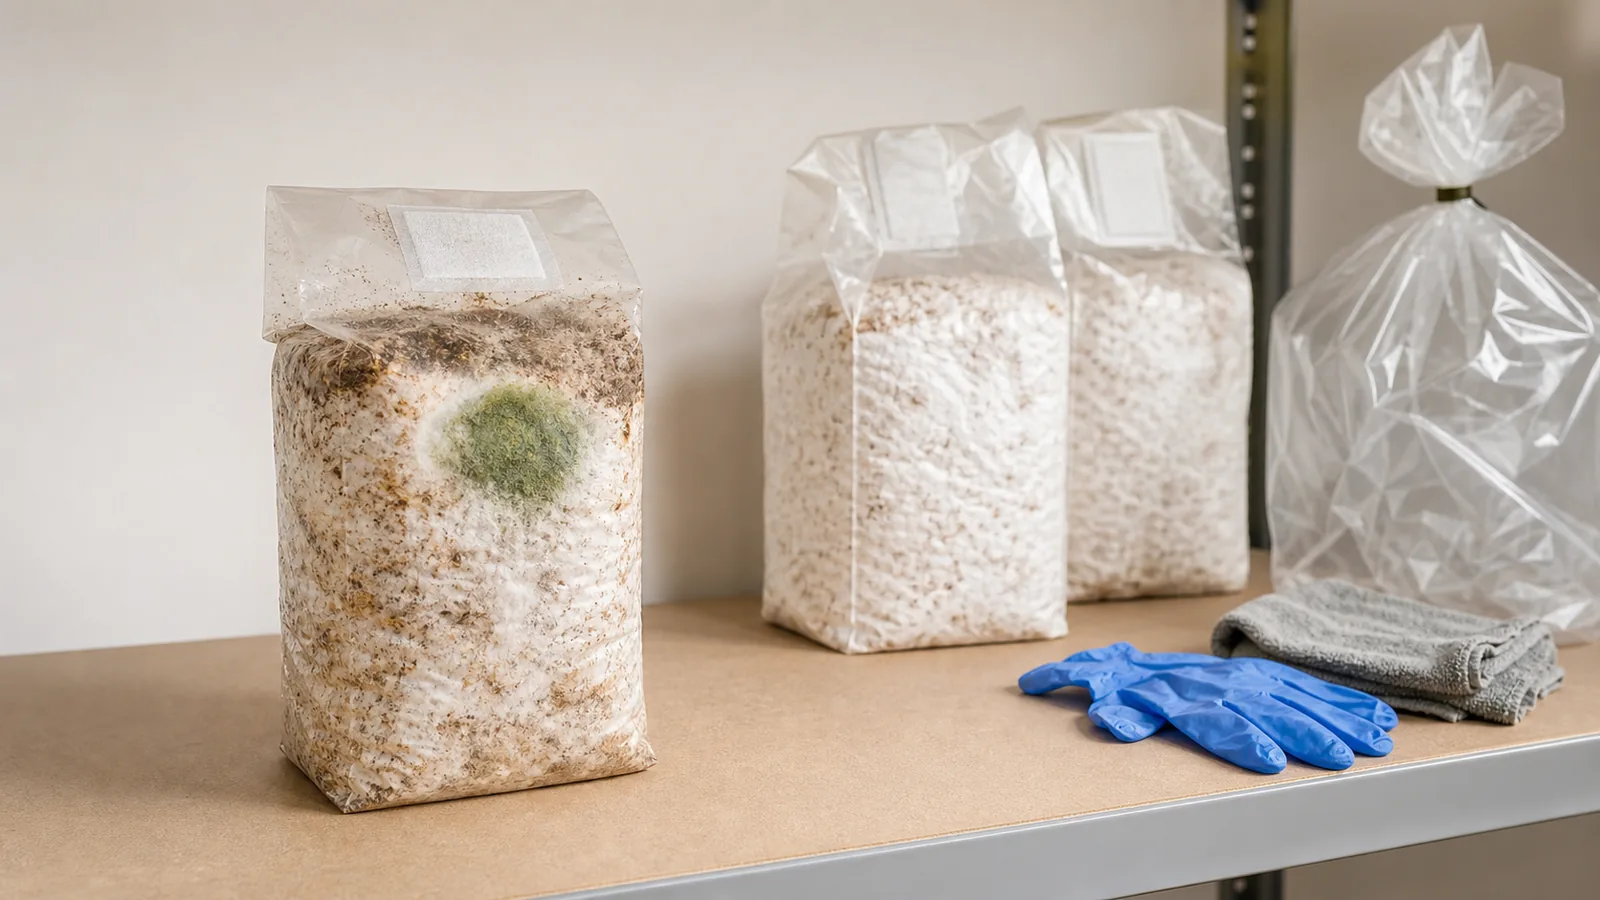
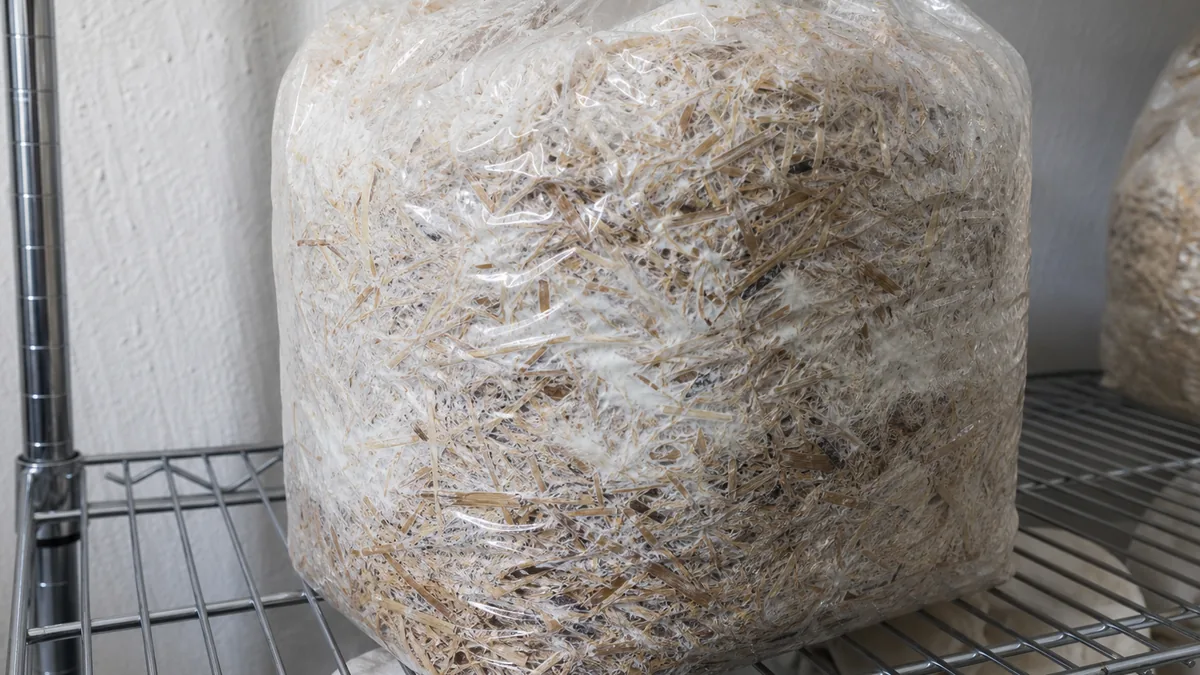
Healthy oyster straw develops a clean mushroom odor as white mycelium spreads between stems. Sour, rotten, or strongly sweet odors signal a different process even when some areas remain white.
Green mold usually means the grow is lost, while slime and sour liquid point toward bacterial decay. Fast gray surface growth may be another mold rather than oyster mycelium.
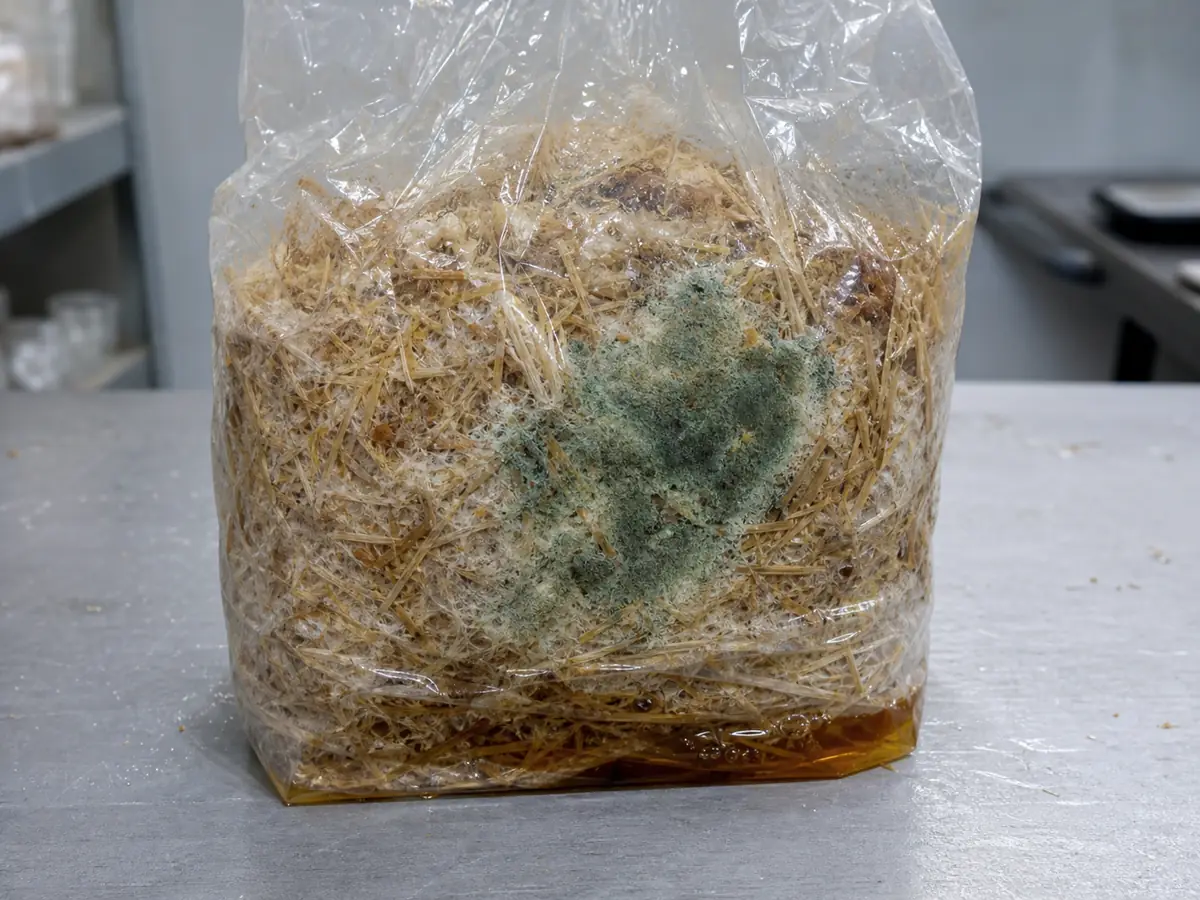
If contamination appears, keep the container closed indoors, bag it, and remove it from other grows. Use the growing contamination signs to decide how to clean the area after green, sour, or slimy straw leaves.
Warning
Wet straw is the common beginner failure. If a squeezed handful pours water, drain longer before inoculation or the grow may sour before oyster mycelium can claim it.
When straw is the wrong substrate
Straw is a poor match for fungi that require dense hardwood, long colonization, or sterile supplemented blocks.
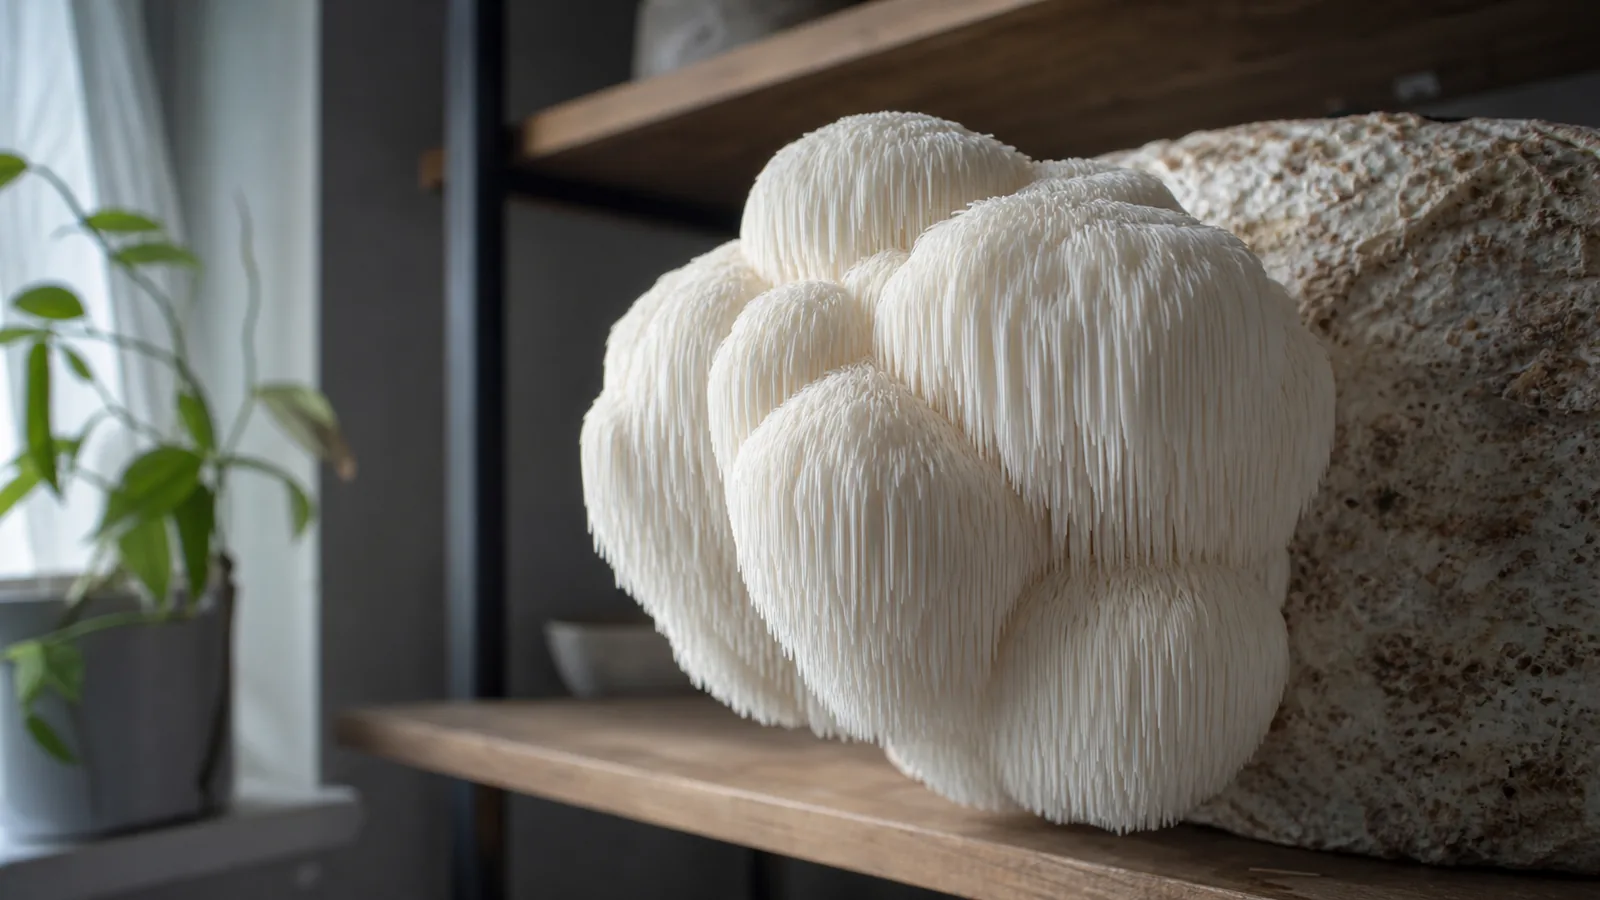
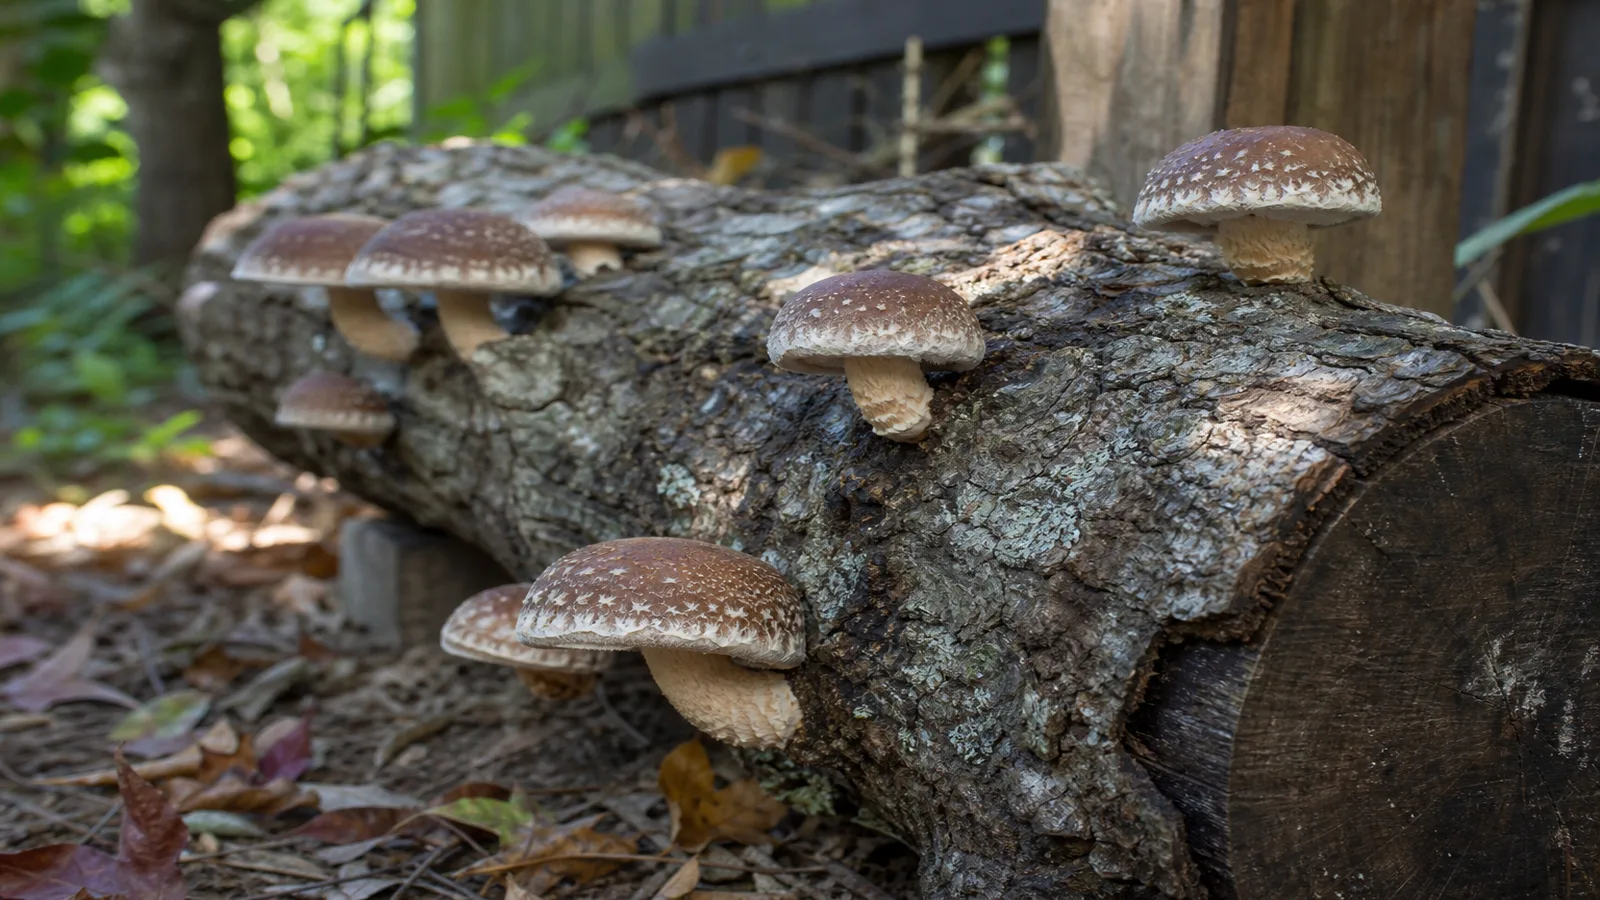
Shiitake, lion's mane, and many specialty wood lovers perform better on hardwood logs or hardwood sawdust. They can grow poorly or inconsistently on straw because the food and structure do not match their normal ecology.
Morels are not a normal straw crop, and a beginner should not treat an outdoor morel bed like an oyster bucket. Home mushroom choices should reward clean feedback, which is why oysters teach these first substrate lessons well.
Using straw only when the species rewards it prevents wasted spawn, sour buckets, and weeks spent waiting on unsuitable food.
How much spawn to use with straw
A higher spawn rate raises material cost but helps oyster mycelium claim pasteurized straw before competitors use the same food.
A generous beginner spawn rate usually buys useful speed, although it cannot compensate for dirty tools or spoiled straw. Thin rates demand cleaner conditions and extend the period when bacteria and molds can establish.
| Spawn approach | When it makes sense | Tradeoff |
|---|---|---|
| Higher spawn rate | First grow, cool room, uncertain cleanliness | Costs more but colonizes faster |
| Moderate spawn rate | Clean routine and fresh straw | Balanced cost and speed |
| Low spawn rate | Experienced grower testing a method | Slower and less forgiving |
Distribution matters as much as the amount because spawn clumps leave pockets that colonize late. Break the spawn apart, mix it through the drained straw, and pack the container without delay.
Growing MushroomsMushroom Grow Contamination: What to Remove Right AwayScale a batch without guessing
A repeatable batch starts with the container rather than a pile of straw because a bucket, bag, and tote hold different amounts after wet stems settle around spawn.
Weigh the empty container, then weigh it again after adding cooled drained straw in the packing density you intend to use. The difference gives the wet straw mass for that actual vessel instead of an estimate based on dry flakes or loose handfuls.
Measure spawn separately before mixing so the batch record shows what the oyster mycelium received. Keep a small reserve only for replacing a dropped or contaminated portion, not for scattering over the top after the container is already packed.
Leave enough working room to distribute spawn without crushing the straw because a bucket needs open side holes while a bag needs a closure that does not squeeze wet stems into a solid plug.
Label the vessel with the mushroom strain, wet straw mass, spawn mass, pasteurization date, and inoculation time. Those details turn colonization speed and contamination into evidence you can compare with the next batch.
Compare the number of days to connected white growth, the odor at each check, and where uncolonized pockets remain. Change one variable on the next batch, such as drainage time or packing density, so a better result can be traced to an actual decision.
Bucket, bag, or monotub
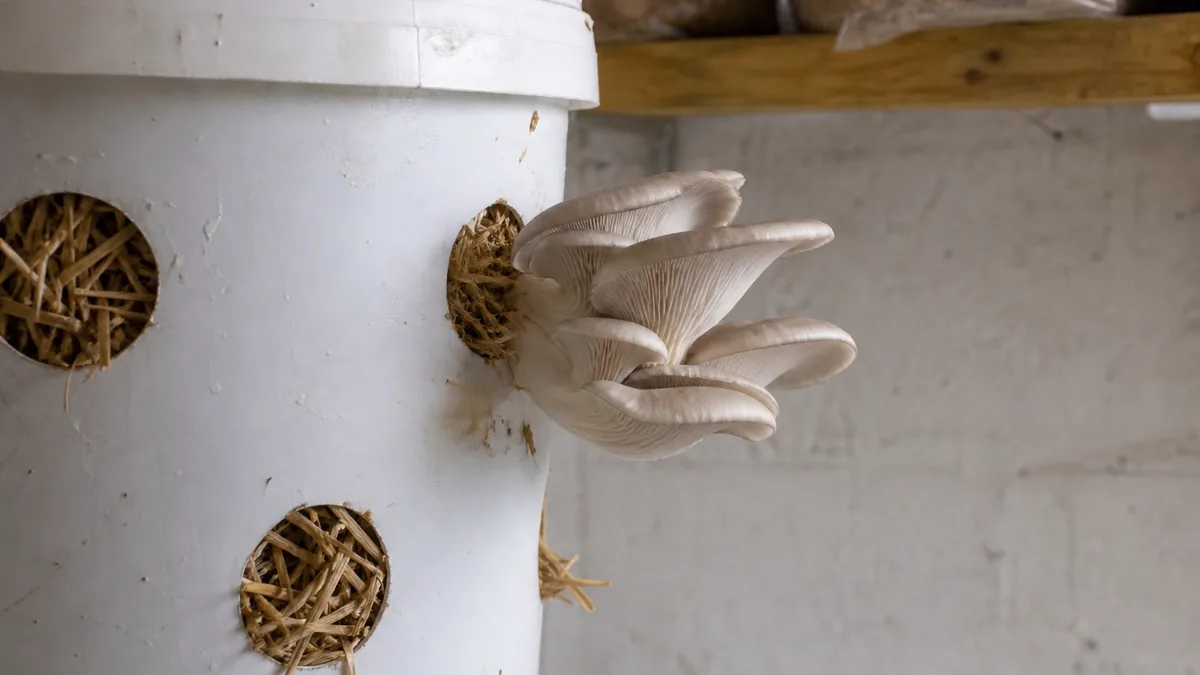
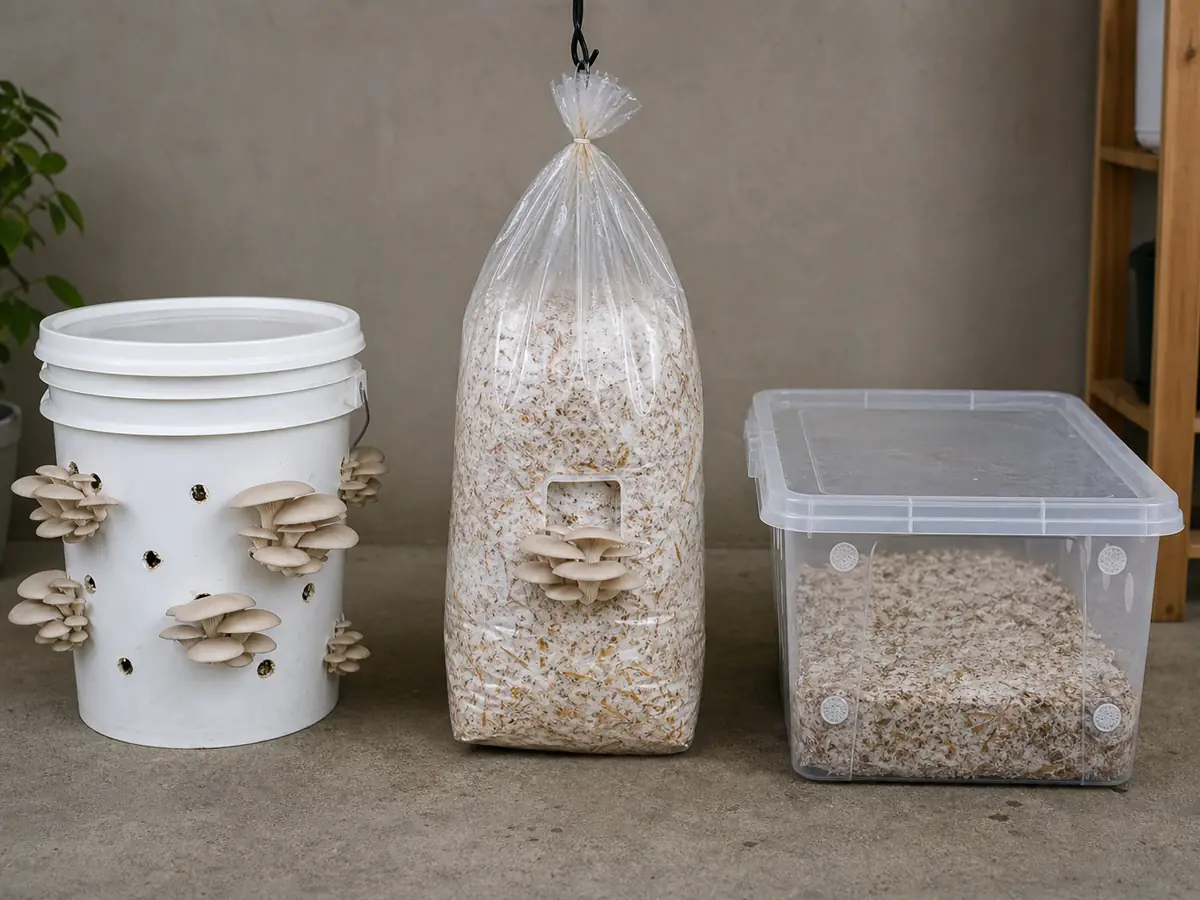
Buckets suit oyster mushrooms because side holes match their shelf-forming habit and small bottom holes allow excess water to escape.
Bags are a cleaner container and easier to stack, while transparent film lets you watch colonization. Cut fruiting slits only after strong white growth develops, then manage humidity around those openings.
A monotub is a different container problem because straw may dry at the surface or stay wet at the bottom when packing is uneven. Monotub conditions depend on balancing fresh air with surface moisture rather than simply closing a tote.
Temperature, light, and fresh air after colonization
Colonizing straw needs stable temperature and protection from direct sun rather than bright light, since both heat spikes and cold stalls slow the mycelium.
Fruiting oysters need indirect light, high humidity, and more fresh air than many first growers expect. Long stems with small caps usually indicate carbon dioxide buildup.
Do not soak the straw with repeated misting because standing water favors bacteria. Mist the surrounding chamber as needed, then provide enough fresh air for clusters to remain plump rather than waterlogged.
What success looks like
A healthy straw grow turns white in expanding patches that eventually connect, then forms pins near holes, slits, or exposed edges where fresh air reaches the mycelium.
Those pins mature into a first flush that is commonly the largest, and a clean block may rest before producing smaller later clusters. Continued fruiting depends on remaining moisture and food rather than a guaranteed schedule.
Harvest oyster mushrooms while cap edges remain slightly rolled or have just begun to flatten, before texture toughens and the room collects a heavier spore load.
Tip
Treat straw substrate as a timing project. Pasteurize, drain, inoculate, colonize, fruit, and harvest in order. Most failures come from rushing one of those handoffs.
Common straw substrate mistakes
Old, dirty, or moldy straw is a poor starting material because pasteurization cannot turn decay into clean food. Begin with dry straw that smells like straw rather than compost.
Moisture cannot be judged by the drained surface because water may remain trapped inside the bundle. Use the squeeze test after cooling and extend draining whenever water streams from the handful.
Slow inoculation wastes the temporary advantage created by pasteurization because warm exposed straw begins collecting airborne microbes. Prepare the clean container and broken-up spawn before the straw finishes draining.
Sealing the fruiting container too tightly restricts the fresh air oyster mushrooms need, so plan holes or slits before pins form.
Cleaning the work area
Straw does not require a laboratory, but it does require washed hands, wiped surfaces, clean containers, and separation from pets, soil, and compost while the substrate is open.
Use clean tools for chopping, draining, and mixing because a dirty tote can undo careful pasteurization. If the container smells sour before inoculation, clean it again or replace it.
Cool straw in a protected place until it cannot heat-damage spawn, but do not leave it exposed long enough to collect dust. This short handoff preserves the advantage gained during pasteurization.
After the first flush
Cut oyster clusters cleanly at the base instead of pulling the block apart, which limits drying and leaves less damaged tissue available to contaminants.
After harvest, let the substrate rest while maintaining humidity and fresh air. Later flushes are often smaller, but a clean block can remain productive until its food and moisture decline.
Compost a clean spent block away from active grows, while green or sour material should stay bagged until it is outdoors and separated from the grow area.
Fit straw into the grow plan
Use straw when the species rewards rapid colonization and side fruiting, with oyster mushrooms providing the clearest match.
Cultivated shiitake is better suited to logs or sawdust blocks. Do not force straw into a hardwood project simply because the material is cheaper or easier to obtain.
A bucket teaches side fruiting and air exchange, while the monotub method manages humidity through a different container design.
Choose the container before hydrating. Its capacity, drainage, packing density, and hole pattern determine how much wet straw the batch can hold without compression or stagnant water.
When straw smells sour or turns green, follow growing contamination signs rather than adding spawn because the intended fungus cannot reclaim material already dominated by bacteria or mold.
Final decision rule
Choose straw when a fast oyster strain can use hot-water pasteurization, field-capacity moisture, and a ventilated container. Choose hardwood or an outdoor bed when the species normally feeds on wood or depends on soil ecology.
The substrate decision matters more than a late-stage trick because suitable food gives mycelium a fair start. Unsuitable food makes moisture, temperature, and contamination harder to manage.
Sources & References
- Penn State Extension Small-scale mushroom substrate and production context.
- Cornell Small Farms Specialty mushroom cultivation methods and substrate guidance.
- University of Wisconsin Extension Oyster mushroom growing context for straw-based beginner methods.