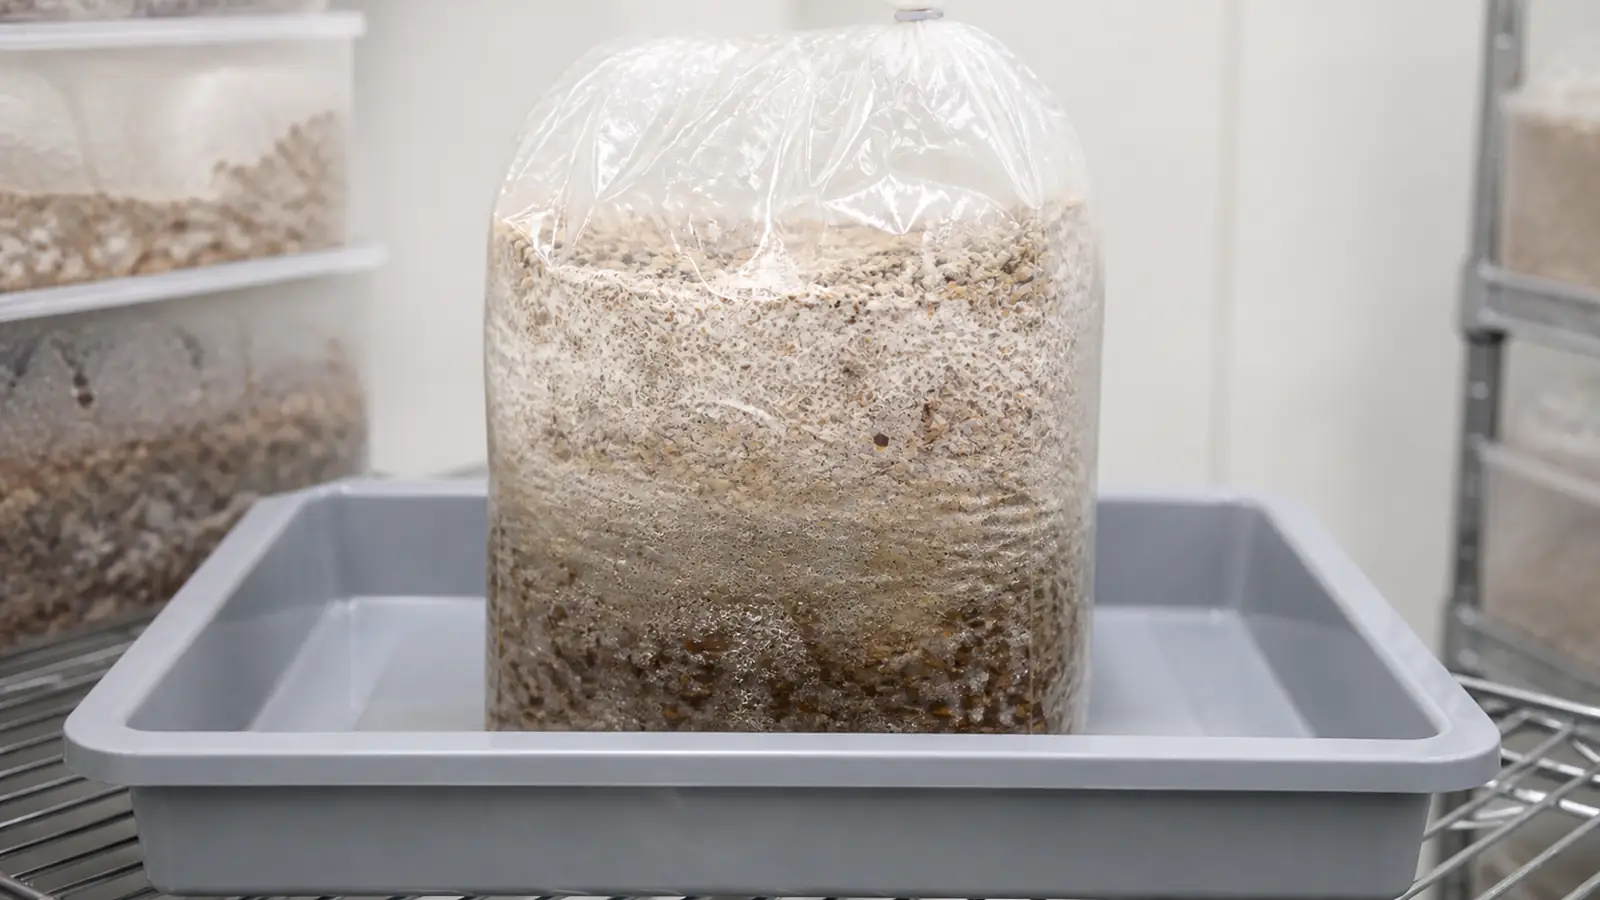
Wet rot in a mushroom grow is a bacterial substrate failure marked by a combined pattern of persistent wetness, greasy or burst grain, slime, sour or rotten odor, stalled mycelium, and spreading uncolonized zones. Keep the container closed, isolate and discard it, then correct the preparation record rather than trying to dry or fruit the failed food.
Wet rot in mushroom substrate is a bacterial failure supported by a pattern of persistent wetness, greasy or burst food, slime or cloudy liquid, sour or rotten odor, stalled mycelium, and an expanding uncolonized zone. Keep a suspect container closed and separate it before trying to name the organism, because opening, mixing, or drying spreads the failed material without restoring safe food.
The name is used loosely online. This page addresses wet spot or sour rot inside grain and substrate, not fungal wet bubble disease that deforms fruit bodies and not bacterial blotch that develops on wet mushroom caps.
What should you do before opening it?
Do not put your face near a filter to check odor.
Sour compounds may be noticeable from normal handling, but deliberately squeezing air toward your nose exposes you to an unknown culture and can push contaminated air into the room.
Absence of odor does not clear a wet culture because filters, sealed lids, room ventilation, and an early-stage bacterial population can hide it. Treat odor as one corroborating observation and never as the only gate.
- Wear gloves when the outside is wet or dirty and wash hands after moving the tray.
- Keep the route short and clear so the container does not pass over open cultures, kitchen counters, drying racks, or harvest bins.
If a bag is already leaking, do not transfer its contents into a new grow bag.
Contain the original bag as one failed unit and clean the contacted surface after it leaves.
Close floor drains or protect nearby splash zones when local rules allow, and do not carry the tray through a kitchen during meal preparation. The safest route keeps the failed material away from food, pets, children, and moving air.
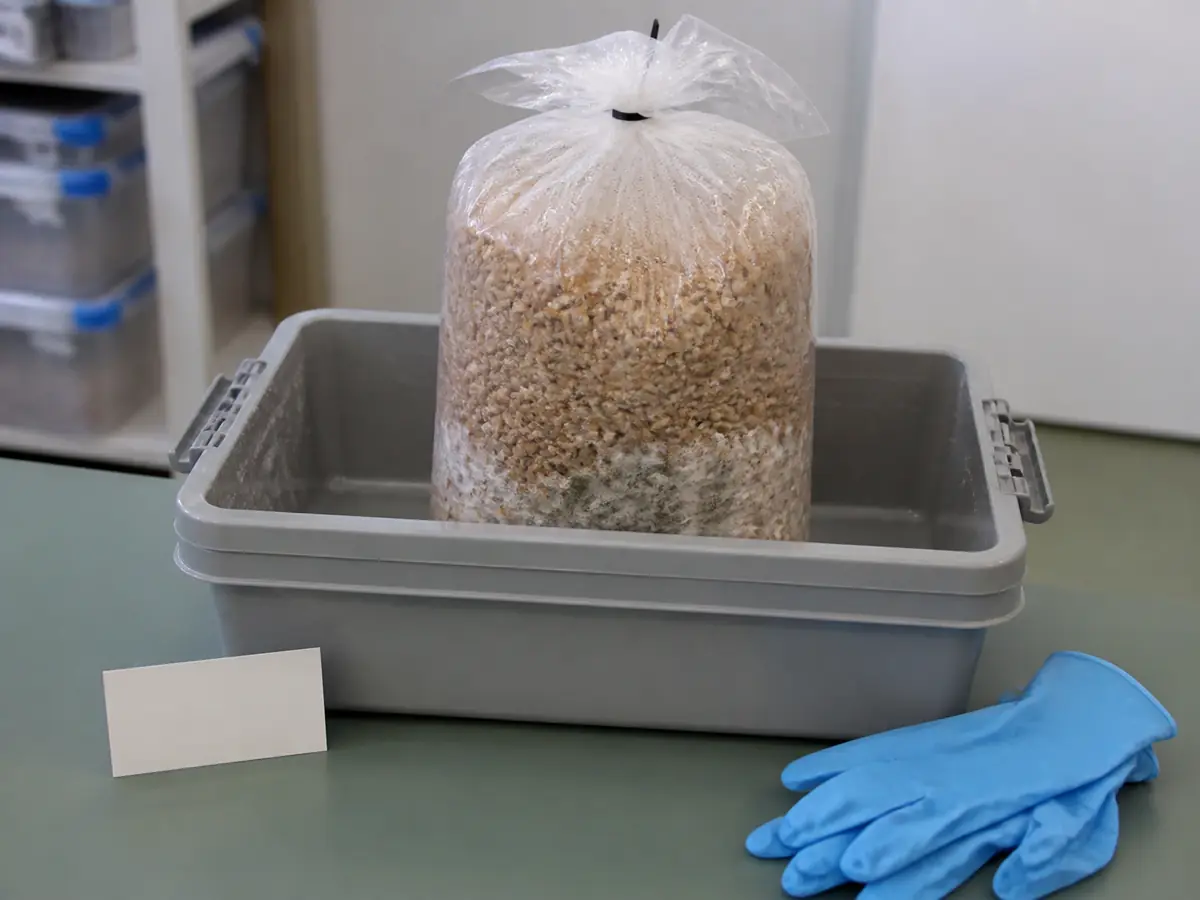
What does wet rot actually look like?
One patch of condensation is common in an active container and does not diagnose bacterial rot. Confidence rises when several independent signs develop in the same place and change in the same direction.
Warning
Treat sour or rotten odor, greasy uncolonized grain, slime, cloudy or brown liquid, burst kernels, retreating mushroom growth, and a spreading wet boundary as a discard pattern. Do not fruit from or eat mushrooms produced by a strongly affected substrate.
The peer-reviewed spawn-contaminant study found Bacillus among important bacterial contaminants, but a photograph cannot identify a bacterial species. The practical home decision depends on substrate condition and food safety, not a guessed laboratory name.
Healthy mycelium can sometimes wall off a small bacterial area, but containment does not prove the remaining crop is safe or reliable.
A clean restart is more informative than waiting for a questionable substrate to produce food.

Is that amber liquid rot or normal?
Water condenses where warm humid air meets cooler plastic. Active mycelium can also release amber metabolites under stress, so clear droplets or a small yellow stain deserve observation rather than an automatic disease label.
| Observation | More consistent with | What changes the decision |
|---|---|---|
| Fine clear droplets on a cool bag wall | Condensation | Concern rises if liquid pools with greasy food, odor, or stalled growth |
| Small amber drops on otherwise firm white mycelium | Metabolites or stress response | Concern rises if the substrate softens, retreats, or becomes sour |
| Cloudy liquid around burst grain | Bacterial substrate failure | Isolation is warranted when the zone spreads or mycelium cannot occupy it |
| Yellow-brown wet cap lesions after prolonged surface water | Bacterial blotch on fruit tissue | This is a crop-surface disease rather than grain wet rot |
| Malformed mushroom tissue with wet decay or amber drops | Fungal wet bubble or another fruit-body disease | The affected tissue location requires a different disease diagnosis |
Use time and origin. Condensation can move with daily temperature cycles, while a bacterial wet zone often begins around compromised food and expands as colonization stops.
Do not touch, taste, or wipe the liquid to classify it.
Photos through the container, growth history, batch records, and the combined visible pattern provide enough evidence for the safe continue-or-discard decision.
Wet spot, wet bubble, or bacterial blotch?
Wet spot or sour rot lives primarily in grain or bulk substrate. The food becomes wet, greasy, slimy, poorly colonized, and odorous before a healthy crop can develop.
Bacterial blotch affects mushroom caps and stems. Penn State connects it with water remaining on fruit tissue for hours, and describes pale yellow lesions that can become golden yellow or chocolate brown.
Wet bubble is a fungal fruit-body disease associated with malformed undifferentiated tissue, wet decay, and amber droplets.
Similar words do not make these conditions one organism or one treatment. The location of the damage determines whether you inspect substrate preparation, fruit-surface wetness, or a fruit-body disease.
Substrate locationDiagnose preparation, inoculum, water, filter, and incubation records.
Cap-surface locationDiagnose prolonged cap wetness, splash, tools, dust, insects, and crop-room control.
Malformed fruit tissueUse a qualified disease reference for fungal fruit-body pathology.
Name aloneDo not choose a remedy because several conditions contain the word wet.
This boundary also prevents a dangerous shortcut. Drying mushroom caps after blotch guidance does not rescue bacteria established inside sour grain, while discarding a clean colonized block for one harmless amber metabolite wastes a healthy culture.

Why does too much water suffocate a substrate?
Mushroom substrate needs water films thin enough that gases can still move through pore spaces.
Excess water fills those spaces, lengthens the path oxygen must cross, and creates protected zones where bacteria can use damaged or available nutrients.
Cornell's compost guidance explains that fermentation odors indicate large anoxic zones. A sour smell therefore has physical meaning when it appears with waterlogged substrate, even though odor alone cannot identify the organism.
- Free water
- Collects at the base, between grains, or inside compressed substrate and reduces connected air space.
- Heat
- Warm wet food accelerates microbial activity and may raise the core above the mushroom strain's range.
- Damage
- Burst grain and overcooked or poorly conditioned substrate release nutrients that competitors can use quickly.
- Density
- Hard packing and fine particles slow drainage and gas movement.
Humidity around a sealed bag is not the direct cause of wet grain inside it. The more likely owners are initial hydration, incomplete draining, excessive liquid inoculum, damaged kernels, a leak, condensation driven into low points, or heat and compression inside the mass.
Trying to dry the outside with a fan cannot reopen pore space inside a slimy grain cluster.
Opening and remixing exposes every clean region to the same failed material and destroys the boundary that showed where the problem began.
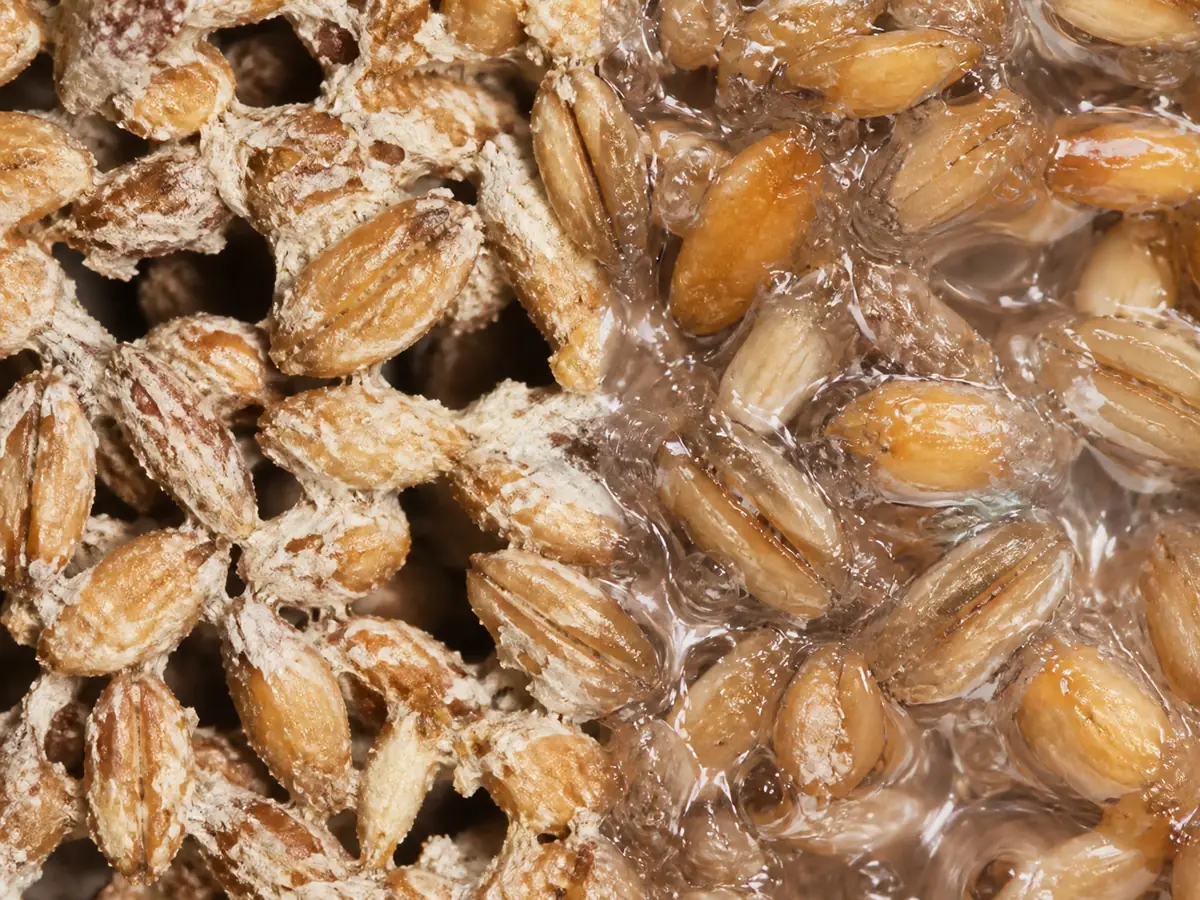
Which stage did it actually go wrong at?
Use the batch record as a timeline. The earliest stage that can explain the wet zone owns the correction, even when the strongest odor appears days later.
| First abnormal evidence | Preparation step to inspect | Clean correction for the next batch |
|---|---|---|
| Burst or mushy grain before inoculation | Grain hydration, simmer, drying, or sterilization | Adjust the measured preparation so kernels stay intact and dry externally |
| Substrate drips when filled | Hydration formula or drain step | Weigh water and substrate, then confirm no free runoff before filling |
| Bag stayed hot after treatment | Cooling depth, protection, or inoculation timing | Cool fully in a protected clean area and measure the center |
| Wet zone begins at liquid injection point | Inoculum cleanliness or excessive volume | Use verified culture and the method's measured inoculation amount |
| Failure follows a torn filter or seal | Container integrity and handling | Reject damaged containers and protect filters from wet contact |
| Several touching bags heat together | Load size, spacing, and room cooling | Leave air gaps and record core temperature, not room air alone |
Spawn quality matters because the inoculum should establish the intended culture quickly. Do not reuse spawn from a questionable master bag or transfer apparently clean pieces away from a sour wet zone at home.
The pattern across a batch strengthens the diagnosis.
Failure in every bag points toward shared substrate, water, treatment, spawn, or incubation, while one failure at a damaged seam points toward that container's integrity.
Compare the height of wet zones across containers. A repeated water line at the base supports a shared draining or filling problem, while random wet pockets around inoculation paths support liquid volume, tool handling, or inoculum quality.
Keep the successful containers from the same batch in the comparison. Their position, filter condition, weight, and temperature can reveal whether the failed bag received a local leak or hot spot while shared inputs remained acceptable.
Review when lids, bags, or filters were exposed during cooling. Treated food can leave the heat step clean and still acquire bacteria while it sits warm and unprotected before inoculation.
Growing MushroomsHow Do You Build an Outdoor Mushroom Bed That Lasts?How do you dispose of a wet-rot batch?
Do not fruit, dry, remix, or break apart a failed batch indoors.
Keep it sealed, place it in a second bag or rigid container if leakage is possible, and follow local waste rules for disposal.
Warning
Do not compost an unknown sour or slimy substrate beside edible mushroom beds or food crops. A home compost pile may not reach a validated treatment condition, and animals can move the material.
Clean the route and tray after the sealed batch leaves. Work from less contaminated surrounding surfaces toward the direct contact area, use the product and contact time appropriate for the material, and keep cleaning tools separate from food preparation.
Follow the disinfectant label for concentration, surface compatibility, ventilation, and contact time. Mixing cleaning products can release dangerous gases, and a stronger unapproved solution does not compensate for leaving visible organic material on the surface.
- Remove visible debris without splashing.
- Wash reusable hard surfaces before applying an appropriate disinfectant.
- Launder exposed washable textiles separately.
- Discard porous items that cannot be cleaned safely.
- Wash hands and change contaminated gloves before touching healthy cultures.
Inspect neighboring grows without opening them.
Photograph filters, bases, seams, and growth fronts, then increase separation if any one shares the same wet pattern or batch input.
How should you restart after wet rot?
Test the corrected preparation step with a small batch before restarting at full scale. Repeating a large batch with more disinfectant but the same water measurement, cooling pile, liquid volume, or bag spacing preserves the cause.
- Water
- Weigh or measure the exact amount, drain to the method endpoint, and record the result.
- Food
- Keep grain intact and substrate structure open rather than mushy or compressed.
- Cooling
- Protect treated food while the center reaches a safe inoculation temperature.
- Spawn
- Use clean vigorous purchased or verified spawn in the documented amount.
- Container
- Confirm seals and filters remain dry, intact, and able to exchange gases as designed.
- Heat
- Space containers and track core temperature during the most active colonization period.
Label every restart test with the inputs and conditions needed to reproduce it.
- Record the input lot and measured water amount.
- Keep the treatment record and inoculation time together.
- Record the spawn lot and container type.
- Note shelf position and substrate-core readings.
Photos of the first clean growth give the next batch a baseline that the failed grow lacked.
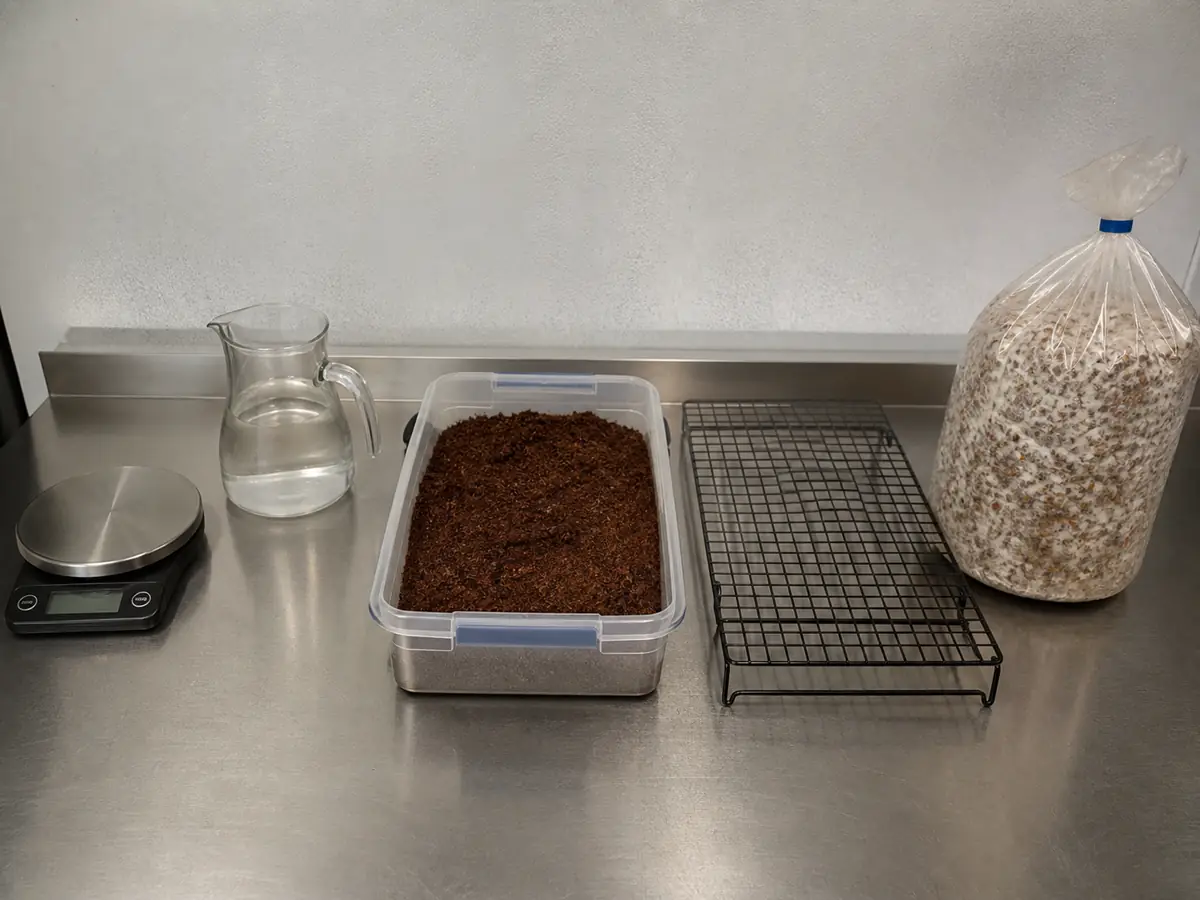
Measure grain and water with the same scale and units on every repeat. Volume estimates for irregular dry materials drift between containers, while weights make it possible to reproduce a clean result and identify a wet outlier.
Scale only after the test remains evenly hydrated, clean-smelling, structurally open, and progressively colonized.
The goal is to show that the original introduction point has been removed through a controlled repeat.
Run at least one comparison with the same spawn lot and corrected water or cooling step when that can be done safely. Changing every input at once may produce a clean bag, but it will not show which defect caused the failed batch.