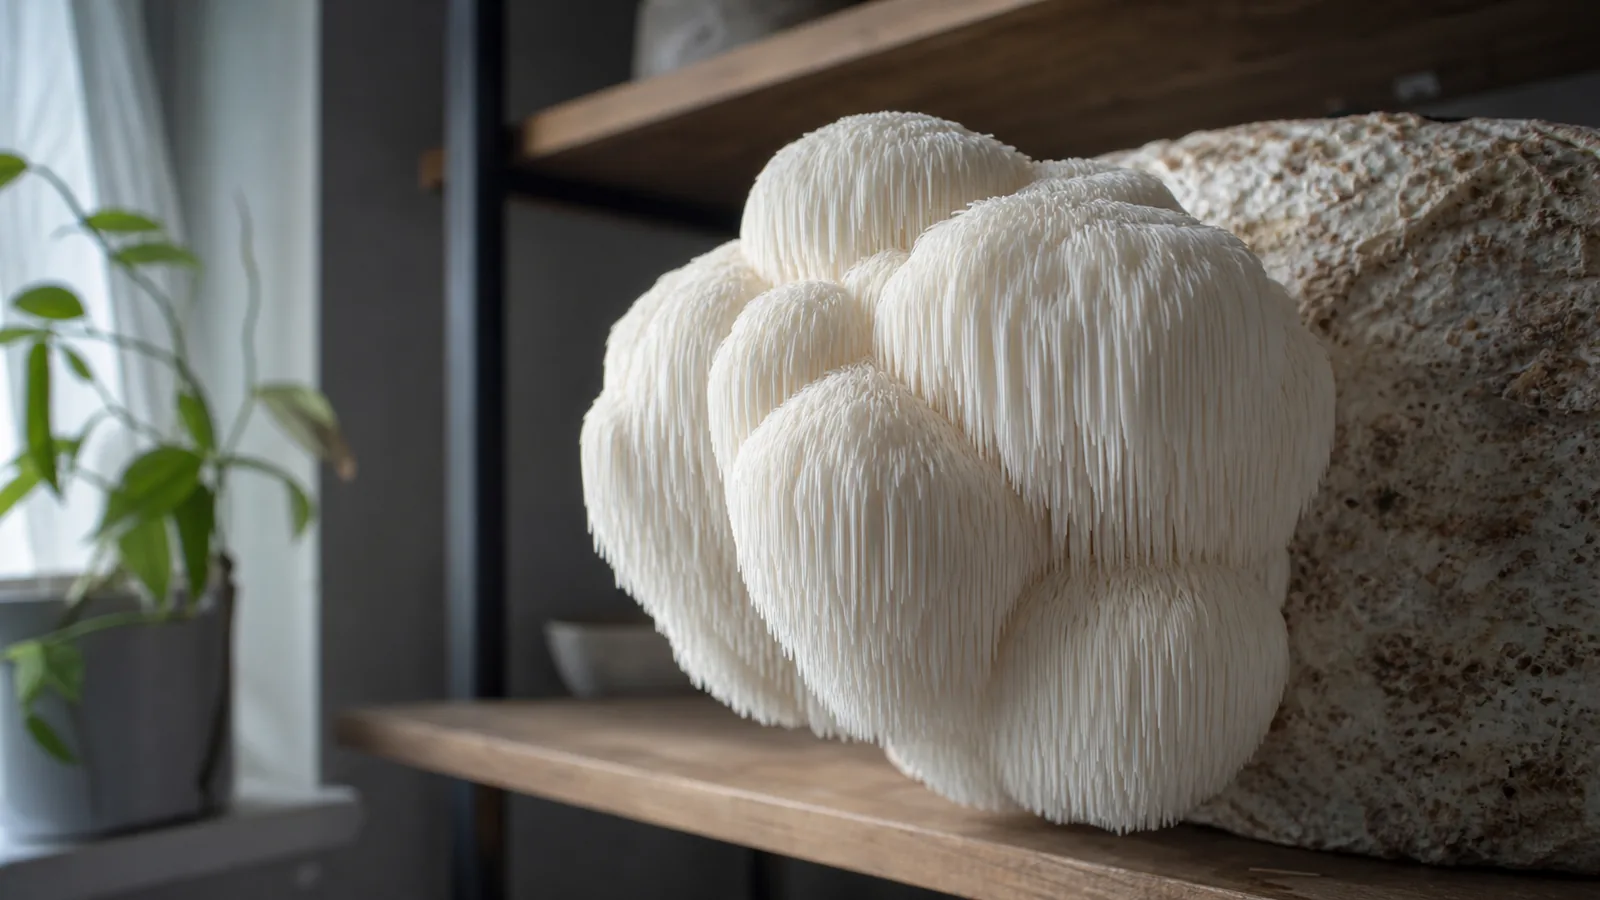
Lion's Mane fruits on supplemented hardwood sawdust in two to four weeks from a colonized block, and fresh air matters more than anything else you control.
It is one of the few cultivated species that reports its own conditions through its shape, so a branched, coral-like mushroom is a reading you can act on rather than a loss.
Warning
A sealed humidity tent is the fastest way to ruin a Lion's Mane block. This species needs moving air more than it needs standing moisture, and the mushroom will show you the difference within days.
What Lion's Mane needs before it will fruit at all
Lion's Mane fruits on supplemented hardwood at 18 to 24 C, 85 to 95 percent humidity, and considerably more fresh air than most growers give it. Those first two numbers appear in every kit instruction sheet, and the third is the one that decides whether you get a tidy rounded mushroom or a tangle.
Fresh air outranks humidity here because carbon dioxide changes the shape of the fruiting body, not merely its size.
A Lion's Mane primordium grows outward from a single point and keeps that growth concentrated as long as gas exchange is good. Once carbon dioxide climbs past roughly 1000 ppm the growing tip loses that concentration and splits, so the mushroom starts pushing several branches instead of thickening one mass.
That threshold is lower than it sounds in a small space. A closed tote with a colonized block inside can pass 1000 ppm within a few hours, because the block itself is respiring the whole time and nothing is carrying the exhaust away.
Read coral-like branching as a carbon dioxide reading, because a block that branches is reporting its air rather than an infection.
Oyster mushrooms report stale air by growing long pale stems, so the signal is easy to learn on them and hard to miss. Lion's Mane has no stem to stretch, which is exactly why growers who trained on oyster can run a badly ventilated space for weeks without recognizing what the shape of the block is telling them.
Get that ranking backwards and you will add water to a problem that needed air, which leaves you with a wet block and the same deformed mushroom. More home blocks are wasted this way than are lost to contamination.
Growing MushroomsWhat Does a Mushroom Farm Actually Cost to Start?Which substrate works, and which one wastes a month
Lion's Mane wants supplemented hardwood sawdust, and the supplement is what separates a thin first flush from a heavy one.
A working ratio is five parts hardwood sawdust to one part soybean hull by dry weight. Oak, beech, and sweetgum all perform well, while conifer sawdust should be avoided outright because its resins inhibit the mycelium.
The hulls carry nitrogen that wood alone cannot supply, and the mushroom converts that nitrogen directly into yield. More nitrogen also means more for a contaminant to eat, which is why master's mix at fifty-fifty produces both the heaviest blocks and the highest failure rate among home growers.
Block size decides how much of that yield you ever see.
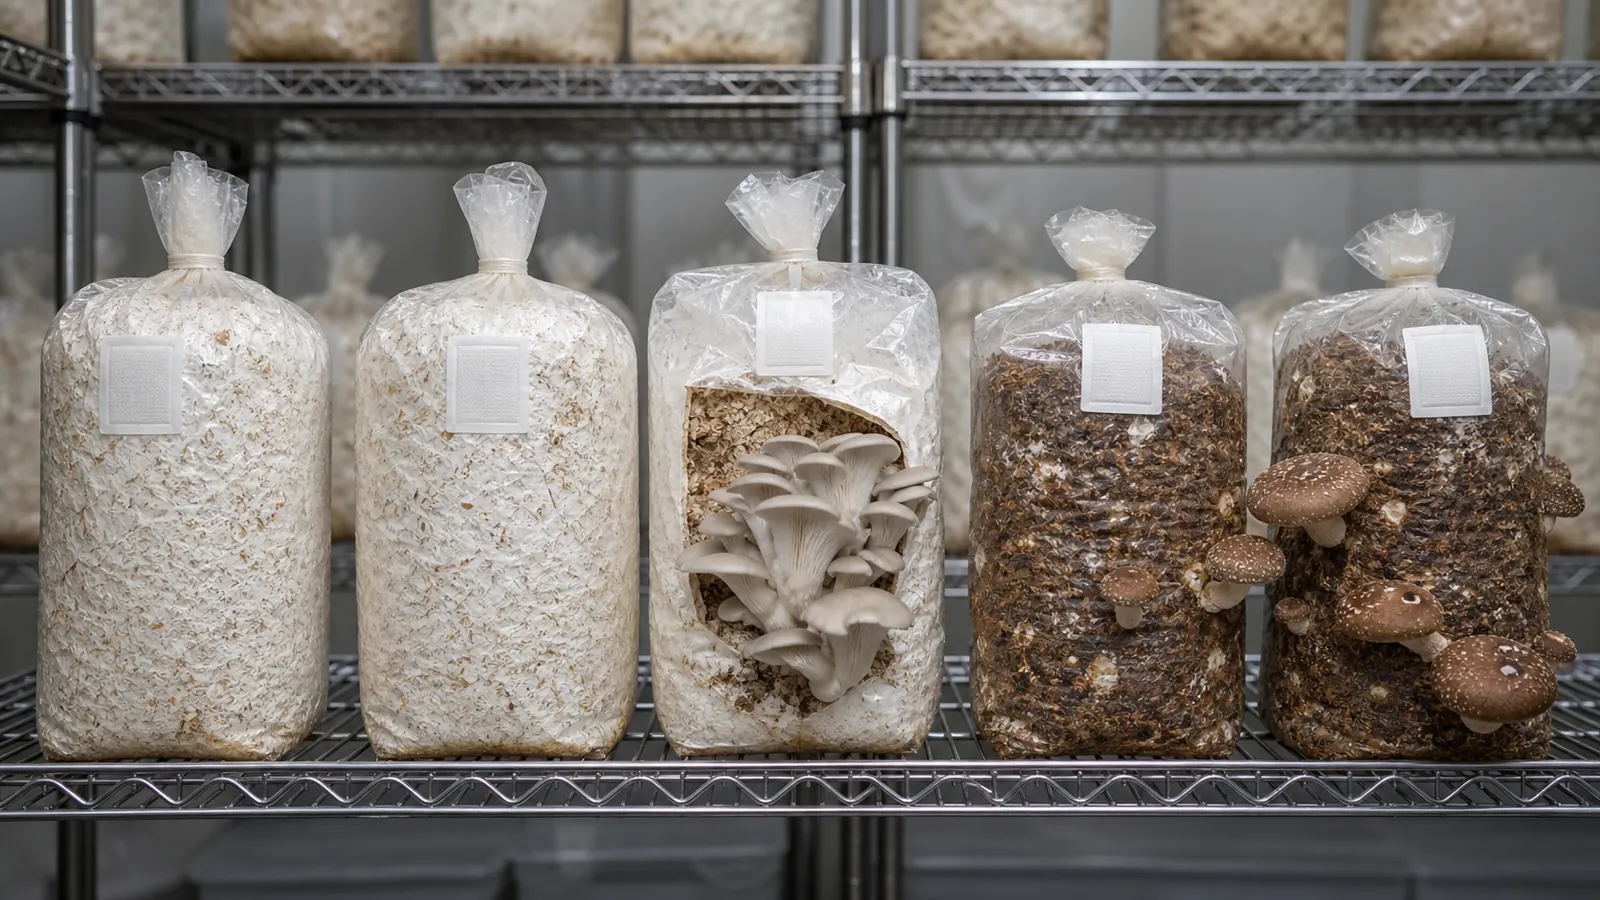
Five pounds of wet substrate is the standard home unit because it colonizes in a sensible time and still fruits heavily, while a ten pound block holds heat in its center during colonization and takes noticeably longer to finish. Two five pound bags will almost always beat one ten pound bag on total harvest.
Supplementation changes how the substrate must be prepared, and that consequence catches people out.
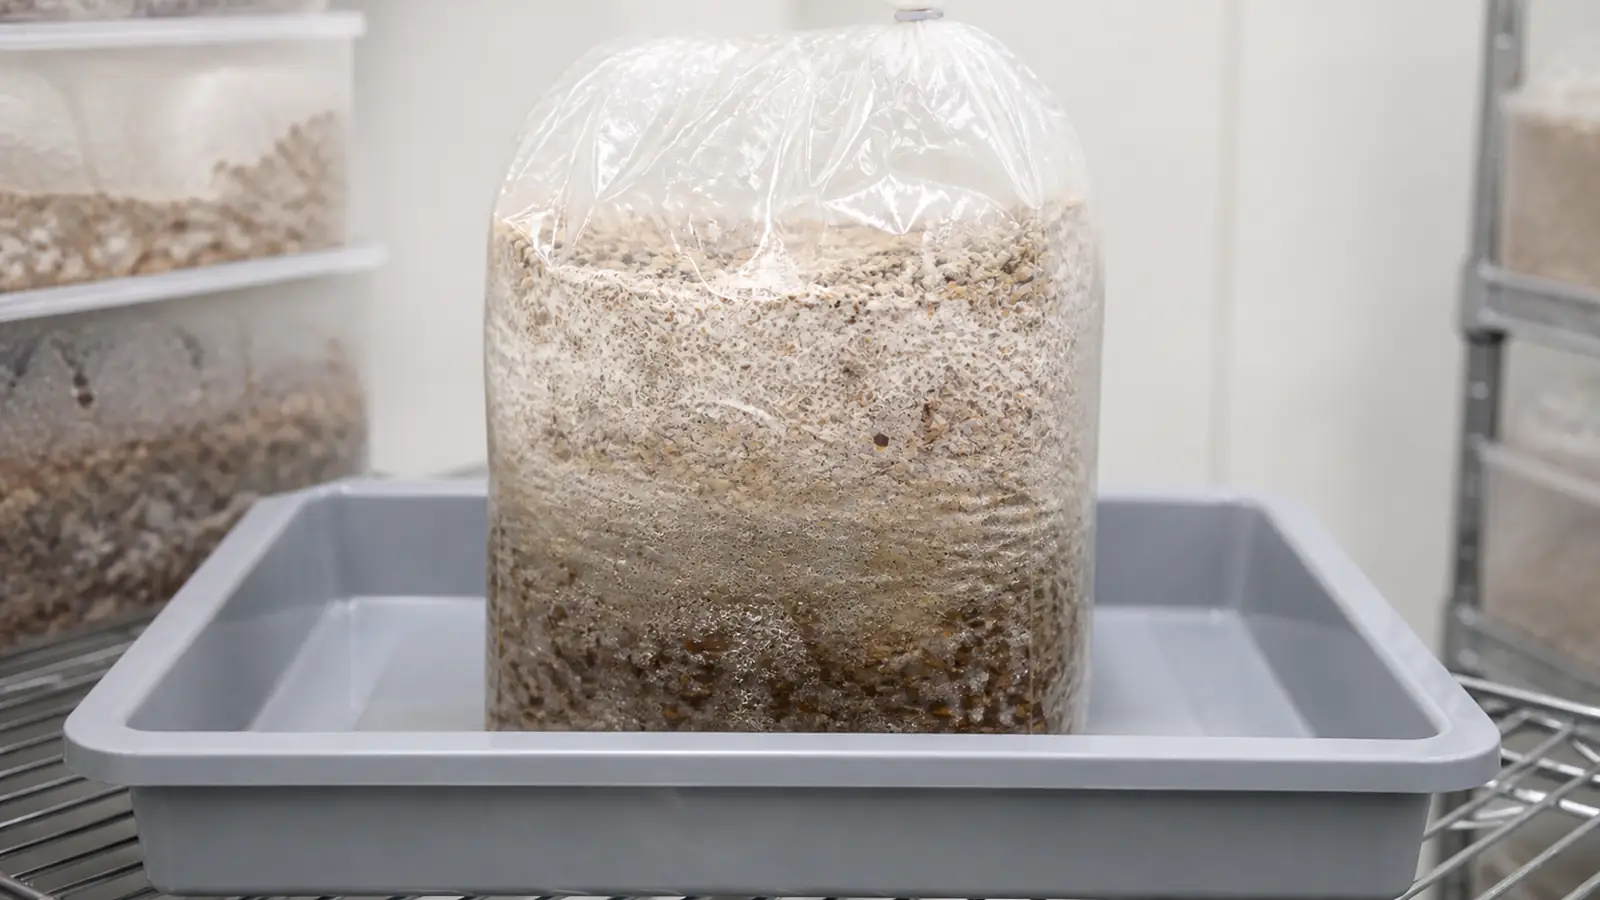
Once you add hulls or bran, pasteurization is no longer enough and the substrate has to be sterilized under pressure, because the added nutrition will feed bacteria and molds that survive a hot water bath. A pressure cooker held at 15 psi for two and a half hours is the usual home answer for a five pound bag.
Moisture matters as much as the recipe, and the target is field capacity at roughly 60 percent. Squeeze a handful and you should see a few drops appear between your fingers without a stream running out, because a substrate that runs when squeezed will sour before it finishes colonizing.
| Substrate | Verdict | Why |
|---|---|---|
| Supplemented hardwood sawdust | The default | 5:1 sawdust to soybean hull, reliable colonization and solid yield |
| Master's mix | Highest yield | 50:50 hardwood and hulls, unforgiving of loose sterile technique |
| Plain hardwood sawdust | Workable | Colonizes fine, fruits thin without added nitrogen |
| Straw | Avoid | Slow colonization, loses the race to Trichoderma |
| Hardwood logs | Long game | Possible outdoors, first fruiting a year or more away |
Straw is the one substrate worth ruling out before you spend anything, even though it sits in every beginner shopping list because oyster growers swear by it.
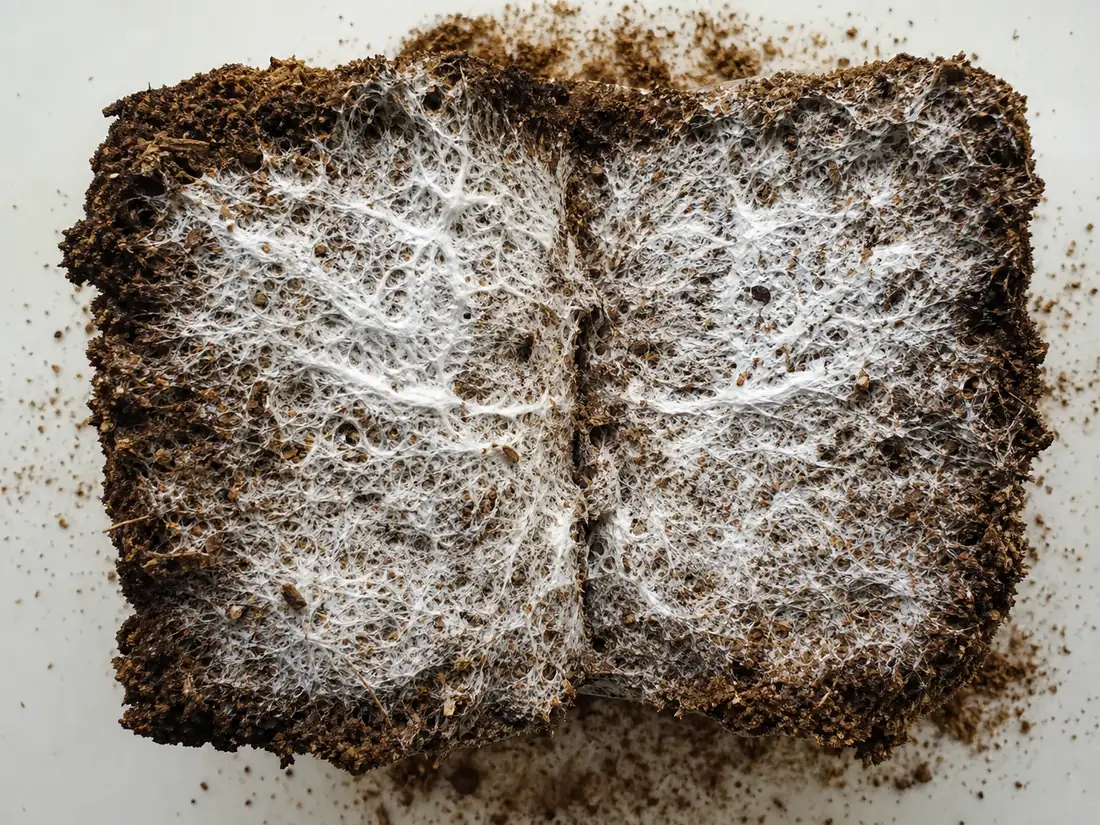
Lion's Mane colonizes straw slowly and rarely captures it before Trichoderma does, so the usual outcome is a green bag at week three rather than a harvest at week five. The month you spend finding that out is the real cost.
Hold these numbers, not a feeling
Most Lion's Mane advice is written in adjectives, and an adjective cannot be checked against anything. These are the targets worth holding, and each one has a cheap way to verify it.
- Fruiting temperature
- 18 to 24 C
- Colonization temperature
- up to 27 C, cooler is safer
- Humidity
- 85 to 95 percent, read at block height
- Fresh air
- 4 to 6 air changes per hour, or fanning several times daily
- Light
- indirect, around 12 hours a day
- Substrate moisture
- about 60 percent, field capacity
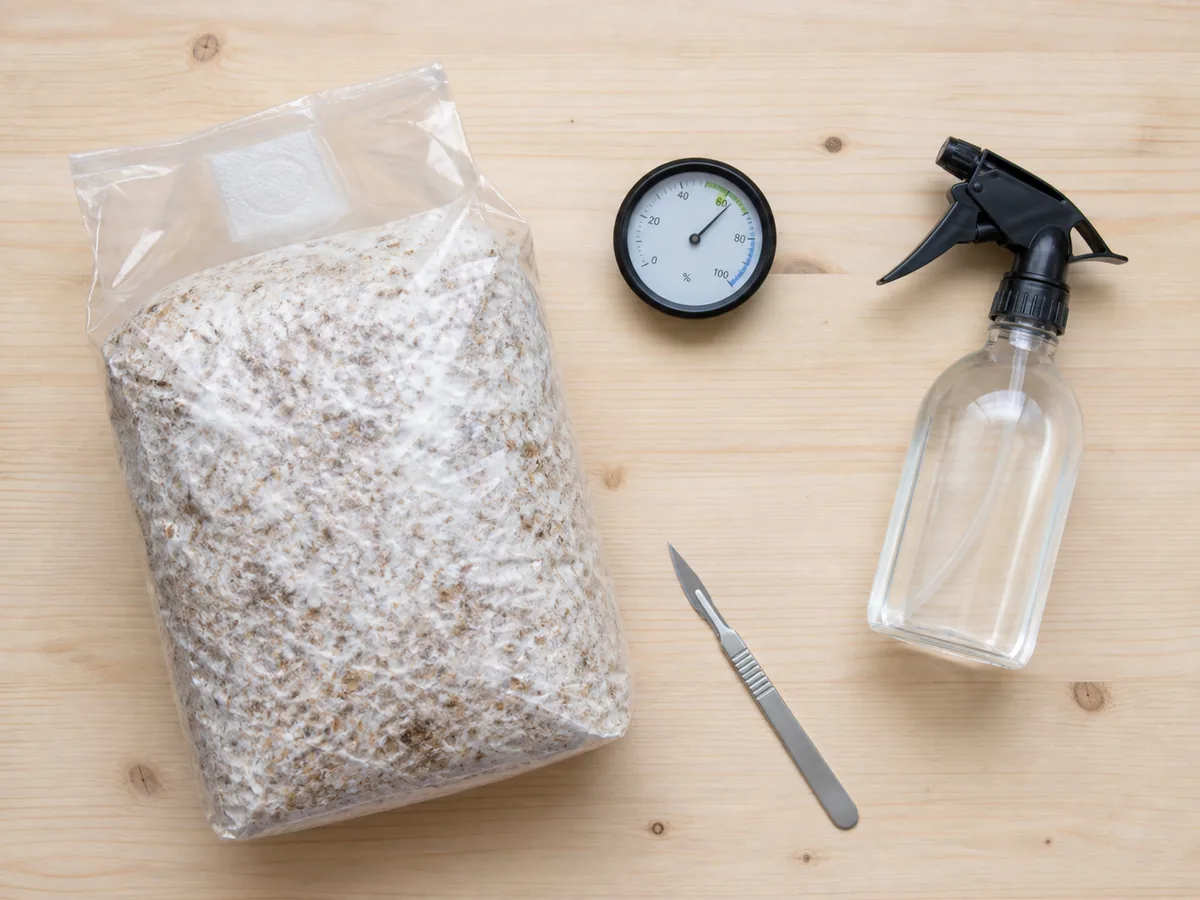
Measure humidity at block height rather than room height, because a tent will happily read 90 percent near the roof while sitting at 70 percent down at the surface where pins actually form. A cheap hygrometer parked beside the block settles that argument permanently and costs less than one replacement block.
Four to six air changes an hour sounds like equipment, and at home it rarely is.
Cutting two or three small holes in a humidity tent and fanning it open for thirty seconds three or four times a day covers a single block comfortably. A small computer fan on a timer does the same job unattended if you are away during the day, and either approach beats a sealed container that you open once.
Where you put the block in an ordinary house matters more than the equipment you buy for it.
A bathroom that gets used daily already runs warm and humid with regular air exchange every time the door opens, which is close to ideal. A kitchen swings too far on temperature during cooking, and a sealed closet gives you the humidity without the air, which is the one combination this species punishes.
Treat light as a timing cue rather than an energy source, because Lion's Mane draws its energy from the substrate and uses daylight only to decide when to pin.
Indirect daylight for around twelve hours is enough to trigger and orient pinning, so a north-facing windowsill or a shaded shelf works. A dedicated grow light adds heat and running cost without adding any yield.

How long does Lion's Mane take to grow?
From a fully colonized block, expect two to four weeks to first harvest. Starting from grain spawn adds another two to three weeks before that clock even begins, which is worth knowing before you promise anybody mushrooms.
Colonization is the stage that actually varies, because it tracks temperature, spawn rate, and how fresh the culture is. A block run at 24 C with a generous spawn rate can finish in a fortnight, while the same recipe at 18 C with tired spawn can still be patchy at four weeks.
Spawn rate is the lever most home growers underuse.
Grain spawn at 10 percent of the substrate weight will colonize, and pushing it to 20 percent cuts several days off the process while giving contaminants a much smaller window to establish. The extra spawn costs less than the block you lose when colonization drags.
Fruiting behaves far more predictably than colonization once the first pins appear.
Ten to fourteen days from first pin to a cut mushroom holds across almost every home setup, which makes it a useful reference point. If your pins have stalled for a week without visibly growing, the problem is a condition in the room rather than a slow strain.
A quiet week during colonization is normal. A quiet week after pinning is not.

Why most Lion's Mane growers should start with a block, not a bag
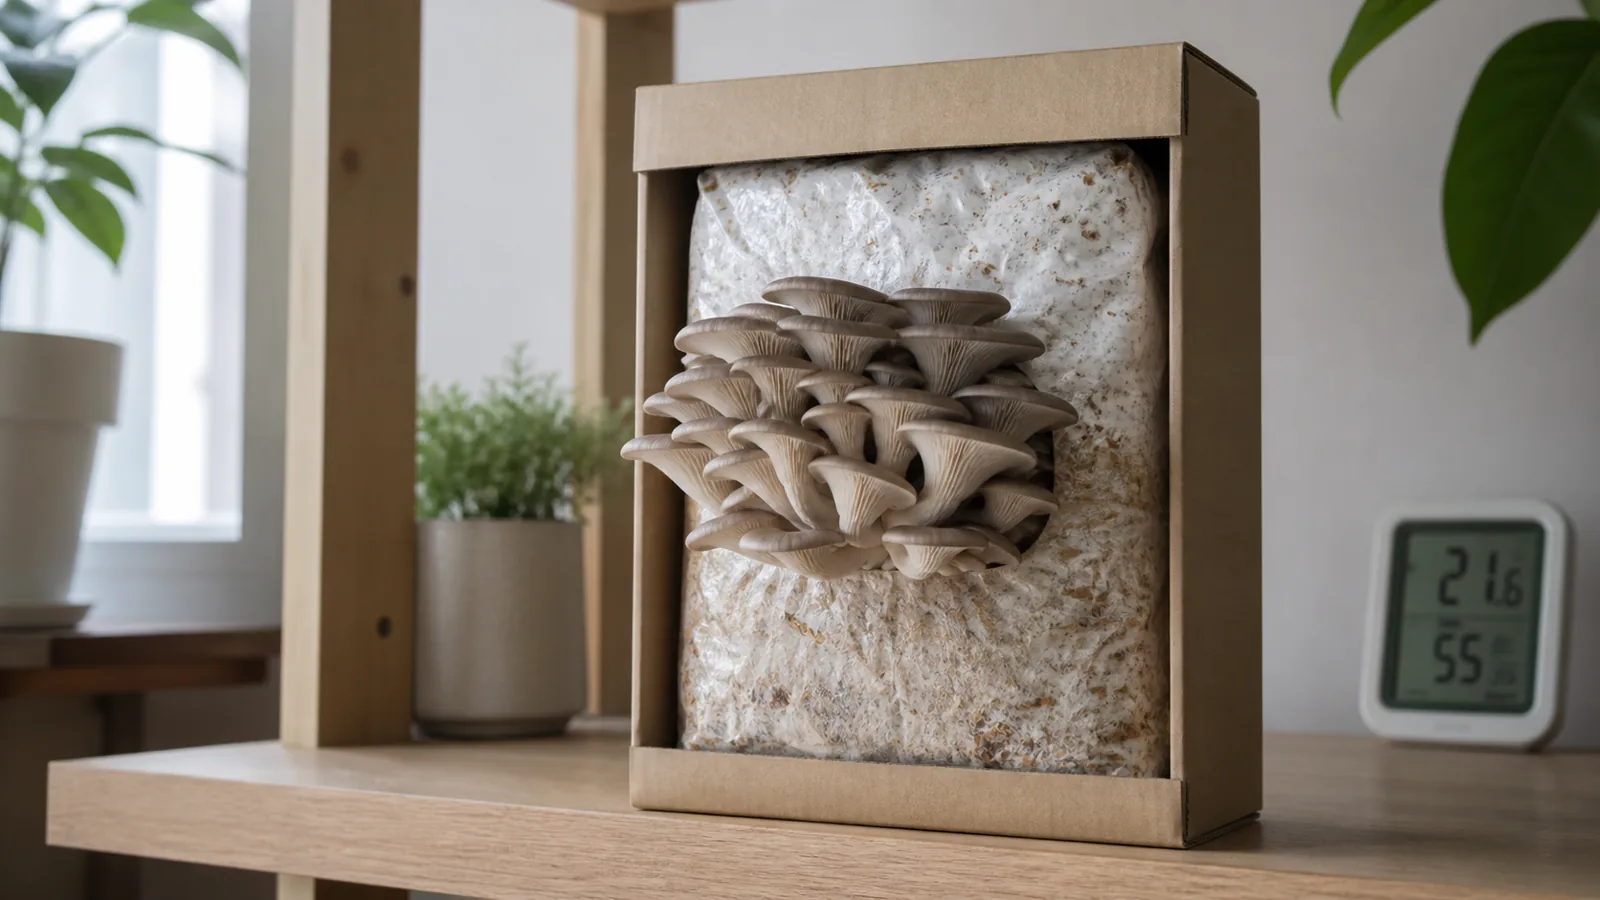
A retail kit is a colonized block with a humidity tent wrapped around it, and for this species that is usually the right first purchase.
Lion's Mane fruits quickly enough that a kit delivers a real harvest inside a month, and a first success teaches you what a healthy rounded fruiting body actually looks like. That reference image matters later, because every diagnosis in the next section depends on recognizing the normal shape first.
The ceiling is real though. A kit gives you one strong flush and often a weaker second, then the block is spent and you have learned nothing about the part that reliably goes wrong.
A bare colonized block costs less per flush and forces you to solve humidity and air yourself.
That is the version worth buying second, because the problems it hands you are the ones actually worth learning, and you keep the fast feedback loop while dropping the packaging. Most growers who stay with this species settle here rather than moving further up.
Growing from grain spawn is a different hobby with different equipment and a different failure profile. You need a pressure cooker, a still air box or a flow hood, and enough tolerance for losing bags that the losses do not end the project, which pays off only if you plan to run more than a few blocks a year.
Read the fruiting body: it tells you what is wrong
Lion's Mane is unusual among cultivated species because its shape works as a readable instrument. Each common failure shows up as a specific deformity, and each deformity points at one correction rather than leaving you to guess between three.
Branched coral fingers mean carbon dioxide rather than dryness, and the correction is airflow.
Open the tent wider or fan more often, and resist the urge to mist, because adding water to a stale-air problem gives you a wet block wearing the same shape. If the branching stops and new growth thickens within about three days, the diagnosis was right.
A block that finishes colonizing and then refuses to pin is usually waiting for a trigger rather than for water. Drop the temperature by a few degrees overnight, or cut a fresh slit if the exposed surface has skinned over into a tough layer, because either one acts as the shock that starts primordia.
Yellowing tips on the fruiting body mean one of two things, and the timing tells you which.
Yellow on a young fruiting body points to dry air, so check the hygrometer at block height before changing anything else. Yellow on a mature one means the harvest window has already closed and the next decision is when to cut, not how to fix it.
Pins that form and then shrivel to a brown crust are aborts, and they read differently from a block that never pinned.
An abort means conditions changed sharply after primordia had already committed, most often a humidity crash when a tent was left open too long or a heater cycled on nearby. Remove the aborted pins so they do not rot against the block, then hold the conditions steady and the next set usually carries through.
Color changes on the block surface belong to a different category from anything the fruiting body shows.
A pink or orange sheen across the surface is bacterial and usually follows over-watering, and easing off the mist while increasing airflow will often let the block recover. Brown patches that turn dusty green are Trichoderma, and that block goes outside in a sealed bag rather than back onto the shelf.
Long spines hanging from a thin, sparse base mean the block is running low on stored nutrition. On a third flush that is an ordinary end-of-life signal, and on a first flush it is a verdict on your substrate recipe rather than on your fruiting conditions.

The harvest window you will miss the first time
Harvest while the spines are still white and under about a centimeter long.
The fruiting body will look like it has more growing left to do, and cutting it anyway is the right call, because the last few days of growth cost you more in texture than they add in weight. A five pound block typically gives 300 to 500 g on that first flush.
Cut flush against the block with a clean blade rather than twisting the mushroom off. Twisting tears substrate away with the fruiting body and opens a ragged wound that the next flush has to heal around before it can pin.
Waiting for a bigger mushroom costs you twice over, once in the kitchen and once in the tent.
The flesh turns bitter and faintly sour as the spines yellow, and a mature fruiting body sheds spores across every surface you were trying to keep clean. Growers who hold out for a bigger mushroom usually end up with a worse one and a dirtier tent.
What you do in the ten minutes after cutting decides how well the block restarts.
Brush any loose fragments off the cut face rather than leaving them to soften, because those scraps are the first thing to mold and they sit exactly where the next flush needs to pin. Then close the block up and move it out of the fruiting airflow.

The second flush is half the size, and the third is rarely worth the shelf
Rest the block for one to two weeks after cutting, back in low light and out of the fruiting airflow.
Second flushes usually land between half and sixty percent of the first by weight, which is a normal decline rather than a sign that anything went wrong. The mushroom is spending stored nutrition that the block cannot replace.
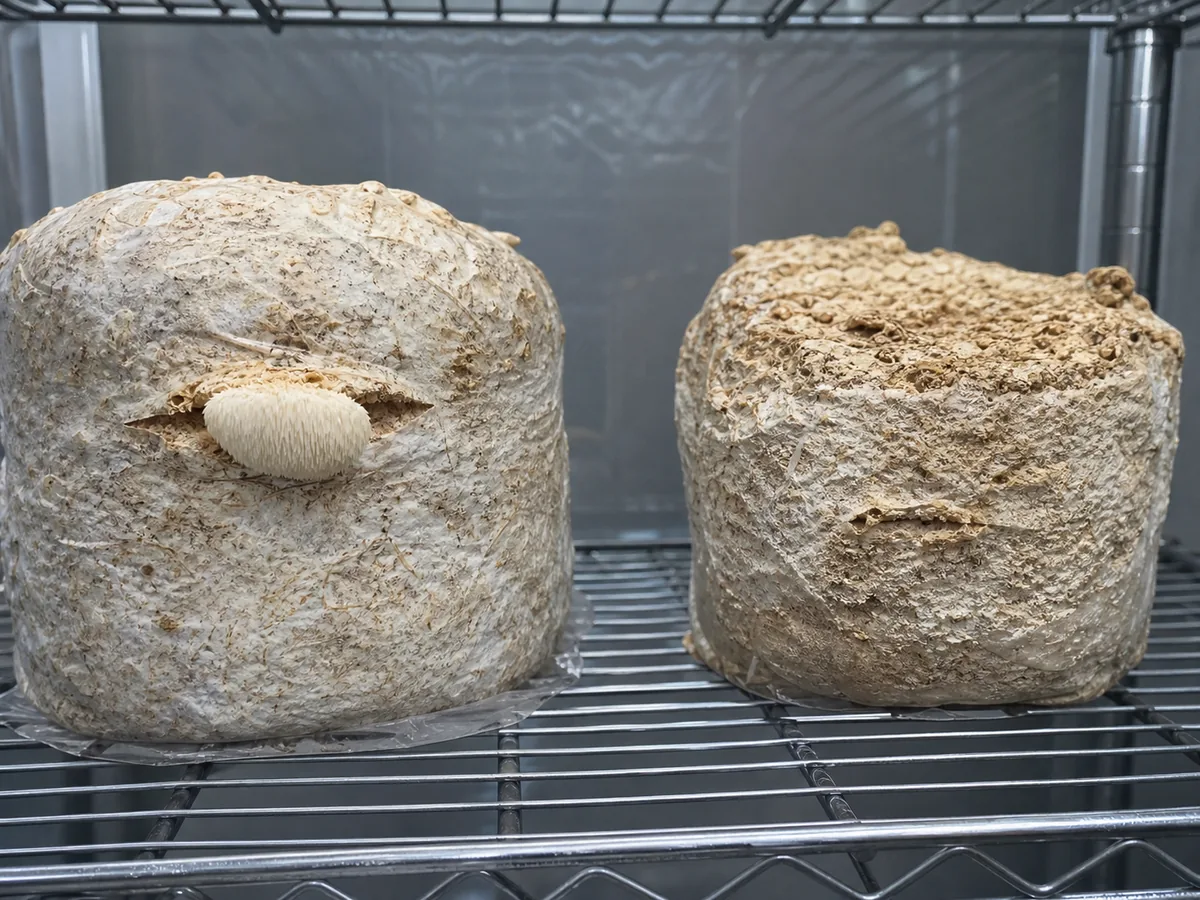
A third flush is possible and seldom worth the shelf space that a spent block keeps occupying.
If you want one anyway, soaking the spent block in cold water for a few hours will often trigger it, and composting the block afterwards is a better use of the shelf than a fourth attempt.
What goes wrong that is not contamination
Not every failed block has mold on it, and that is the case growers find hardest to diagnose.
A block can be visibly clean, fully colonized, and still never produce a harvest worth cutting. When that happens the cause is almost always something that already occurred weeks earlier, which is why the fix belongs to your next block rather than this one.
The most common cause is heat during colonization. A block held above 27 C for several days survives and looks perfectly normal, then fruits thinly afterwards, and no amount of correct fruiting conditions will recover the yield it lost.
The second most common cause is a humidity tent with no air holes.
Old spawn is the quiet third. Culture past roughly six months colonizes slowly and gives a sparse first flush, which reads like a technique failure when it was really a supply problem you inherited at purchase.
Keep a block that is clean and colonized even after a disappointing flush, because a weak first harvest often still has a second one behind it. Discard it once the surface shows green or the substrate smells sour, since neither of those recovers.
Work the checks in this order before you write off a block.
Sources & References
- Penn State Extension Substrate preparation, sterilization and contamination control in mushroom production.
- Cornell Small Farms Program Specialty mushroom cultivation guidance for small-scale and home growers.
- Paul Stamets, Growing Gourmet and Medicinal Mushrooms Reference text for Hericium erinaceus substrate formulation and fruiting parameters.