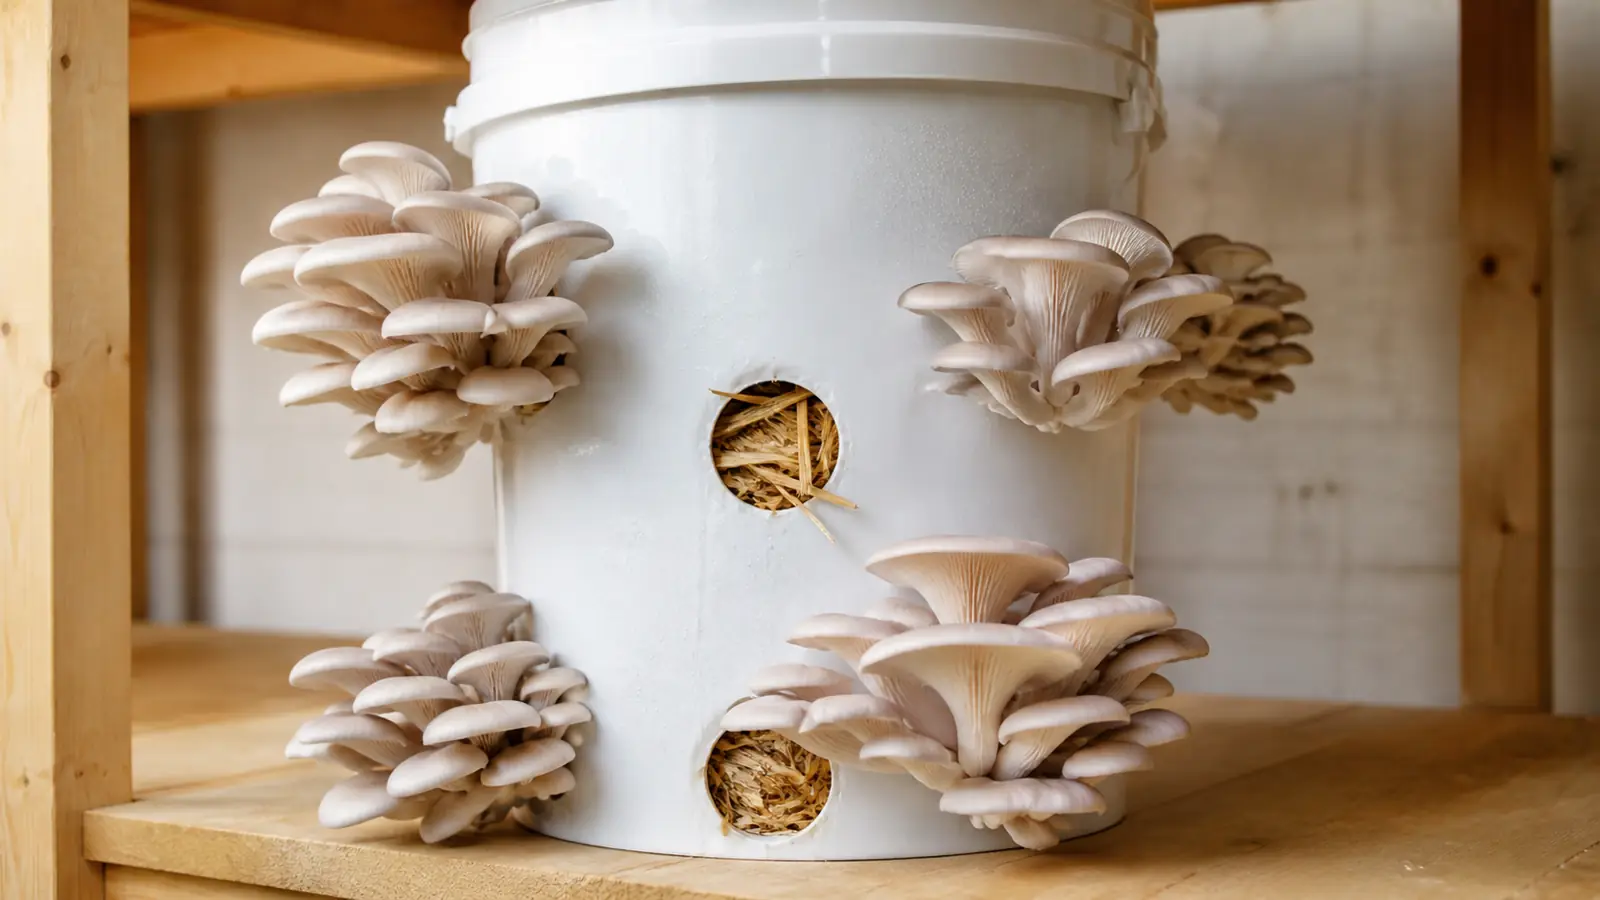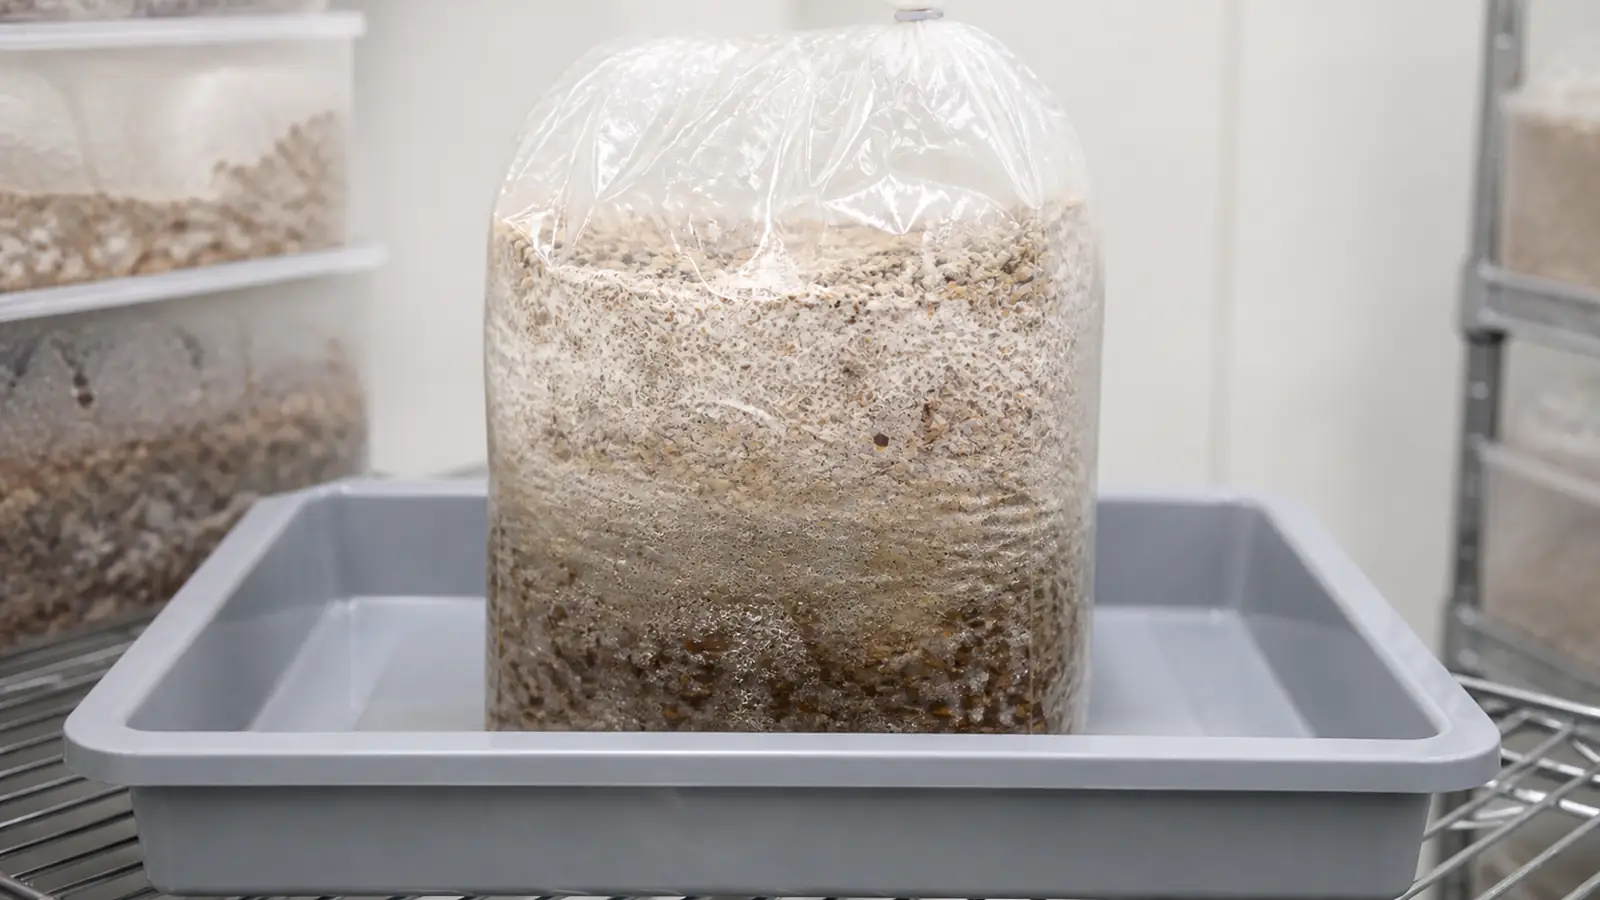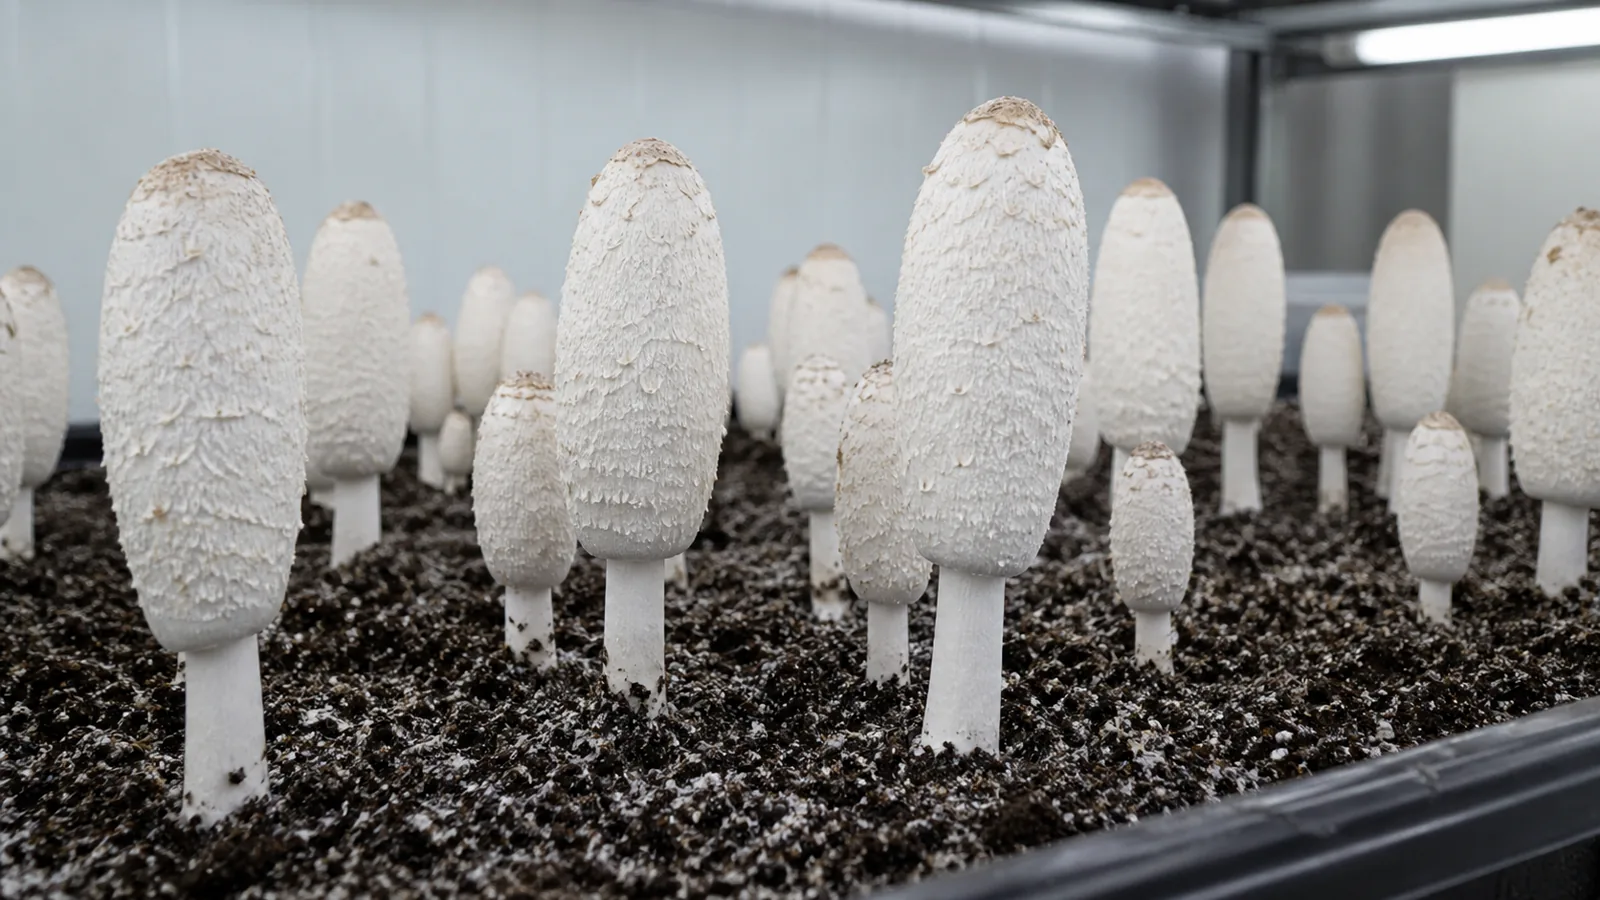
Grow verified Coprinus comatus on a complete compost or tested sawdust system, let the colonized substrate mature, then apply an even casing layer. Once white cylinders rise, inspect often and harvest before the cap margin changes from white to pink or gray.
Shaggy mane cultivation has a slow middle and a very fast ending. The substrate can spend weeks colonizing and maturing, yet a firm white mushroom can begin turning pink, gray, and black within the final harvest window.
The crop is easier to manage when you treat casing as a required developmental surface and the cap margin as the clock.
A generic cut-and-mist block routine misses both decisions.
What makes this crop different from other ink caps?
- Cultivated subject
- Verified Coprinus comatus culture
- Developmental surface
- A measured porous casing after substrate maturation
- Harvest boundary
- Firm closed white cylinder before the lower margin turns pink
Coprinus comatus produces the tall white cylinder covered with loose shaggy scales that gives shaggy mane its name. The young cap stays closed around the upper stem, then digests its own gills and cap from the lower margin upward as spores mature.
That process is deliquescence, and it is normal development rather than proof that the culture has rotted.
It still closes the harvest window because the cap loses structure as pink turns to gray and then black liquid.

Do not substitute spawn sold only as an ink cap. Several unrelated mushrooms liquefy, and a shared visual behavior does not make their substrate, safety, or harvest instructions interchangeable.
Record the unopened culture package and its lot before inoculation.
If the seller cannot name C. comatus or explain whether the supplied spawn was tested on compost or a formulated medium, the grow has no reliable cultivation method.
| Evidence before starting | Why it matters | Stop condition |
|---|---|---|
| Scientific name and lot | Connects the crop to one traceable culture | Only a common trade name appears |
| Tested substrate | Keeps strain and production system together | The seller says any waste material works |
| Casing instruction | Shows how fruiting will be initiated | The method jumps from colonization to misting |
| Harvest description | Defines the last closed-cap stage | Instructions wait for broad open caps |
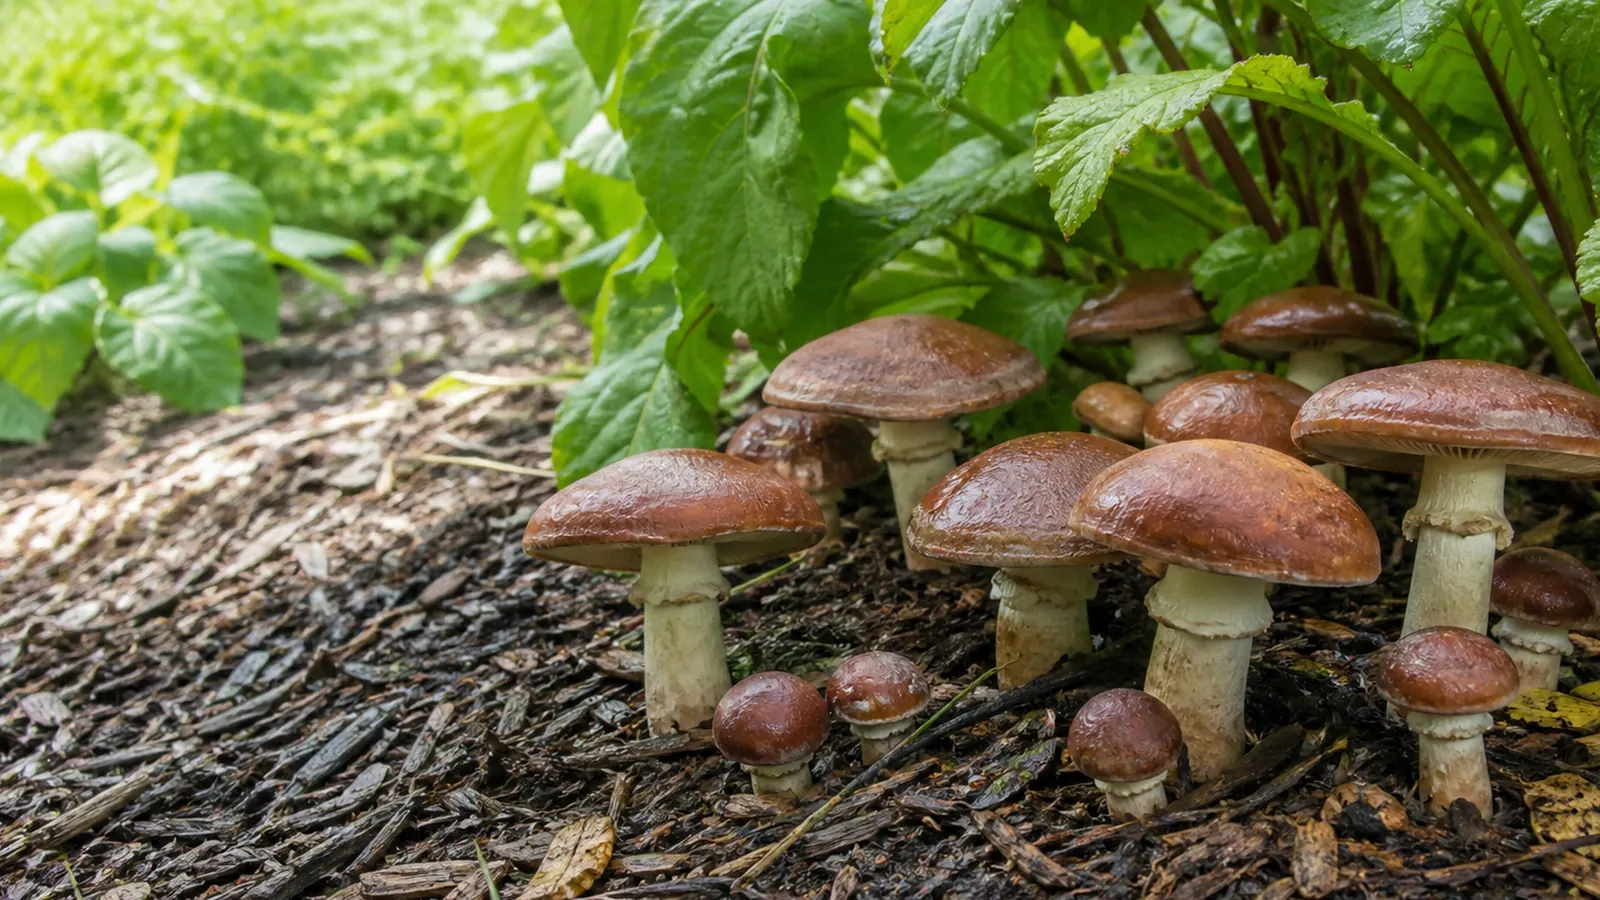
Wild shaggy mane can appear in lawns and disturbed soil, but this page does not turn a cultivated tray into a wild identification shortcut. Use only verified spawn and keep unknown outdoor mushrooms out of the production area.
The cultivated phenotype still needs to be documented.
Photograph the first normal flush from cap to stem base, because later changes are easier to judge when the production team has a known reference for that exact culture.
A culture that fruits as small smooth caps, develops colored gills before the expected cylinder forms, or behaves unlike the supplier description should be held from use. The correct response is to preserve the label and ask the supplier, not to rename the crop from one photograph.
Growing MushroomsWhat Does a Mushroom Farm Actually Cost to Start?Which substrate system should you commit to?
Both compost and formulated sawdust systems have produced C. comatus. A Taiwan cultivation trial found that two strains changed rank between rice-straw compost and a sawdust medium, which is useful evidence against one universal best recipe.
The practical rule is to adopt one complete strain-tested system.
Copying the straw percentage from one trial, the supplement from another, and the heat treatment from a third produces a new method with no measured performance.
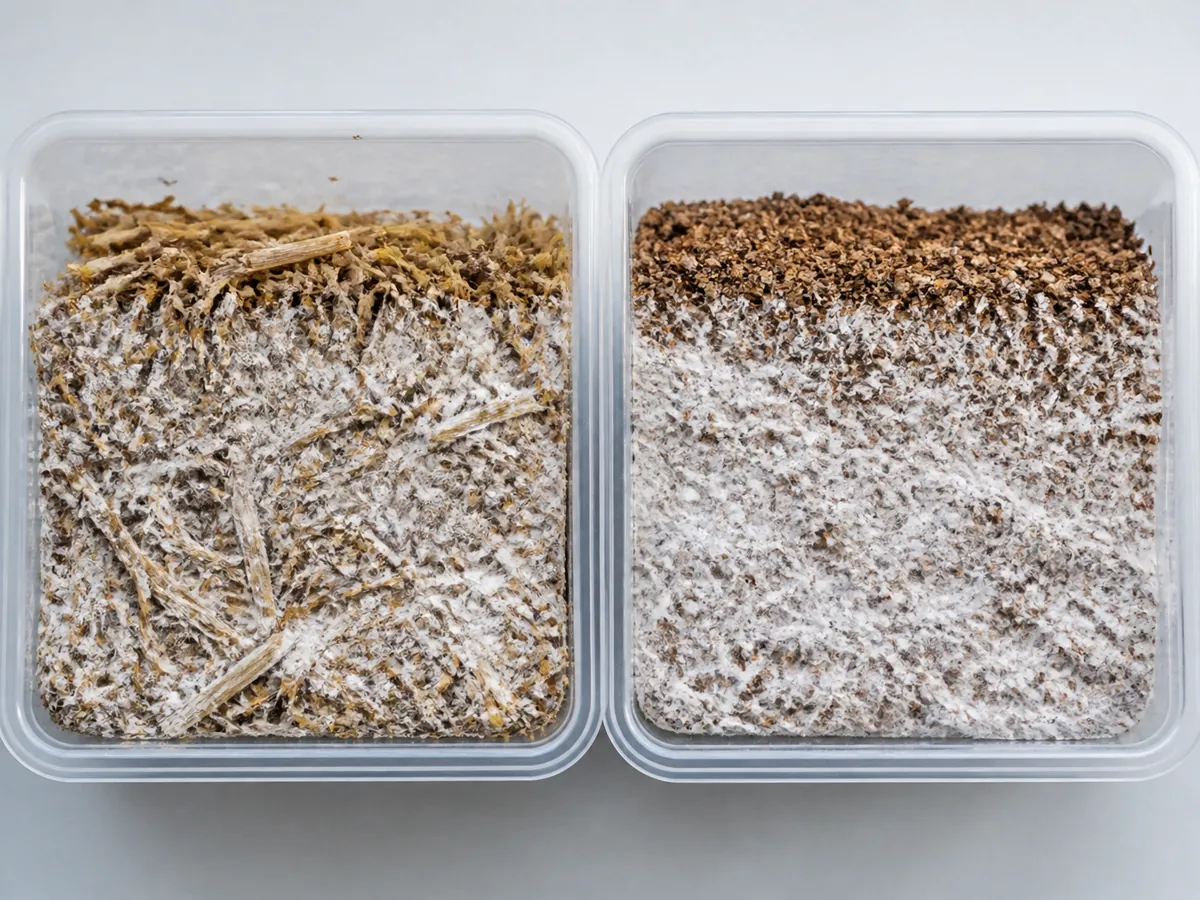
Rice-straw compost gains selectivity through managed decomposition and conditioning. A formulated bag relies more heavily on controlled ingredients, heat treatment, filter exchange, and clean inoculation.
| System | Main control point | Common upstream failure |
|---|---|---|
| Rice-straw compost | Complete conditioning and even bed structure | Raw or ammonia-rich material reaches spawn |
| Formulated sawdust | Formula, hydration, heat treatment, and clean transfer | Rich wet pockets support competitors |
| Cottonseed-hull blend | Particle mix and supplier-tested strain response | Dense material loses useful air space |
One factory study used cottonseed hull, rice straw, corncob, bran, cornmeal, and calcium carbonate in a defined formula. The value of that result is the complete tested combination, including its bag size, maturation, casing, and production environment.
Choose the route your equipment can verify.
- Buy conditioned mushroom substrate when you cannot monitor compost temperature, aeration, moisture, and ammonia through a complete cycle.
- Build a compost bed only when you can keep raw inputs separate, condition the full mass evenly, and document the finished material before spawning.
- Use a formulated bag only when you can weigh dry ingredients and water, treat the full load, cool it behind an intact filter, and inoculate cleanly.
Container shape also belongs to the method.
The Taiwan trial found that a bag offering more fruiting area outperformed a bottle in its tested setup, so squeezing the same formula into a narrow vessel can change both gas movement and productive surface.
Compost structure must survive hydration and handling. Long fibers can preserve air paths, while fine saturated material can settle into a dense layer that heats unevenly and leaves the culture with little usable pore space.
Treat the first run as a system comparison rather than a yield contest. Equal wet mass, container depth, spawn rate, and labeling make it possible to see whether the culture actually prefers one prepared substrate under your conditions.
What proves the substrate is colonized?
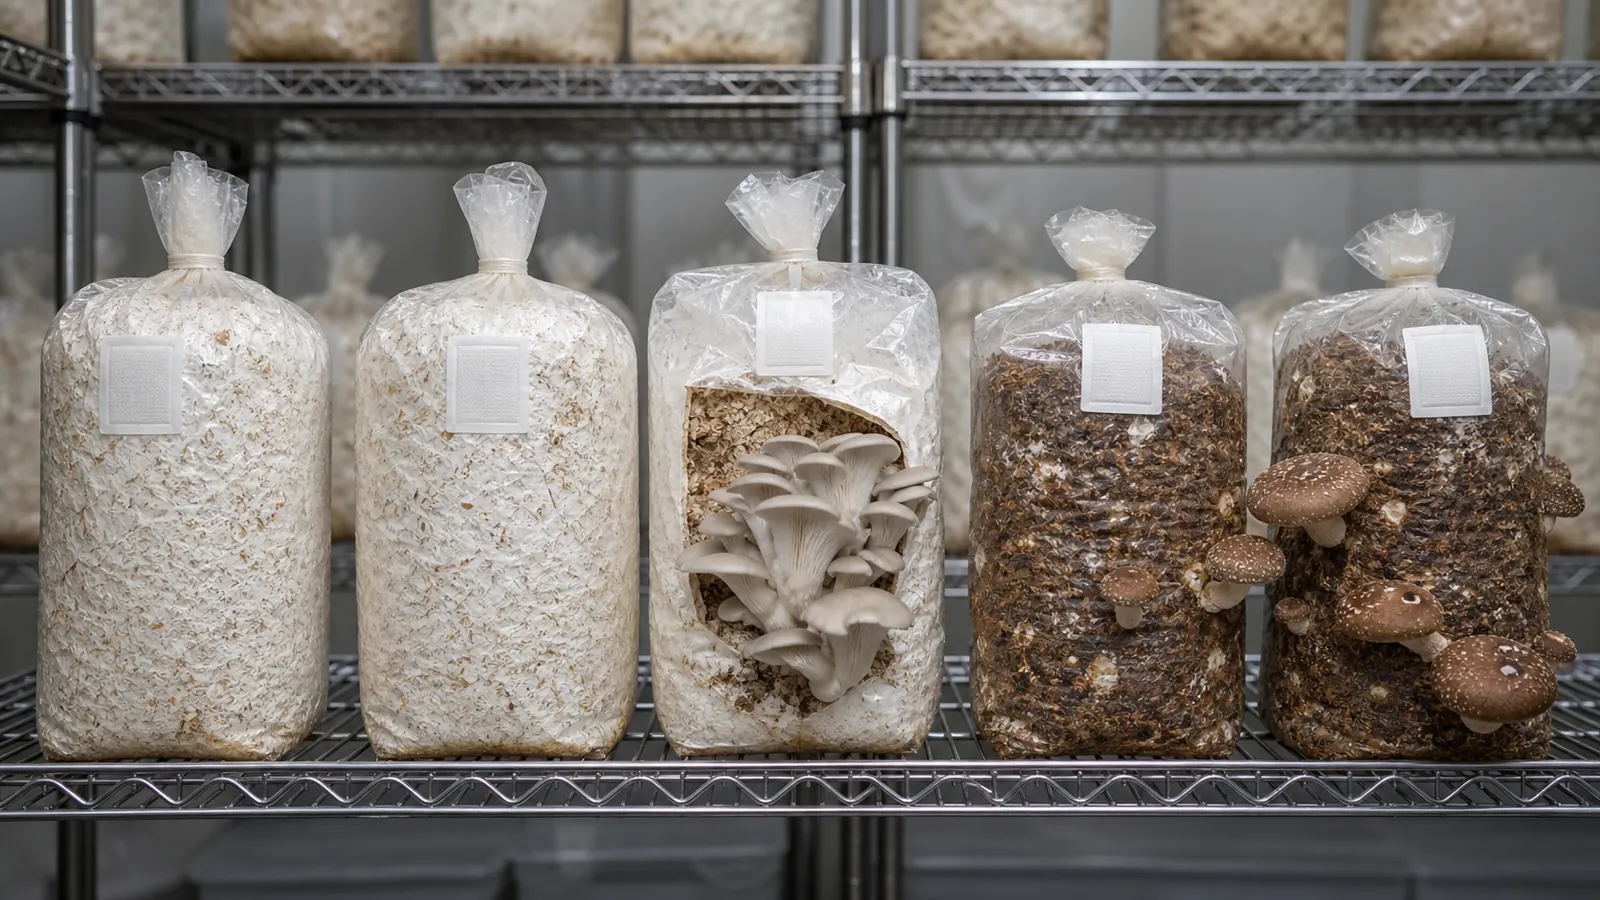
Shaggy mane mycelium should advance through the intended mass, not merely whiten the outside. Straw remains visibly fibrous, while a formulated bag may bind more densely, so readiness must be judged against the starting material.
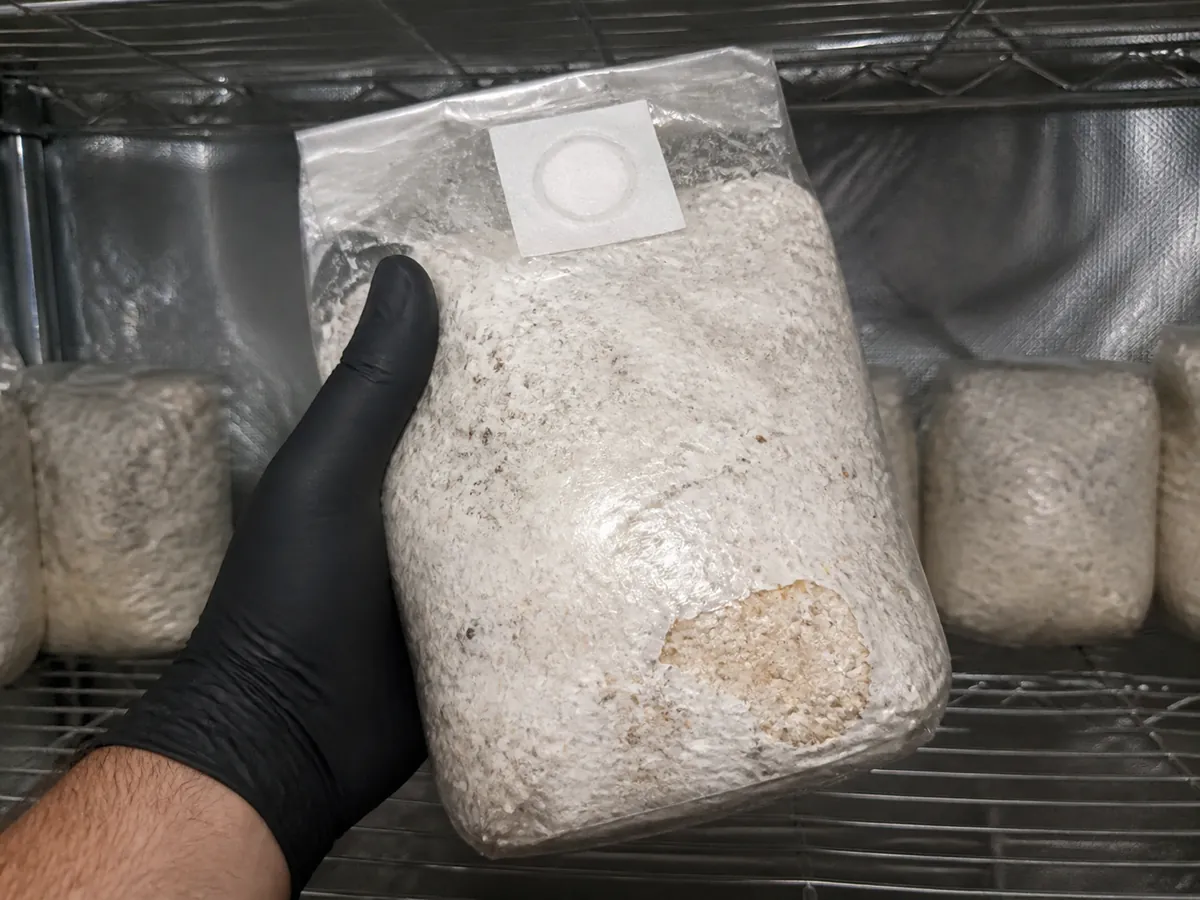
Compare the same faces and base under steady light on dated inspections.
A moving white boundary supports normal colonization, while a wet tan pocket that stays fixed or expands deserves isolation before the container enters a shared fruiting room.
Do not squeeze every bag to feel whether it is firm. Repeated compression fractures new connections and can draw room air through a weak closure or damp filter.
- Advancing
- Fine white growth crosses new straw fibers or substrate particles between observations
- Nearly complete
- Most material is occupied but one stable interior or base pocket remains visible
- Ready to mature
- The intended mass is coherently bound and no foreign boundary is expanding
- Isolate
- Green, black, pink, or slimy growth enlarges independently of the white culture
Substrate temperature can rise above room temperature during active growth, especially when bags touch or trays are stacked densely. Measure within a representative group and create spacing before reacting to one warm afternoon.
Surface moisture can also mislead.
Condensation on intact plastic shows a temperature difference, while free liquid collecting inside the substrate points to a hydration or structure defect that extra incubation will not fix.
When surface evidence remains ambiguous in a new formula, open only a sacrificial process sample. Routine production containers should stay closed because cutting one open destroys the barrier that makes later comparisons meaningful.
Map colonization by location, not one overall percentage.
A recurring unfinished base points toward water or compaction, while a recurring warm center can implicate spacing and container mass.
The speed of the leading edge matters less than its continuity. One fast white strand crossing a bag does not prove that the surrounding material is occupied, and exposing that bag early creates unprotected food for competitors.
Growing MushroomsHow Do Mushroom Sawdust Blocks Work from Mix to Fruit?Why wait after the bag turns white?
Full visible colonization and physiological maturity are not the same stage. The culture can occupy the substrate before it has finished digesting enough material to respond strongly at the casing surface.
A factory cultivation trial reported its highest yield after a 15-day post-colonization maturation period.
That result belongs to its strain, formula, container, and temperature, so fifteen days is evidence for the existence of a rest stage rather than a guarantee for every bag.
During maturation, keep the container closed and stable unless the validated method says otherwise. The aim is continued internal development without drying the top, overheating the center, or allowing a foreign colony to gain ground.
Record the date of apparent completion separately from the date casing begins.
When those events share one field, a later crop cannot reveal whether a weak pin set followed a short maturation period or a poor casing surface.
Maturation also gives the grower time to equalize the batch. Containers that finish at different dates should not be forced into one casing schedule merely to fill a shelf, because their biological starting points are already different.
Do not use prolonged waiting to rescue a questionable bag. A stable clean block may continue developing, but a wet unfinished pocket or expanding boundary remains a defect even when the rest of the container looks mature.
Photograph one marked face when the rest begins and again before casing.
A quieter-looking block can still be improving, while a new wet boundary shows that the extra time is no longer productive.
Do not compensate for an immature substrate with a thicker casing. Casing controls the fruiting interface, but it cannot finish colonization or hide a failed pocket safely.
Why does casing change the crop?
Casing is a moisture-holding, gas-exchanging surface where C. comatus can form primordia. It is not simply another nutritious layer to feed the mycelium.
In the Taiwan trial, uncased treatments produced no primordia.
A 3 cm peat casing outperformed 1.5 cm and 4.5 cm depths, showing that both absence and excess changed the result in that system.
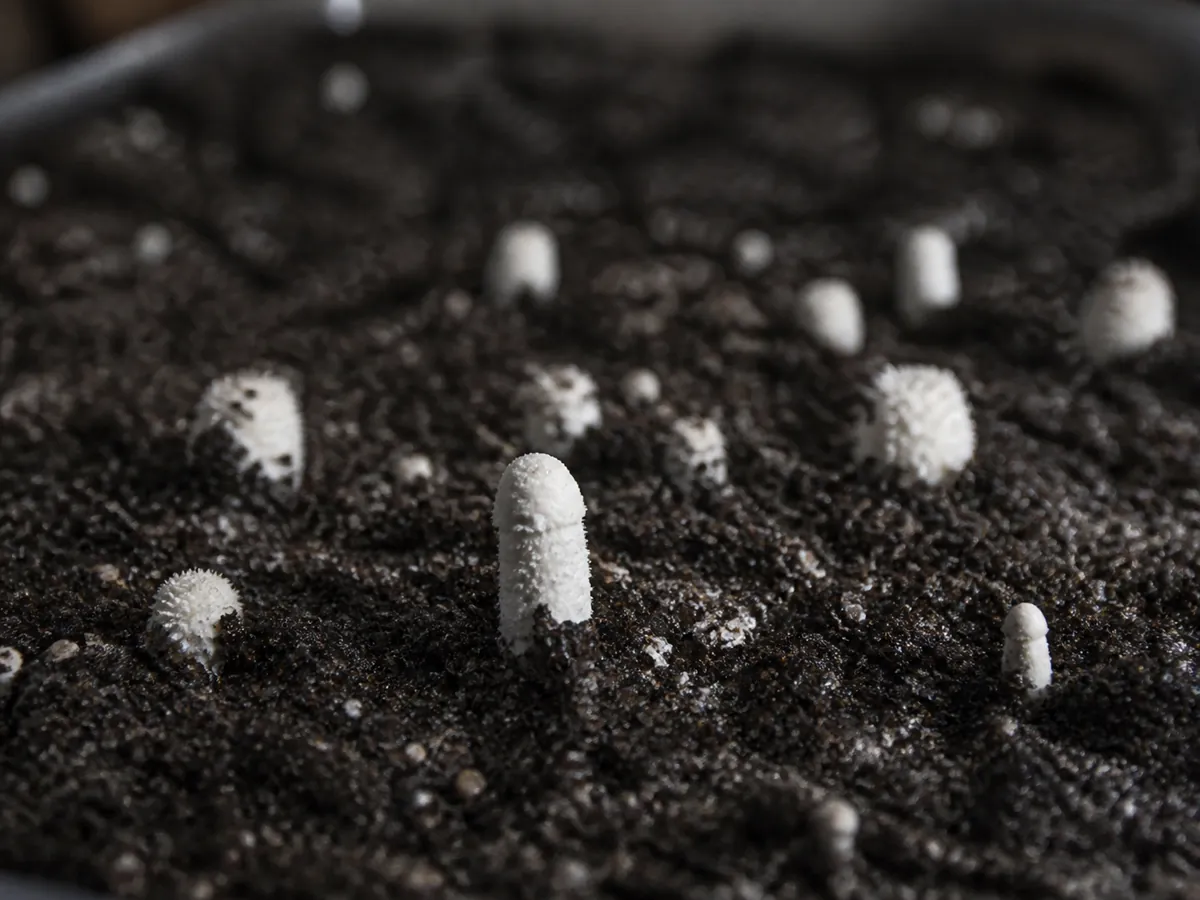
Apply the casing at a uniform measured depth after the maturation gate. Uneven hills create different water reservoirs and gas paths, so a patchy pin map may begin with the hand that spread the layer.
Prepare the casing
Use the material and sanitation method validated for the crop
Check moisture
The particles should hold together lightly without releasing free water
Spread evenly
Level the surface without compressing it into a sealed crust
Mark the date
Record casing depth, material batch, and wet weight where possible
Observe case run
Watch for controlled mycelial entry rather than complete white overgrowth
Water the casing, not the calendar.
A pale dry surface that loses mass needs a different response from a dark surface already shining with standing droplets.
Fine pores must remain open enough for air movement. Heavy direct watering can collapse them, carry contaminants across the tray, and leave the underlying substrate wet while the room still reads a suitable humidity.
If the surface dries repeatedly, look for a direct draft or excess exposed area before adding more water. Replacing evaporated moisture without fixing the cause makes the casing cycle between drought and saturation.
Measure casing material by tray rather than by eye from a communal pile. Equal depth with unequal wet mass can reveal packing or moisture variation that will later appear as an uneven pin map.
Edges deserve separate attention because exposed tray walls lose water differently from the center.
A narrow dry perimeter can be corrected at the environment or watering pattern before it becomes a ring with no pins.
Mycelium should enter the casing in a controlled broken pattern rather than seal it as a continuous white crust. A sealed surface exchanges poorly and makes each later watering more likely to pool.
Growing MushroomsHow Do You Build an Outdoor Mushroom Bed That Lasts?How should fruiting conditions change after pins appear?
The first white knots prove that the surface can initiate fruit bodies. They do not prove that the room can carry those pins through rapid vertical expansion.

Healthy young pins stay plump, upright, and evenly colored as the cylindrical cap develops.
Dry tips, leaning stems, and isolated aborts indicate a local problem before the crop reaches its most perishable stage.
Replacement air must remove accumulated carbon dioxide without stripping moisture from the casing. A fan aimed across the tray can correct one reading while creating a dry lane that appears later as uneven growth.
| Visible pattern | First condition to check | Bounded response |
|---|---|---|
| Even pins, slow enlargement | Substrate and air temperature | Verify stage range before changing moisture |
| Tall weak stems, small caps | Replacement air near crop height | Increase gentle room exchange, not direct wind |
| Dry tips in one lane | Draft and exposed edge | Redirect airflow and restore surface moisture gradually |
| Wet translucent pins | Direct spray or saturated casing | Stop wetting tissue and improve drainage |
Light can provide directional information, but strong sun adds heat and uneven evaporation.
Use diffuse light and judge its success by upright organized growth rather than by brightness alone.
Once cylinders begin enlarging, inspect at least morning and evening. The final transition can move faster than the earlier fruiting stage, and waiting for a convenient weekly harvest defeats the crop's biology.
Avoid touching caps to test firmness repeatedly. Use photographs, measured height, surface appearance, and the cap margin so handling does not bruise the same tissue you are trying to evaluate.
Crop density changes the local climate between stems.
A crowded patch can retain moisture and carbon dioxide while a sparse edge dries, so one sensor above the tray cannot explain every fruit body.
When a lane develops differently, trace it backward through vent position, tray depth, casing mass, and water delivery. That spatial comparison produces a useful correction without rewriting the entire fruiting program.
Pins that abort after a sudden environmental change should be removed only when they soften or threaten the surface. Healthy neighboring pins may resume development once the responsible condition is stabilized.
Which changes are normal and which mean isolate the tray?
Pink, gray, and black beginning at the lower cap margin can be normal deliquescence. A colored colony spreading independently across casing or substrate is a different event and must not be excused as ink-cap behavior.
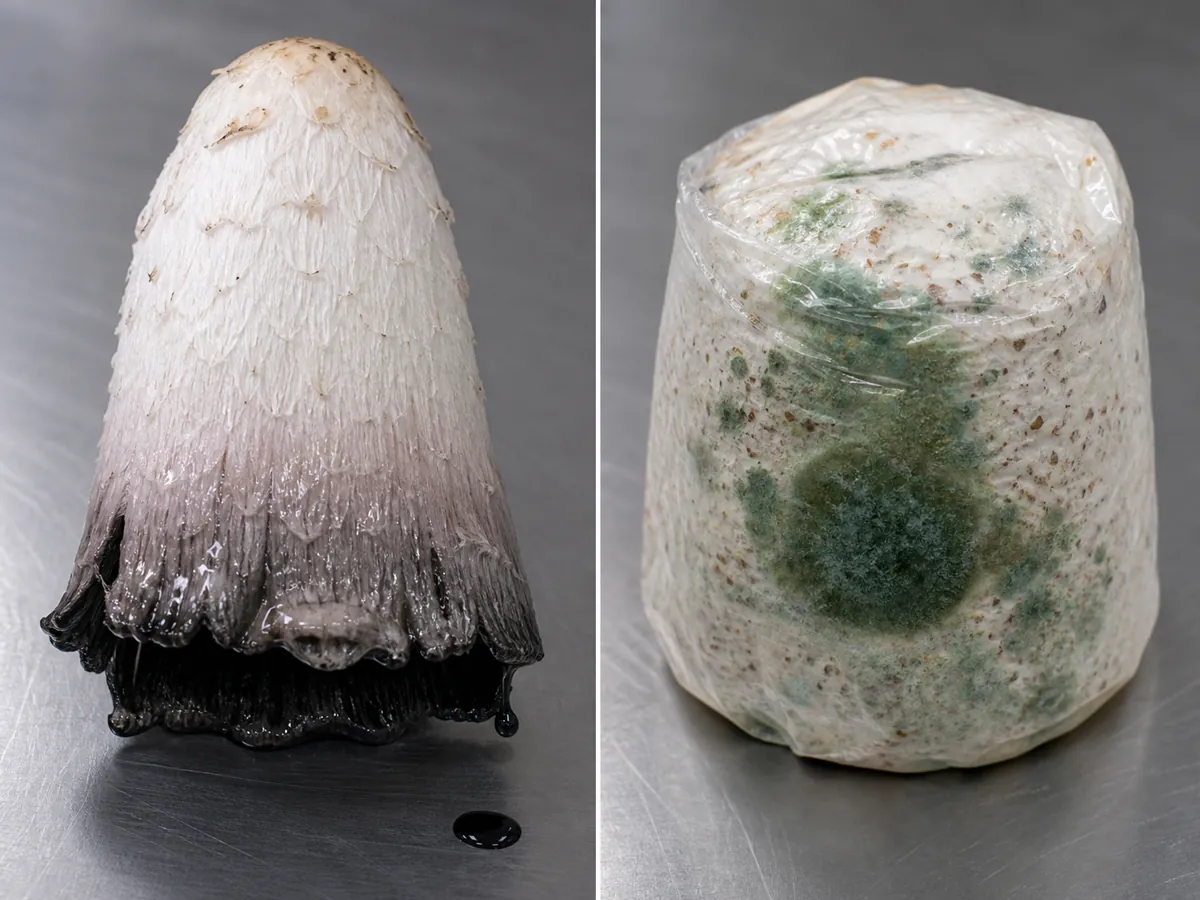
Follow the boundary.
Deliquescence stays attached to organized mushroom tissue and advances upward from the margin, while mold establishes a fuzzy or powdery territory that crosses particles without respecting the fruit-body outline.
Warning
Isolate before diagnosing closely | Keep a suspect tray away from clean cultures, avoid opening or sniffing it indoors, and record the first location and date of the change.
Sour liquid, collapsing substrate, insects, or sharp off-odors through a closed container also change the decision. They point beyond ordinary cap maturity and make a salvage experiment a risk to neighboring crops.
Remove individual overmature mushrooms before their ink spreads across the casing.
Use clean tools and avoid grinding liquefying tissue into the surface, because debris can block pores and complicate the next inspection.
If several trays fail in the same physical corner, inspect airflow, temperature, water delivery, and handling there. If one container alone develops a sharp foreign boundary, preserve its batch record and remove it sealed.
Insects can move across a room before their damage becomes obvious.
Sticky monitoring outside the crop, clean drains, screened openings, and rapid removal of waste help identify pressure without spraying unapproved products over food mushrooms.
Keep failed trays out of the harvest workflow. Tools, gloves, and transport bins used for isolation should not return to clean casing or finished mushrooms until they have been handled under the site's sanitation procedure.
Record the earliest visible location before disposal. A defect that begins at an inoculation point, filter, tray edge, or wet base gives more process evidence than the final color after the tray is overgrown.
When should shaggy mane be harvested?
Harvest while the cap is a firm white cylinder and the lower margin remains closed and white. A thin pink band is the warning that the preferred window is ending, not a decorative color stage to wait through.

Cut or lift the mushroom cleanly according to the tray method, then remove attached casing debris without tearing a wide crater.
Large holes dry unevenly and disturb the same moisture reservoir needed for later pins.
Work through the tray by maturity rather than size. A smaller mushroom with a pink edge is more urgent than a larger cylinder whose margin remains tight and white.
Schedule labor around the final stage instead of around a fixed harvest day.
Once the first cap approaches the warning band, shorter inspection intervals protect more quality than any late environmental adjustment.
Separate intact white mushrooms from specimens already softening at the margin. Mixing them in a deep container transfers ink and heat, and it removes the visible evidence needed to decide how rapidly the whole lot must be used.
Shaggy mane continues changing after cutting. Cool and use the crop promptly under appropriate food-safety guidance rather than assuming it stores like a firm button mushroom.
A sound casing may support another wave when the validated method allows it.
Clean the harvest sites, restore only the water actually lost, and wait for new organized knots instead of soaking the whole tray automatically.
Note
Let the cap margin close the crop | The best endpoint is not the largest mushroom. It is the last firm closed white stage you can harvest cleanly before deliquescence takes over.