Cultivated enoki needs a verified F. filiformis culture, a sterilization route matched to its substrate, complete colonization, cooler fruiting conditions, and stage-specific adjustments.
Which species is cultivated enoki?
| Question | Working answer |
|---|---|
| Current cultivated name | Flammulina filiformis |
| Older name in cultivation literature | Flammulina velutipes |
| Simplest starting route | A verified ready-to-fruit bottle |
| Main environmental change | Warm colonization followed by cooler fruiting |
| Home target | A healthy cluster, not a perfect copy of supermarket enoki |
Cultivated enoki is Flammulina filiformis. Older books and papers often call the same Asian cultivated subject F. velutipes, so a dated label does not automatically identify a different crop.
The distinction still matters because F. velutipes also applies to a related wild species complex. This guide covers verified cultivated Asian enoki spawn or a labeled fruiting bottle.
The 2019 cultivation review explicitly identifies F. filiformis as the cultivated species previously reported as F. velutipes. The USDA commodity list independently uses F. filiformis for enoke, so current trade naming and the review agree on the cultivated subject.
Those authorities settle the cultivated subject without making every older protocol interchangeable, so compare source date, verified strain, substrate, and production system before carrying over a temperature or timing value.
Do not clone a wild cluster and assume these conditions belong to it.
Growing enoki becomes manageable when five stages remain separate. They are substrate preparation, colonization, maturation, pin induction, and fruit development.
A temperature or air setting copied from one stage can damage another.
| Stage | Evidence before moving on | Change this stage owns |
|---|---|---|
| Colonization | White growth advances through the visible substrate, with published examples at 20 C or 16 to 18 C | Keep the bottle closed within the verified strain range |
| Maturation | Full white coverage stays sound through the supplier's rest period, including a one-week example | Delay surface treatment until maturation is complete |
| Pin induction | A mature prepared surface produces firm 2 to 3 mm primordia, with one protocol using 15 C and 90 percent relative humidity | Introduce the supplier's cooler humid range and modest light |
| Elongation and development | Pins keep growing without dry edges, pooled water, or soft tissue | Balance air, humidity, light, and optional physical support |
| Harvest and reset | Caps remain firm and the cluster cohesive, while the bottle shows no foreign growth or wet decay | Cut the joined base, cool the crop, then follow the supplier's reset or retirement instructions |
Why does grocery enoki look so different?
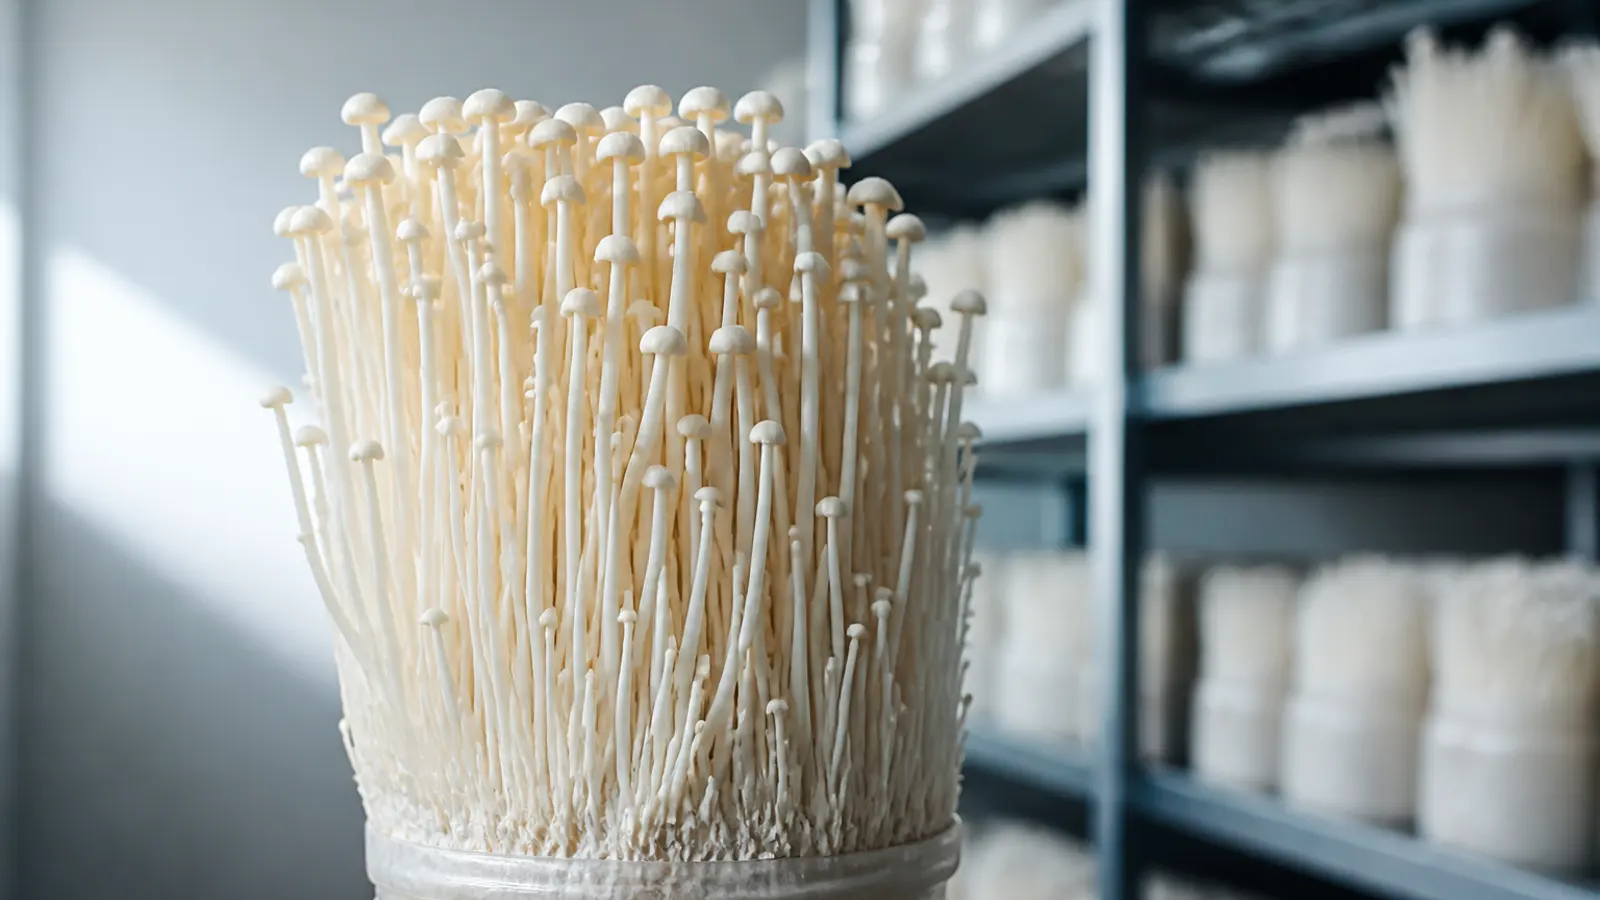
The long, white, tight bundle sold in grocery stores is a cultivated form, not the only healthy shape this mushroom can make. Strain selection, low temperature, limited light, managed carbon dioxide, and a paper or plastic collar all influence its color and proportions.
Key takeaway
Healthy home-grown enoki may have shorter stems and broader cream, yellow, or light brown caps. Judge the crop by steady development and sound tissue before judging it against a retail package.
The cluster should remain firm and continue enlarging between observations.
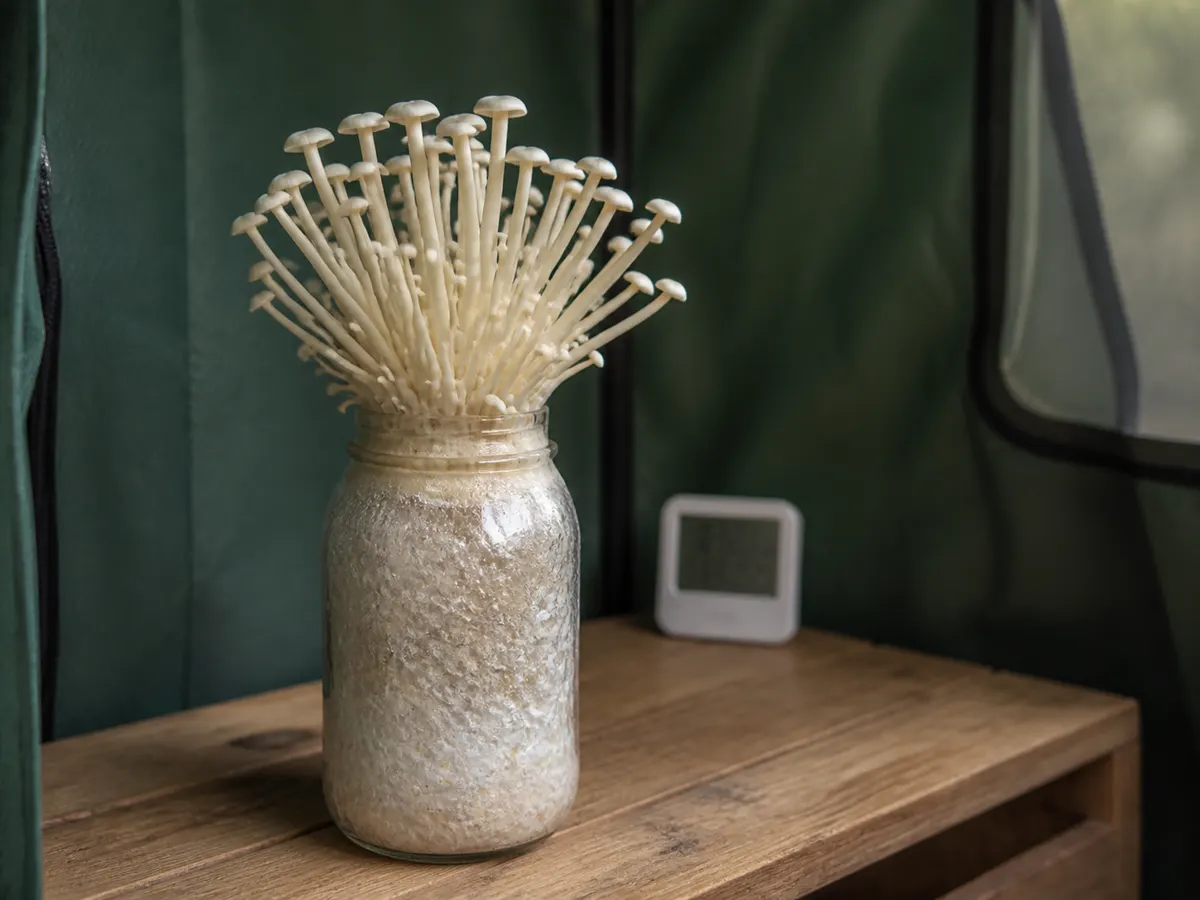
Light encourages pigment and normal cap development, while fresh air tends to produce sturdier stems and more open caps. Elevated carbon dioxide encourages elongation.
Those responses explain visible differences, but they do not justify sealing a home fruiting space or deliberately accumulating carbon dioxide.
Commercial farms control air, light, temperature, and collars together inside monitored rooms. At home, the better objective is clean, firm mushrooms under breathable conditions.
Which starting route can you keep sterile?
A ready-to-fruit bottle is the most controlled starting point because the supplier has already prepared, sterilized, inoculated, and colonized the substrate. Your work begins with maturation or fruiting instructions rather than sterile inoculation.
Starting with verified spawn gives more control over substrate and volume, but it transfers the contamination risk to you. Nutrient-rich sawdust and bran must be sterilized in suitable heat-safe containers and inoculated with clean technique after complete cooling.
Because a grower who can manage fruiting humidity but cannot sterilize supplemented bottles should buy the colonized stage, the route decision belongs before the substrate formula.

- Choose a commercial culture labeled F. filiformis and retain its strain instructions.
- Use filter-topped containers designed for mushroom cultivation and pressure sterilization.
- Keep substrate preparation separate from the clean inoculation area.
- Cool every bottle fully before introducing spawn.
- Reject a route if you cannot sterilize its supplemented substrate reliably.
A pressure vessel is not interchangeable with an open stockpot for supplemented sawdust. Follow the vessel manufacturer's capacity, venting, and operating instructions rather than improvising a pressure cycle.
One industrial protocol paired 60 to 65 percent substrate moisture with sterilization at 121 C for three hours before inoculation. That combination documents how tightly substrate condition, heat treatment, incubation, and clean transfer were controlled in that system.
It is evidence of production burden rather than a home cycle to copy because the published conditions belong to that formula, strain, and production system.
Growing MushroomsHow Do Mushroom Sawdust Blocks Work from Mix to Fruit?What substrate does enoki need?
Enoki digests lignocellulosic materials, so published formulas use sawdust, cottonseed hull, corncob, straw, wheat bran, or rice bran in different proportions. The useful lesson is material flexibility, not one universal recipe.
One controlled protocol used 58 percent cottonseed hull, 20 percent sawdust, 20 percent wheat bran, 1 percent gypsum, and 1 percent sucrose at 60 percent moisture. Another study used 65 percent sawdust with cottonseed hull, wheat bran, mineral amendments, and 60 to 65 percent water.
Both examples combine woody or fibrous bulk material with a supplement that supports the fungus after inoculation but also raises the cost of incomplete sterilization or dirty transfer.
Those are complete experimental formulas tied to particular strains, bottles, sterilization cycles, and rooms. Copying only the bran percentage or moisture number removes the controls that made the result interpretable.
- Substrate structure
- Fine particles carry water and nutrients, while coarse particles preserve small air spaces.
- Supplement effect
- Bran can support faster growth, but it also makes the bottle more inviting to competing organisms.
- Moisture check
- The mix should bind when squeezed without releasing free water.
- Packing
- Fill bottles evenly and leave the neck and filter path clean.
Lower-nutrient straw substrate uses a different material-treatment relationship. Do not transfer its pasteurization logic to a supplemented bottle formula.
After sterilization, let the center of every bottle cool to room temperature because warm substrate can injure spawn and an open cooling bottle draws room air toward a nutrient-rich surface.
When is the bottle ready for the next stage?
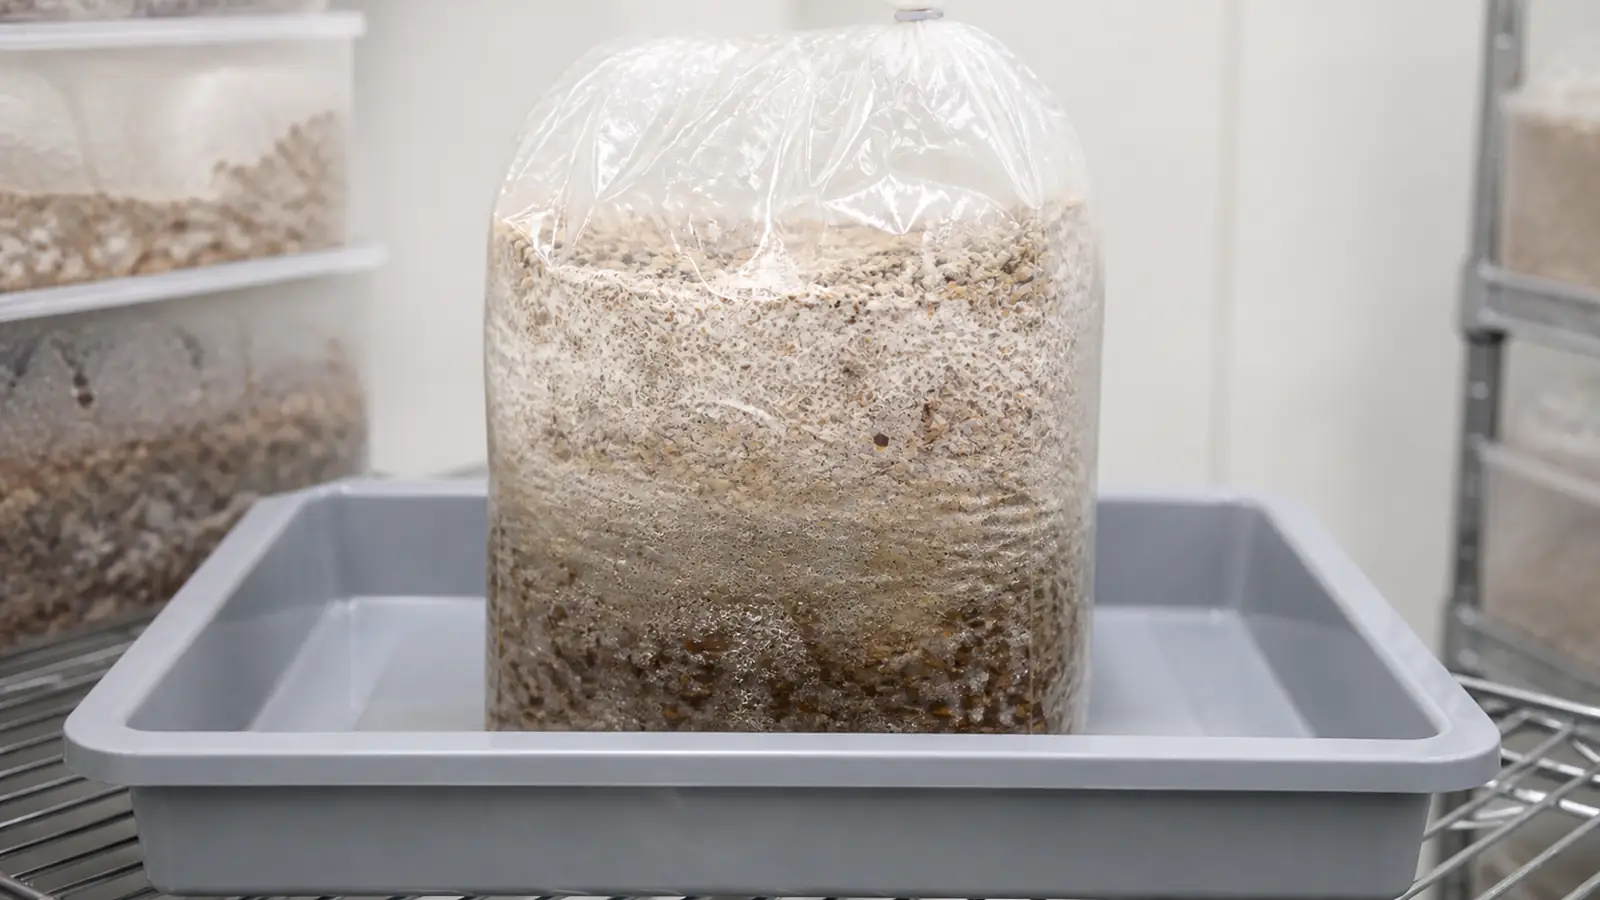
Colonization begins after clean inoculation and continues until white mycelium binds the visible substrate. The mushroom life cycle helps explain why fruiting conditions should wait until the feeding network has occupied the bottle.
Published schedules show the scale of the process without creating a promise. One F. filiformis protocol held bottles at 20 C in darkness for 25 days, while another used 16 to 18 C and then allowed a further week of maturation after full colonization.
Colonization and maturation are related but not identical. Visible white coverage shows that mycelium reached the bottle, while the added maturation interval gives that network time to consolidate before the surface is disturbed.
Complete visible coverage is the gate, so check the sides and bottom for uncolonized pockets, excess liquid, colored colonies, or a sharp break between healthy white growth and bare substrate.
Do not fruit a partly colonized bottle merely because a calendar date arrived. Unoccupied substrate remains available to competitors, and fruiting exposure removes some of the protection provided by a closed filter container.
Growing MushroomsHow Do You Build an Outdoor Mushroom Bed That Lasts?How do you induce enoki pins?
Commercial bottle culture often removes or scratches a thin surface layer before induction. The exact technique belongs to the container system and supplier instructions.
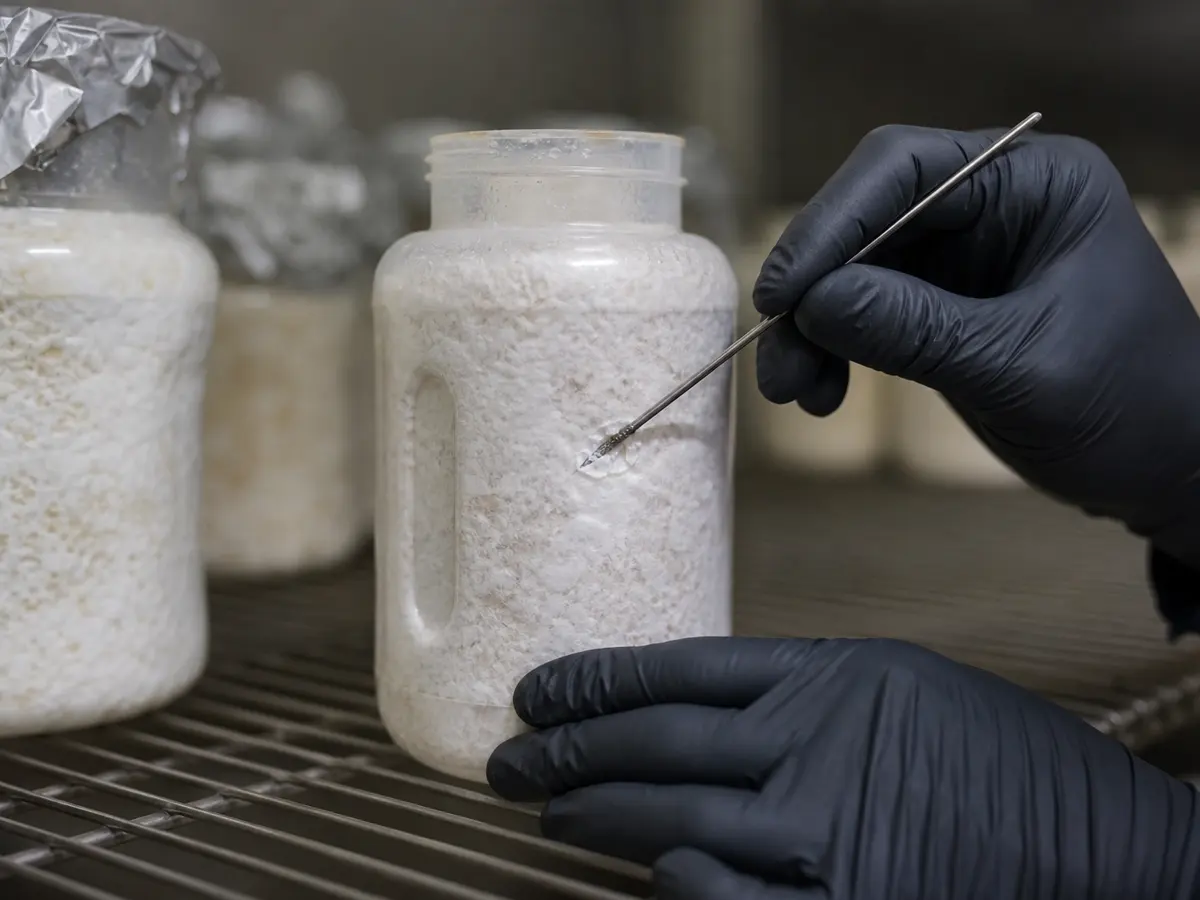
Move the mature bottle toward cooler, humid fruiting conditions rather than making every change at once. One published protocol used 15 C and 90 percent relative humidity for stimulation, with small primordia appearing after about ten days.
Another gradually reduced 14 to 16 C conditions toward 12 to 14 C while maintaining high humidity and modest light.
These ranges describe named protocols, not a single safe setting for every strain.
Use the supplier's fruiting range first, then read the surface for drying, pooling, and pin development.
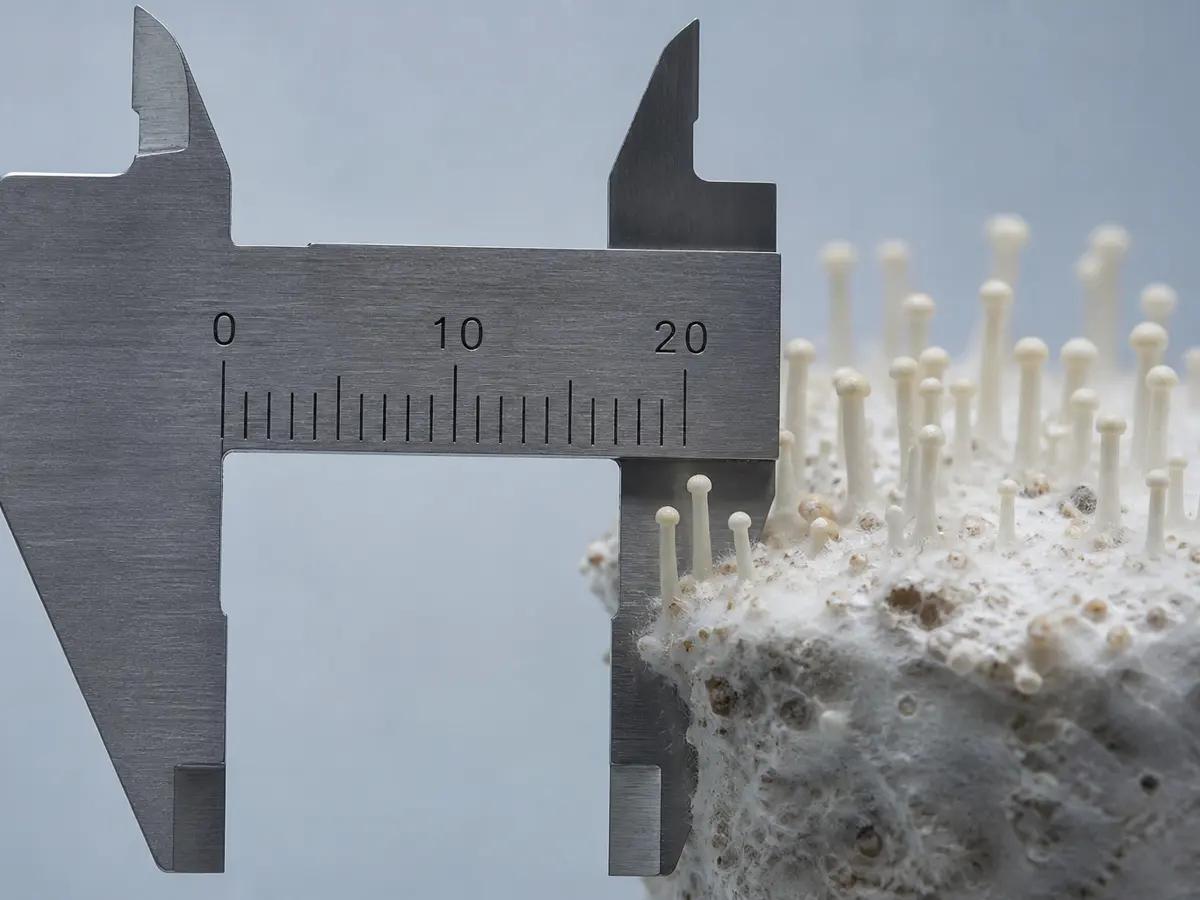
At induction, humidity should slow surface water loss without leaving standing droplets on the developing cluster. Aim mist at the chamber or humidification system, not directly at delicate pins.
Pins that enlarge across consecutive checks show progress. Pins that darken, soften, or stop while the surface dries point toward an environmental interruption, while wet collapsing tissue demands isolation and inspection.
Firm 2 to 3 mm primordia confirm that induction has started, but continued enlargement and sound surface moisture must precede the shift into development conditions.
How do you get long white enoki stems?
Once pins are established, the crop enters a development stage with different priorities. Cool conditions support the cultivated form, diffuse light guides organized growth, and air exchange prevents an uncontrolled carbon dioxide buildup.
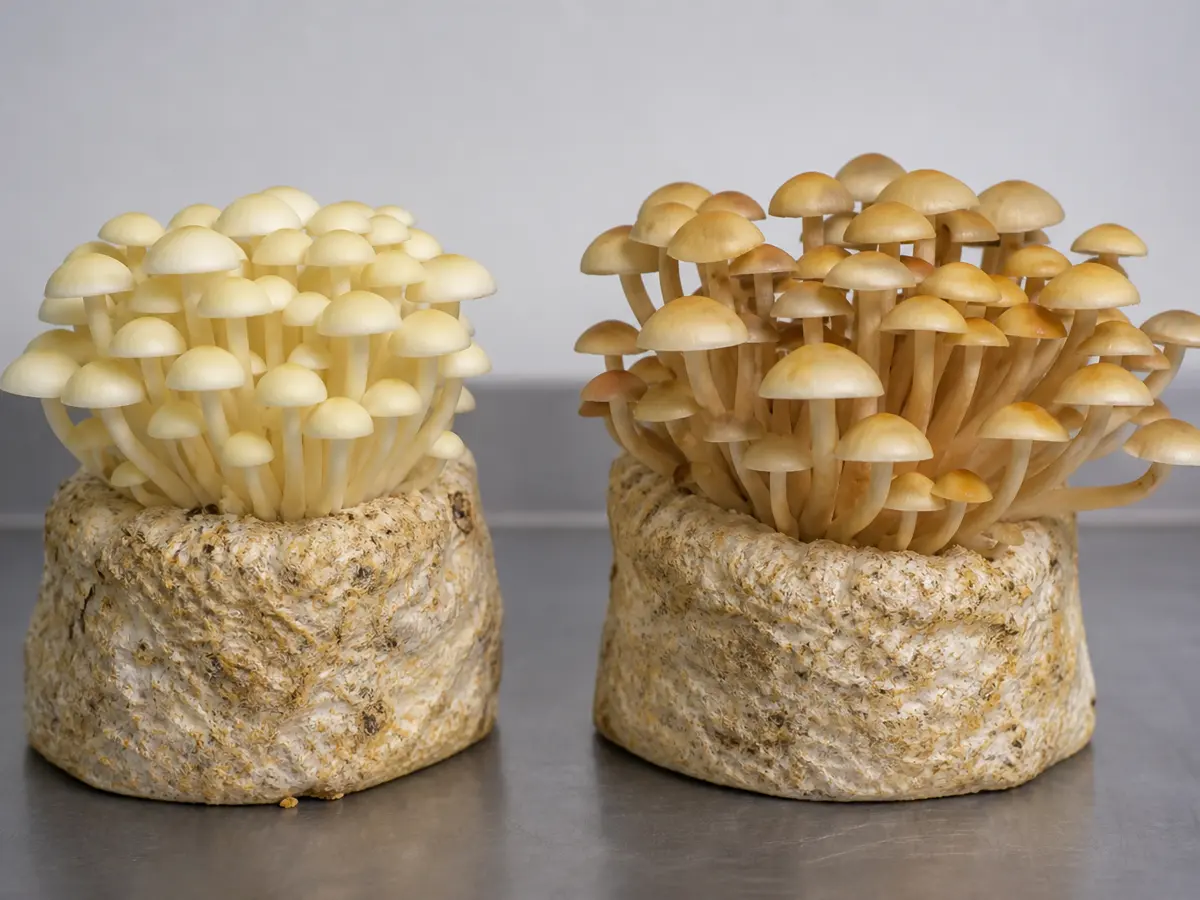
Commercial protocols sometimes cool toward 6 to 9 C during development.
Some also fit a collar after stems rise above the bottle and manage high carbon dioxide to produce long straight stems.
The production literature treats low temperature, weak light, a collar, and elevated carbon dioxide as one coordinated stem-elongation treatment. Removing one control from that system cannot promise the same long, narrow retail form.
Warning
Do not treat elevated carbon dioxide as a home production target in occupied space. Provide ventilation and accept a shorter, more open cluster unless you have purpose-built monitoring and controls.
A loose clean collar can support upright growth and keep stems gathered, but it must not trap free water or prevent necessary air movement. Fit it only after pins have cleared the bottle rim, and remove it if tissue rubs, bends sharply, or stays wet.
The collar changes physical support rather than replacing climate control, so condensation inside it requires crop-surface inspection even when the room sensor looks acceptable.
| Observation | Likely pressure | First bounded response |
|---|---|---|
| Long thin stems with tiny caps | Restricted fresh air or commercial-style shaping | Increase safe room exchange gradually |
| Shorter stems with broader colored caps | More light and fresh air | Accept if tissue is firm and growing |
| Dry cap edges | Excess evaporation or direct draft | Redirect airflow and restore ambient humidity |
| Wet translucent stems | Condensation or bacterial decay | Isolate the bottle and inspect |
| Pins leaning strongly | Uneven light or obstruction | Even the diffuse light and clearance |
When enoki stems stretch while caps stay small, inspect the collar and air path before changing temperature. When margins dry instead, correct evaporation first and compare the next growth period under that single change.
Measure conditions at bottle height because a shelf can differ from the room display. Record the time, cap form, stem form, and surface condition before changing anything.
When should you harvest enoki?
Healthy enoki mycelium is white while healthy caps can range from pale cream to warm yellow-brown, so fruit color must be distinguished from a foreign colony spreading across the substrate.
Expanding green, black, pink, or orange growth on the medium is an isolation cue. Wet sour-smelling substrate, slimy stems, or liquid collecting around collapsing tissue also belongs outside the fruiting room.
Warning
Keep a suspect bottle closed, move it away from the crop, and discard it according to local waste rules. Opening or sniffing it closely can spread spores and droplets through the room.
The growing contamination guide separates isolation from diagnosis. Review where the defect first appeared, because a failed sterilization or inoculation can become visible only after the bottle enters fruiting conditions.
A defect inside one sealed bottle points toward its substrate or inoculation history, while similar damage along one shelf makes local condensation, airflow, or handling the more useful place to investigate.
Keep the failed bottle's position and batch date in your notes. If the same defect repeats in bottles prepared together, investigate the shared preparation stage before changing the entire fruiting room.
Harvest while caps remain firm and the cluster is still cohesive. Grocery enoki is usually cut before broad cap expansion, but a more open home cluster remains usable when the tissue is sound and the strain supplier's harvest boundary is met.
Do not pull individual stems from a dense cluster because tearing the joined base leaves damaged tissue and substrate debris around the bottle mouth.
- Hold the cluster near its base without crushing the stems.
- Cut the joined base cleanly at the bottle mouth.
- Trim attached substrate away from food tissue.
- Cool the cluster promptly in breathable packaging.
- Clean the bottle rim before following the supplier's next-flush instructions.
A firm cohesive cluster can be ready to cut while its bottle is already nearing retirement. Inspect the substrate after harvest because spent structure, trapped water, foreign growth, or repeated weak pinning can end the cycle.
After cutting the joined base, trim substrate from the food, cool the crop, and clean the bottle rim. Proceed to the supplier's next-flush instructions only when the remaining substrate is sound and shows no foreign growth or wet decay.
The published clocks explain why one harvest date fails. A 25-day colonization example, a separate one-week maturation example, and about ten days to small primordia describe different stages rather than one interchangeable countdown.
Strain, bottle size, substrate, and room conditions still decide how those stages unfold in the culture at hand.
Sources & References
- Agronomic and Environmental Factors Affecting Enokitake Cultivation
- USDA Commodities Covered by PACA
- Flammulina filiformis Cultivation Conditions and Pigmentation
- Soybean Straw Substrate Optimization for Flammulina filiformis
- Cultivation Parameters for White and Yellow Flammulina filiformis
- Flammulina filiformis Fruiting Body Cultivation Protocol