Start with a few mushrooms you can verify from cap to base, not a big basket. The safest beginner forager learns the deadly shapes first, keeps every find separate, and eats only reviewed specimens.
Start with a small field goal. A beginner should learn a few mushrooms so well that every specimen can be checked from cap to base before anything goes near a pan.
The safest first season is not about filling a basket. It is about building habits that keep unknown mushrooms separate, keep photos useful, and keep a doubtful find out of dinner.
- First rule
- Eat only a mushroom you can identify from multiple features, not from color or an app match.
- First target
- Learn two or three local species before adding more.
- First gear
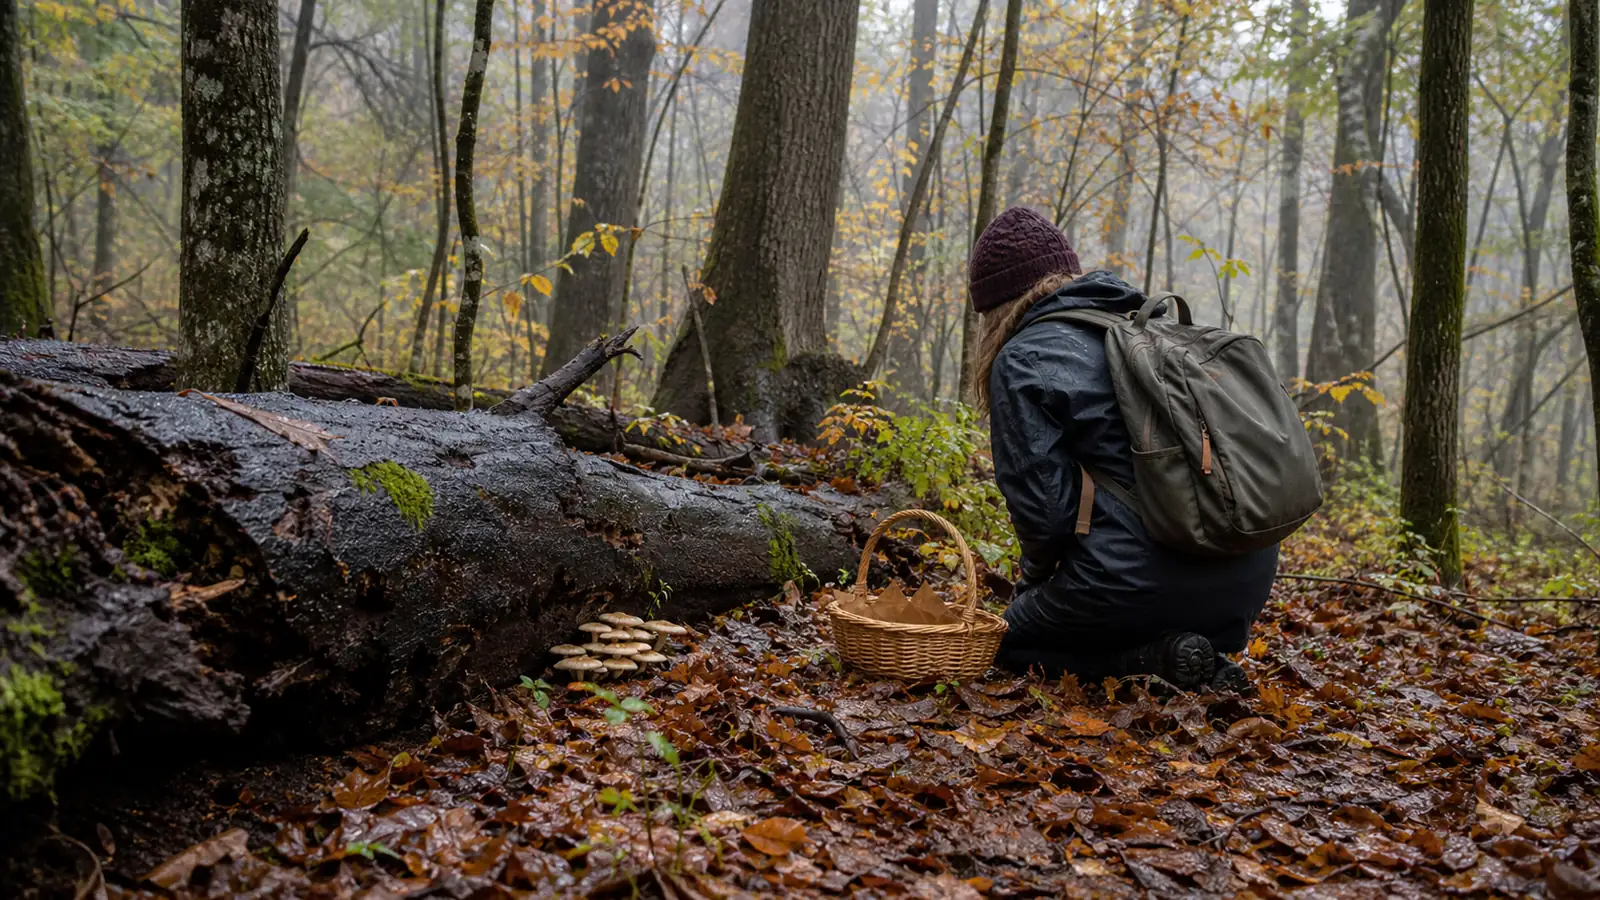
- Carry a basket, wax paper bags, a knife, a notebook, and a phone for photos.
- First stop
- Throw away any specimen that has a feature you cannot explain.
- First meal
- Cook a small portion of a verified edible and save one uncooked specimen in the fridge.
Start with the mushrooms you will leave behind
The first beginner skill is rejection, beginning with local deadly Amanita forms because a pretty cap never supplies enough information.
Amanita risk requires the whole mushroom because the basal cup or bulb, stem ring, gill color, and growth pattern work together. A cut stem or top-only photograph removes the evidence that matters.
The death cap risk belongs in your first notebook even if you are not hunting Amanitas. It teaches the habit that every edible must survive a lookalike check before it becomes food.
Warning
Never taste a wild mushroom to identify it. Taste does not prove safety, and some toxic species can cause serious illness from a small amount.
Which mushrooms should a beginner learn first?
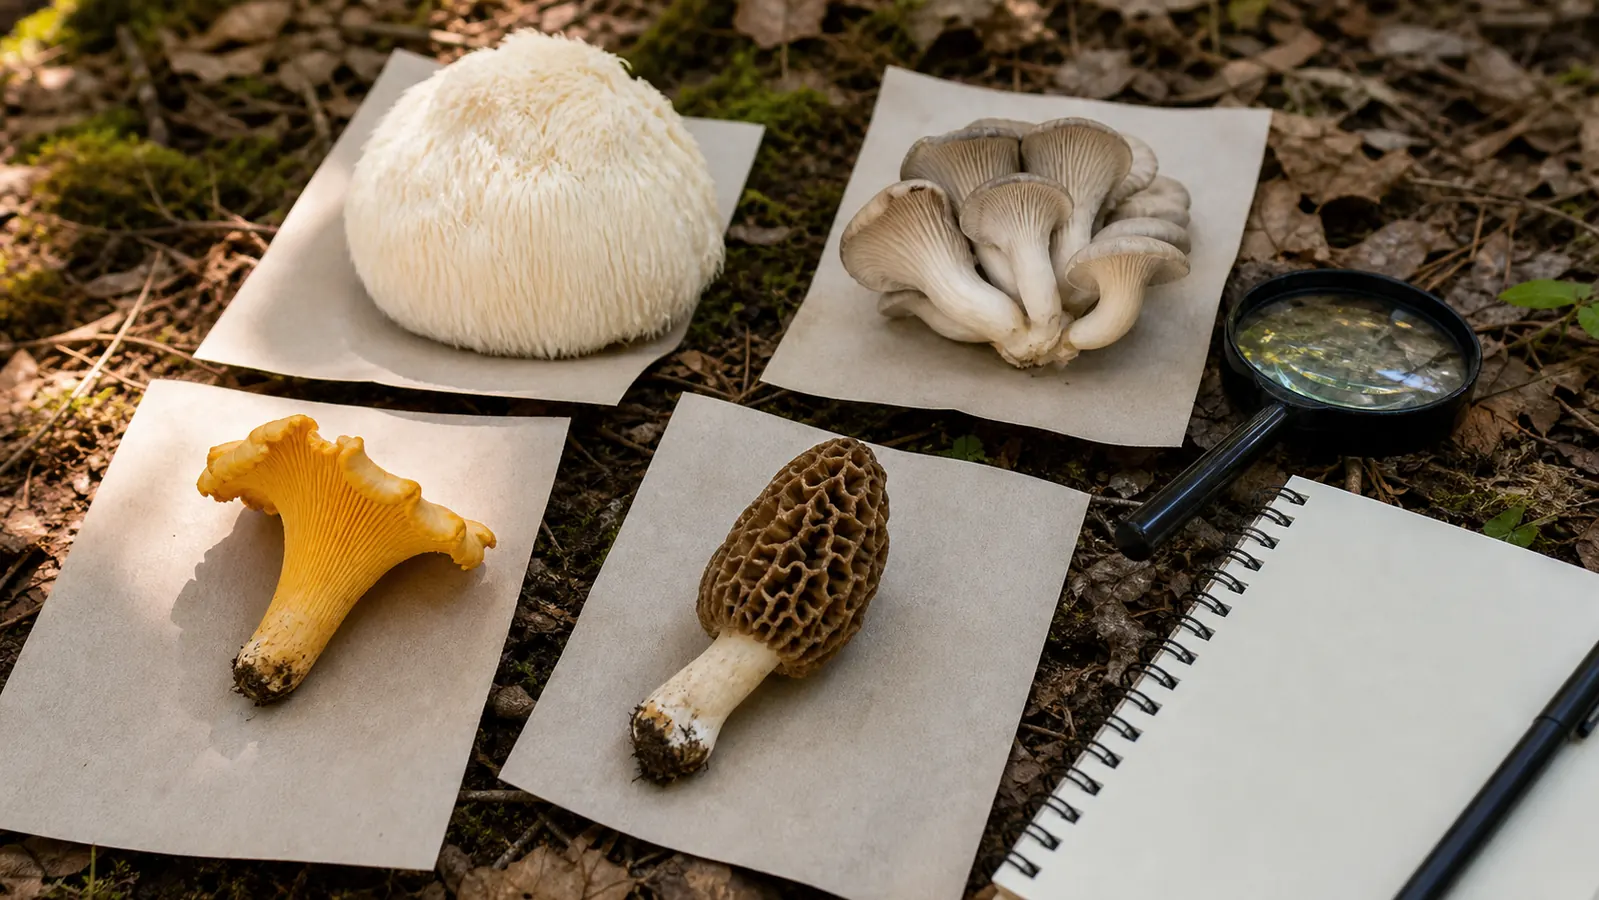
Choose mushrooms with bold structure and local mentor support. Good beginner targets often include chanterelles, oyster mushrooms, lion's mane, chicken of the woods, and puffballs, but only when those species are common in your region and you know their local lookalikes.
A beginner list never grants permission to eat because each specimen still needs a complete check, clean condition, and legal harvest site.
| Beginner target | Why it helps beginners | Stop if you see this |
|---|---|---|
| Chanterelle | False gills teach underside checks | Sharp true gills or orange flesh |
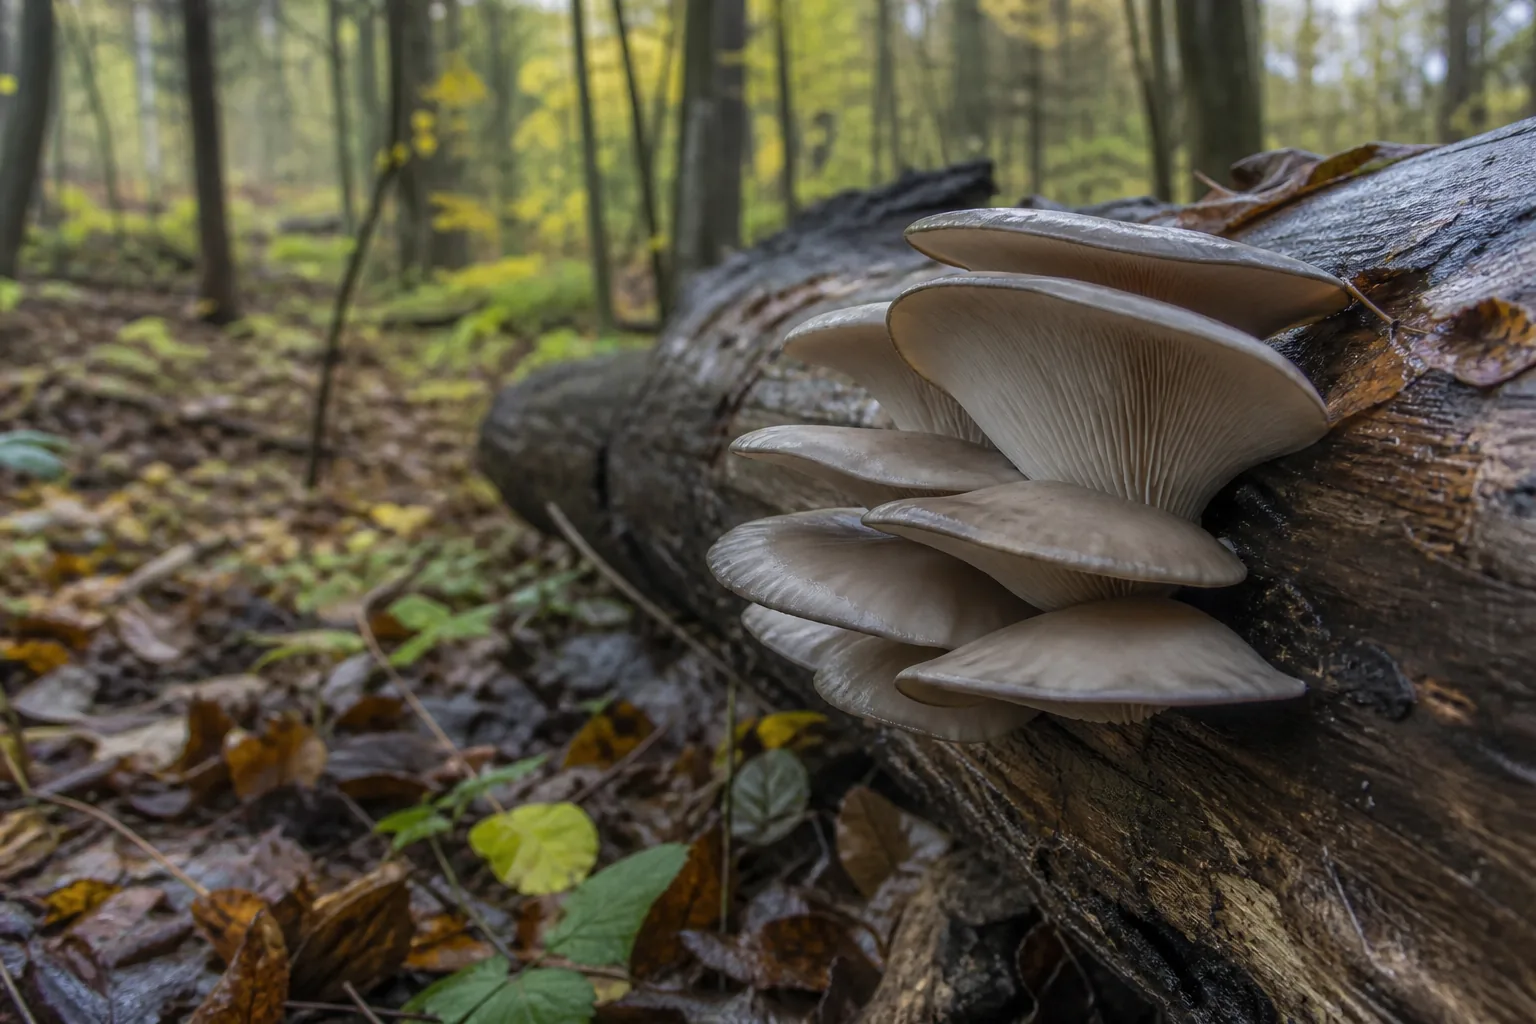
| Oyster mushroom | Shelf growth teaches wood habitat | Unknown gilled mushrooms on soil |
| Lion's mane | Teeth teach non-gilled structure | Old, yellow, sour-smelling growth |
| Giant puffball | Interior check is simple when young | Any outline of gills inside |
| Morel | Hollow-body check teaches cutting | Cottony, chambered, or wrinkled false morel interior |
The chanterelle false-gill check is a good example of how a simple edible still needs structure. Color comes after the underside, stem, flesh, and habitat agree.
What should you bring on a first mushroom walk?
Pick one habitat and one season instead of wandering everywhere. Oak woods after rain, a shaded log pile, or a known park trail with legal access gives you a cleaner lesson than a random all-day search.
Before that field day, confirm collection rules for the chosen habitat because parks may ban harvest, private land requires permission, and protected areas may allow photographs only.
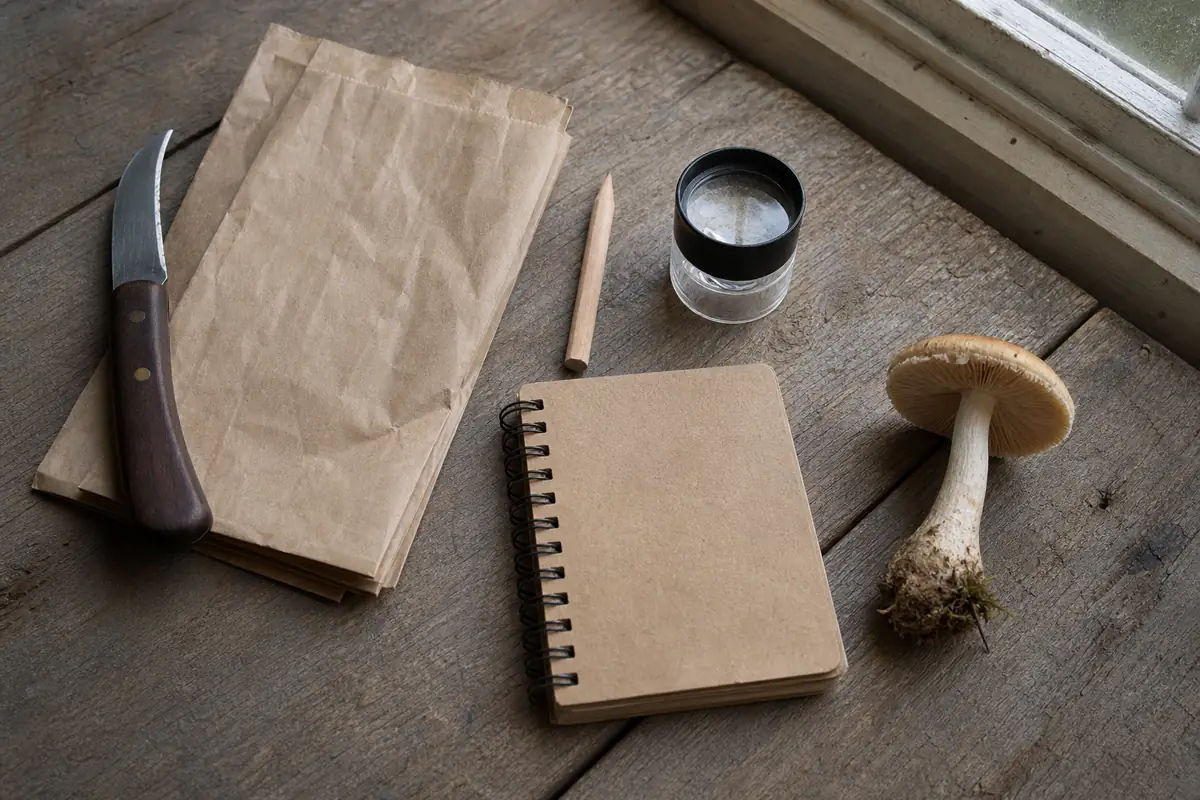
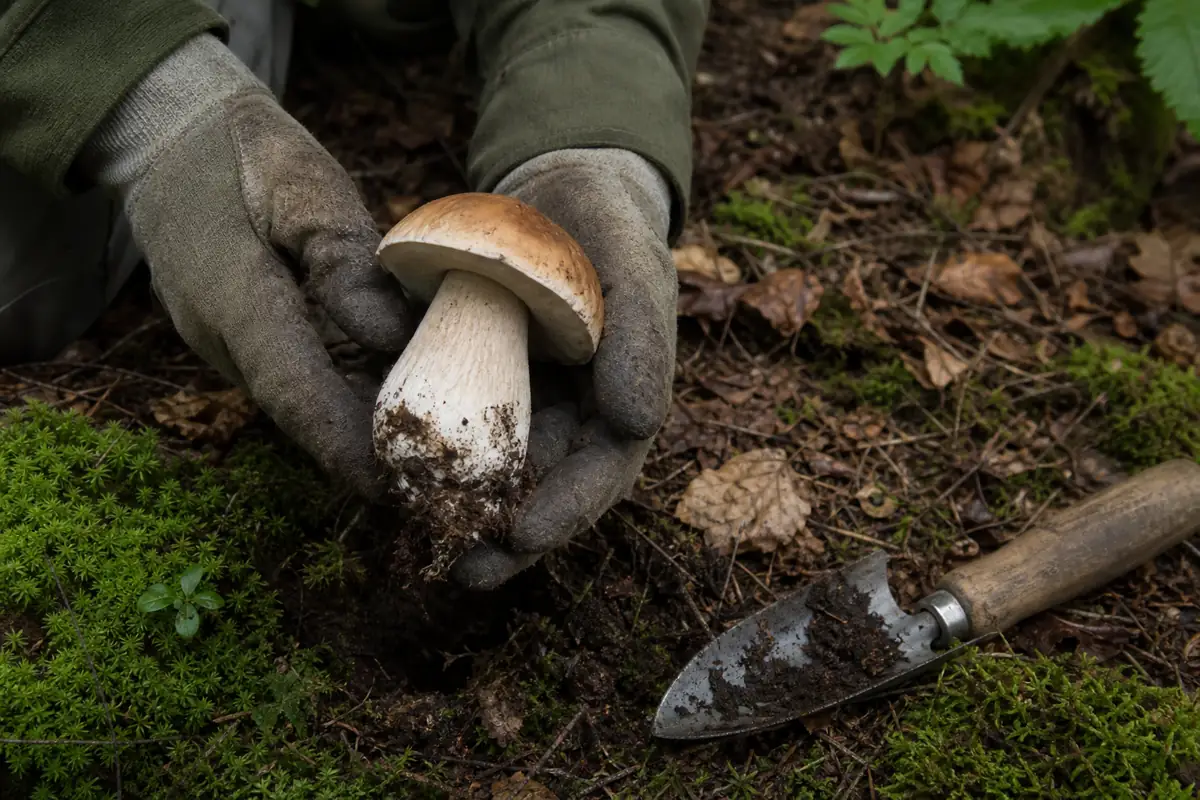
Your first day should include photos before picking. Take one wide photo showing the habitat, one close cap photo, one underside photo, one stem photo, and one photo of the base after you lift the whole mushroom.
ForagingWhich Wild Mushrooms Should Beginner Foragers Learn First?Keep every find separate
Mixing mushrooms is where beginners lose control. One bad specimen can break the trust you had in the whole basket, and loose pieces become harder to verify later.
Separate each find in a labeled wax-paper bag or folded packet with its location, tree partner, date, and tentative name. A basket supplies airflow but should never blend unknown specimens.
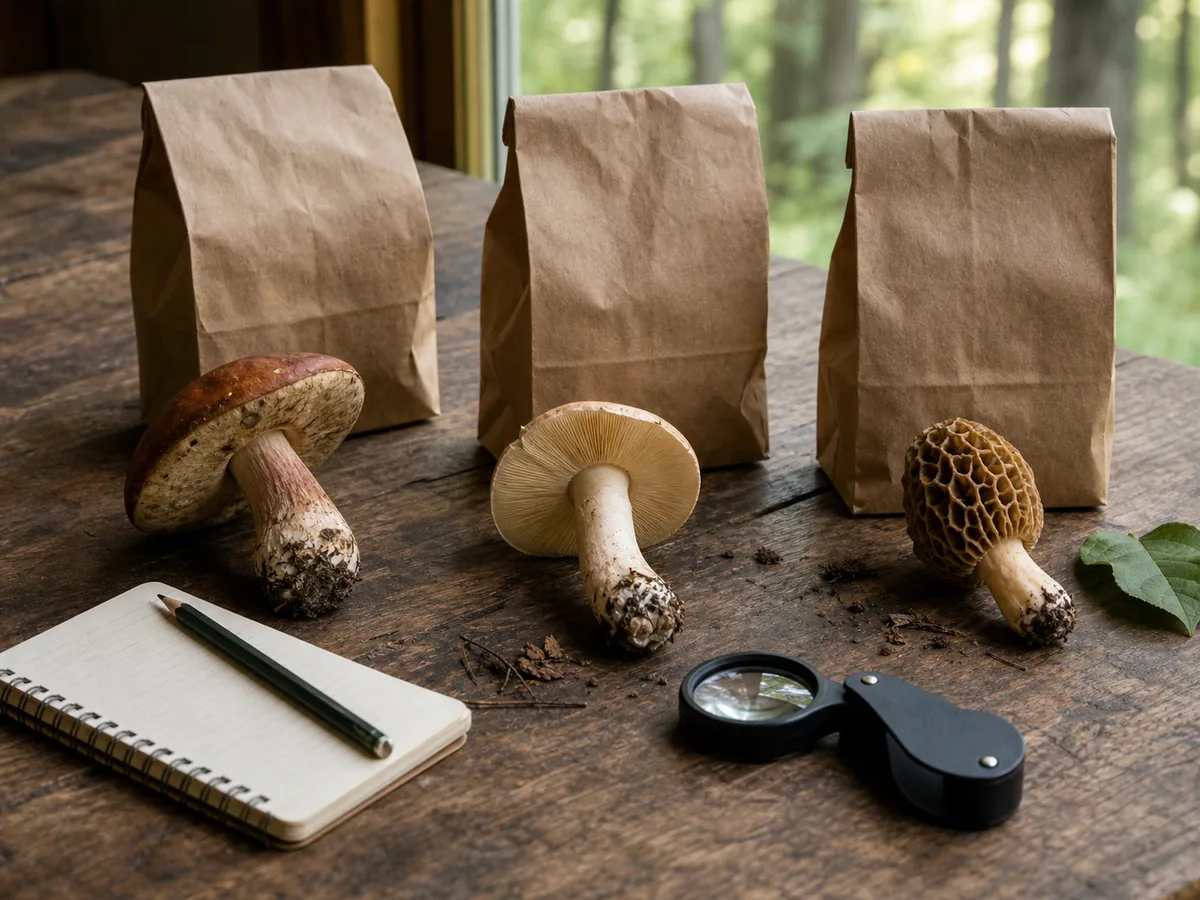
Keep lookalikes separate because comparing a confirmed edible with a reject specimen teaches more than treating every similar mushroom as one species.
Check the whole mushroom at home
Home is where you slow down. Spread the specimens on paper, group only those that truly match, and reject damaged pieces that no longer show the base, underside, or flesh.
Use a lengthwise cut when the candidate requires internal evidence, including hollow morels and uniformly white puffballs. Oysters demand attachment and gill checks, while chanterelles demand blunt ridges and pale firm flesh.
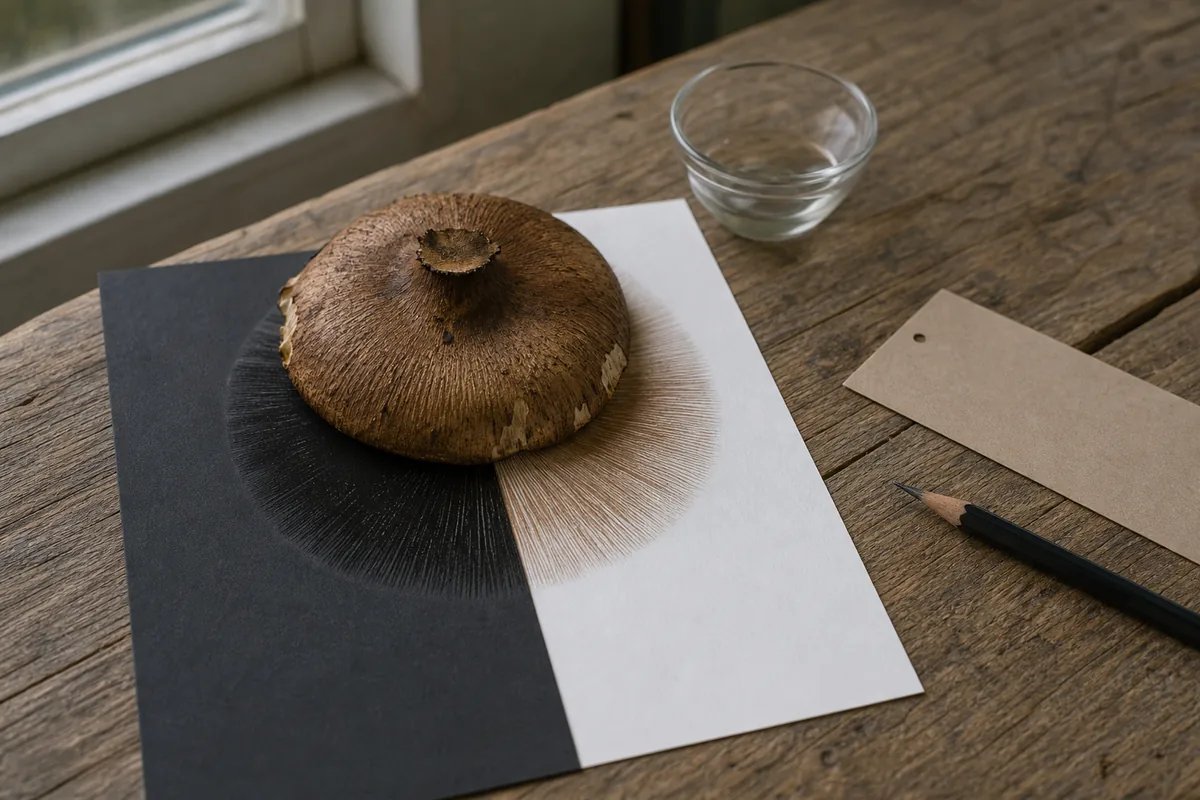
A spore print supports a species-group check when color matters but never replaces the rest of the identification.
Use photos and apps carefully
Apps can help organize observations, but they should not decide dinner. A photo model does not smell the mushroom, feel the flesh, check the full base, or know whether two similar species grow in the same patch.
Use apps for possible names, then verify in field guides, local club records, and mentor review. If the answer changes when you add an underside photo, the first answer was never strong enough.
Photograph the cap, underside, stem, base, habitat, and nearby trees
Keep one uncooked specimen after a first meal
Ask a local mushroom club before eating a new species
Eat from a single photo match
Mix unknown species in one bag
Feed wild mushrooms to pets or children as a test
A spore print forces enough patience for contradictory evidence or reasonable doubt to surface overnight.
Build a rejection record before cooking
A useful identification record begins with the candidate name and then lists the features that would make it wrong. Photograph the cap, underside, full stem, complete base, attachment point, substrate, and a wider habitat view before washing or trimming the specimen.
Record specific features such as white gills free from the stem because another person can verify them while a vague impression cannot.
Compare the record with a regional description and the relevant dangerous lookalikes, giving any contradiction more weight than several broad similarities. A white spore print cannot repair a missing volva check, and an orange cap cannot repair true gills on a chanterelle candidate.
Bring the record to a local club or experienced identifier, especially after weather or season changes the usual appearance. Fall mushroom timing can place edible and poisonous species in the same woods, so a familiar date never replaces anatomy.
A local identifier should be able to reconstruct the same rejection record from the photographs and notes, and any missing base, underside, or attachment point returns the specimen to study.
Repeat the same record on later outings because rain, age, insects, and light alter surface color more readily than the structural marks used to reject a candidate. A documented sequence teaches which features stay stable across conditions.
Measure the fresh cap and stem, then record later bruising, odor, and spore changes to separate stable field marks from handling or drying.
Include a ruler or another fixed scale in one photograph, and record whether the specimen changed color after bruising or cutting. Measurements and timed changes keep later comparison tied to the original mushroom rather than to an enlarged phone image.
Photograph any insect damage or missing tissue because a partial cap or trimmed stem may hide the exact feature needed to reject the candidate. That damage record also explains why an otherwise promising specimen could not support a safe decision.
Cook verified mushrooms like a first test
Once a trusted reviewer confirms the find, cook it thoroughly and eat a small amount the first time. Some edible mushrooms upset some people, especially when undercooked or eaten in a large portion.
Keep the first confirmed meal simple with butter, oil, salt, and heat so texture, age, and odor remain easy to compare with the saved specimen.
Save one uncooked specimen for a day or two in the fridge. If anyone feels sick, that specimen can help a poison center, doctor, or local expert understand what was eaten.
Morels are a special warning. Even true morels must be cooked thoroughly, and the raw morel safety question belongs before any spring meal.
ForagingWhen Is Oyster Mushroom Season?When should a beginner reject a mushroom?
Stop for an old, waterlogged, insect-damaged, slimy, sour, or incomplete mushroom, and stop whenever two reliable sources disagree. Medical vulnerability at the table also requires a risk decision you can explain clearly.
These stop rules make foraging repeatable because a careful beginner returns with fewer mushrooms, better notes, and evidence that improves with each outing.
Your first season is successful when you can reject more confidently than you can collect. The basket will fill later.
Sources for beginner safety
This beginner framework follows poison-center caution, North American mycological safety practice, and extension-style field habits. Use it with local species instruction, because mushroom ranges and lookalikes change by region.
Build a local reference loop
A beginner should not learn alone from a screen. Join a local mushroom club, walk with someone who knows your county, and ask for feedback before a new edible becomes dinner.
Local knowledge matters because common names can hide regional species and a familiar target may have harder lookalikes in another forest.
Bring the whole specimen to a review when rules allow. A cap without the base or a photo without the underside can leave an expert guessing, and guessing is not enough for food.
Handle the first confirmed harvest
Once a mushroom has been confirmed, clean it the same day if possible. Brush dirt, trim damaged parts, and keep species separated until they are cooked.
Cook one species at a time for your first meal. If you mix several new wild mushrooms together, you will not know which one caused a bad reaction.
A small first portion keeps individual intolerance, age, and undercooking from being hidden inside a large serving.
ForagingWhere to Find Fall Mushrooms After the First Cool RainsKeep good notes for the second trip
Useful notes are plain. Write the tree partner, soil or wood, weather, date, smell, underside, stem base, and what you rejected.
A photo of the final meal is less useful than a photo of the mushroom in place before picking. Habitat photos train your eye for the next trip.
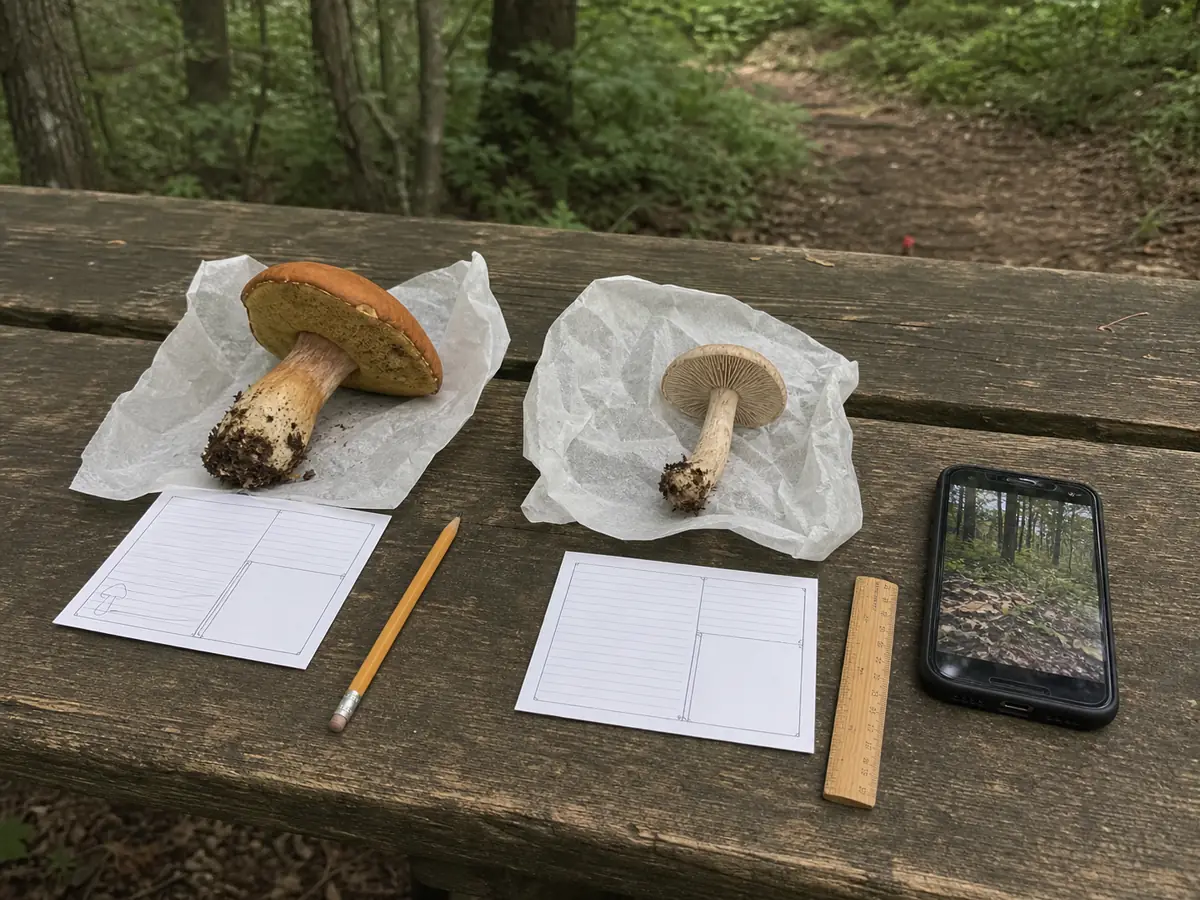
Over time, your notebook becomes a map of patterns. You learn which trails produce after rain, which logs fruit oysters, and which golden mushrooms failed the chanterelle check.
Keep the first trip narrow
This guide covers a safe first field day without replacing regional law, detailed cooking methods, or complete species profiles.
Use season only to choose where to look. The fall mushroom season changes what is common, but it does not identify a specimen.
That separation keeps the first lesson clean. The beginner job is to slow down, separate finds, document evidence, and reject anything that does not fully match.
Practice one species at a time
A beginner improves faster by repeating one species than by chasing every cap on the trail. Pick a target, learn its habitat, and compare several rejected finds against it.
Repeated comparisons build warning recognition because true gills begin to look wrong after careful chanterelle study, while a gilled mushroom on soil stops resembling an oyster candidate.
Do not rush the personal list. Add a new edible only after the previous one feels boringly familiar and you can explain its main lookalikes out loud.
Bring home fewer mushrooms than you can carry
A small, well-documented basket is better than a full basket of maybes. Leave old mushrooms, leave damaged mushrooms, and leave anything you cannot keep separate.
Bringing home fewer complete specimens keeps the hobby repeatable because five documented checks teach more than fifty loose caps on a counter.
Color lessons need comparison. Orange chanterelle-like finds still need underside structure checked against Jack O'Lantern traits.
Spring mushrooms deserve their own split before any meal. Morel identification starts with the hollow interior, while false morels fail that test.
Wood-grown shelf mushrooms are easier beginner material than loose gilled mushrooms on soil because the substrate stays part of the evidence.
Recheck after a good find
The moment a beginner finds a likely edible is when mistakes get easier. Excitement makes people stop checking the underside, skip the base, or assume the next specimen in the patch is the same.
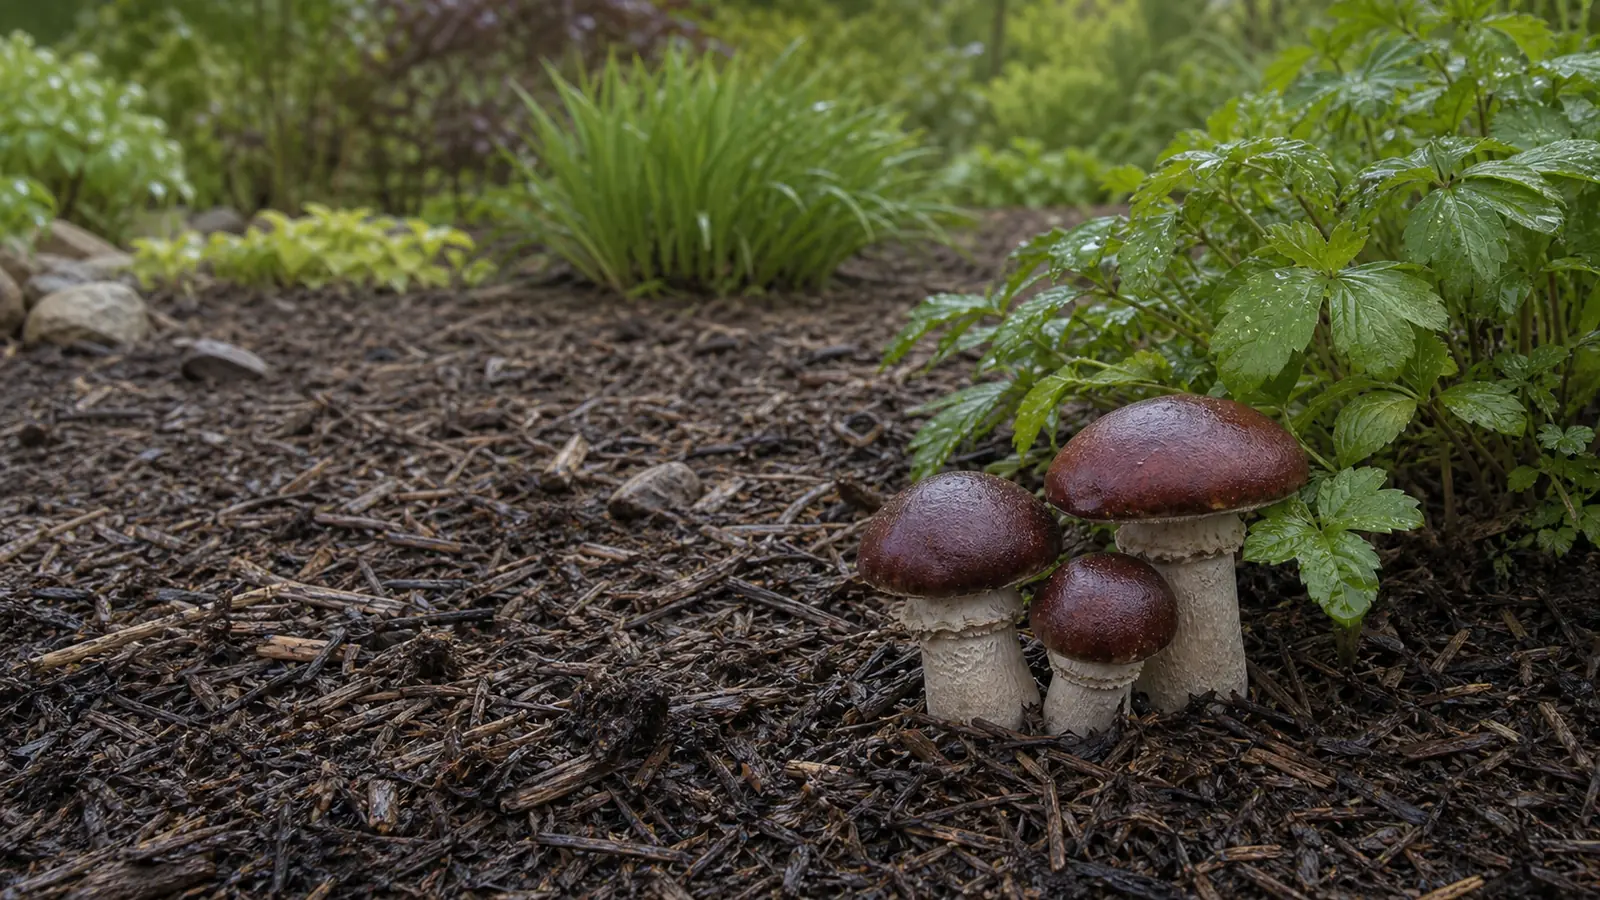
Treat every mushroom as a separate decision until it has passed the same checks. A patch can hold several species after rain, and loose caps in a basket can make that difference invisible.
Take the best specimen for review and leave the rest when the patch is confusing. There will be another walk, but there may not be another chance to identify a mixed basket cleanly.
Sources & References
- North American Mycological Association Foraging safety fundamentals and club resources.
- Kuo, M. MushroomExpert.com Field identification references and spore print methodology.
- MycoBank Taxonomic nomenclature and species classification.