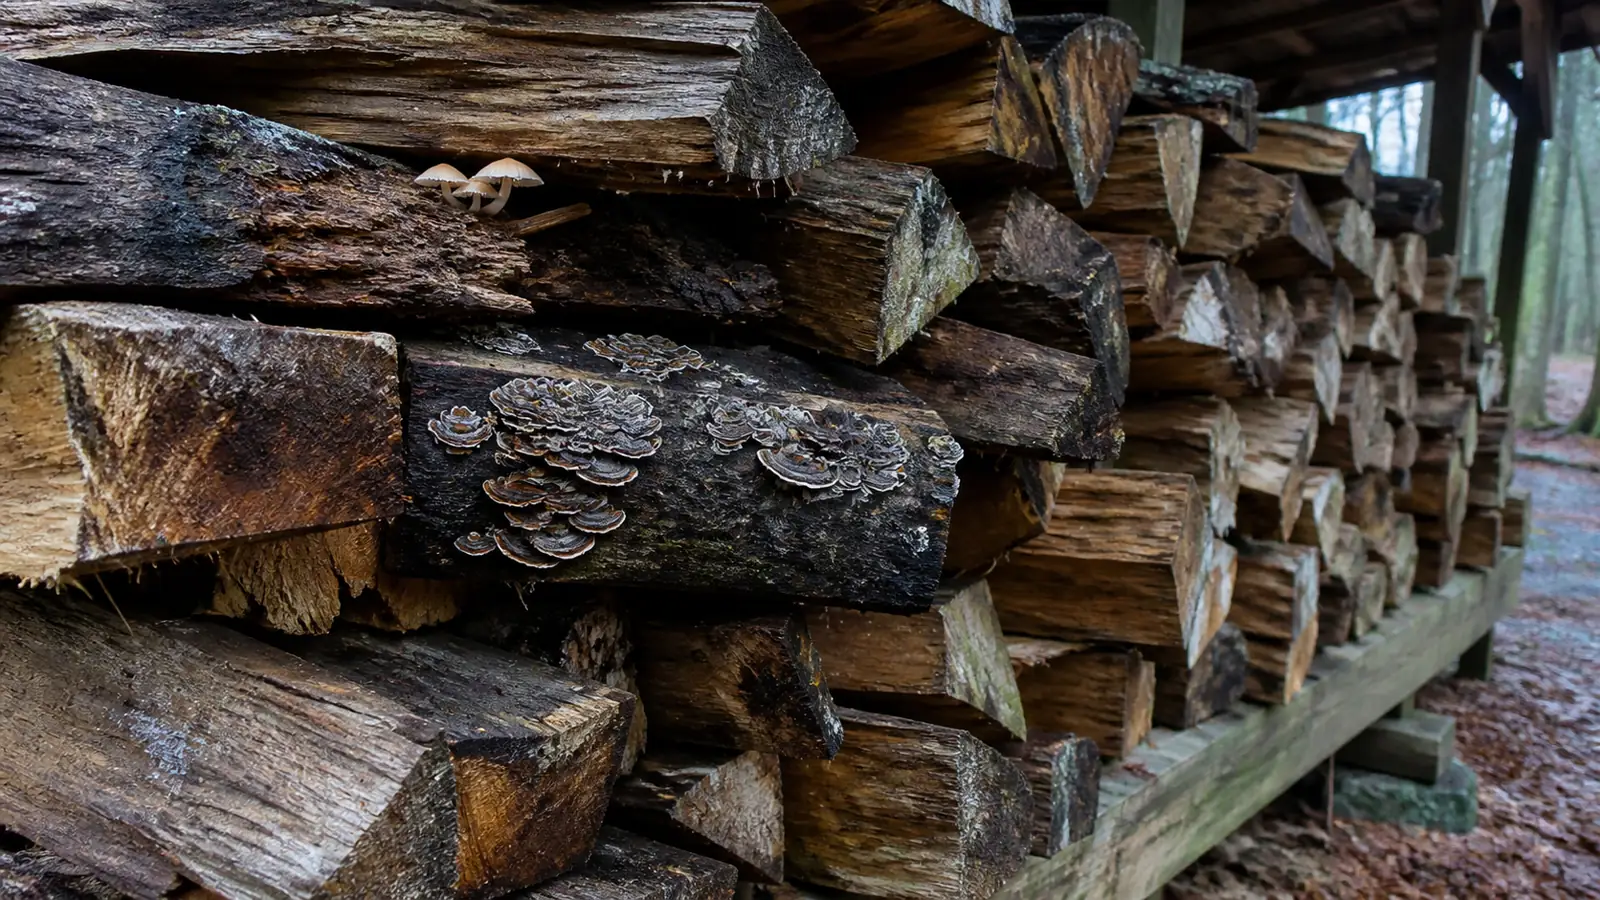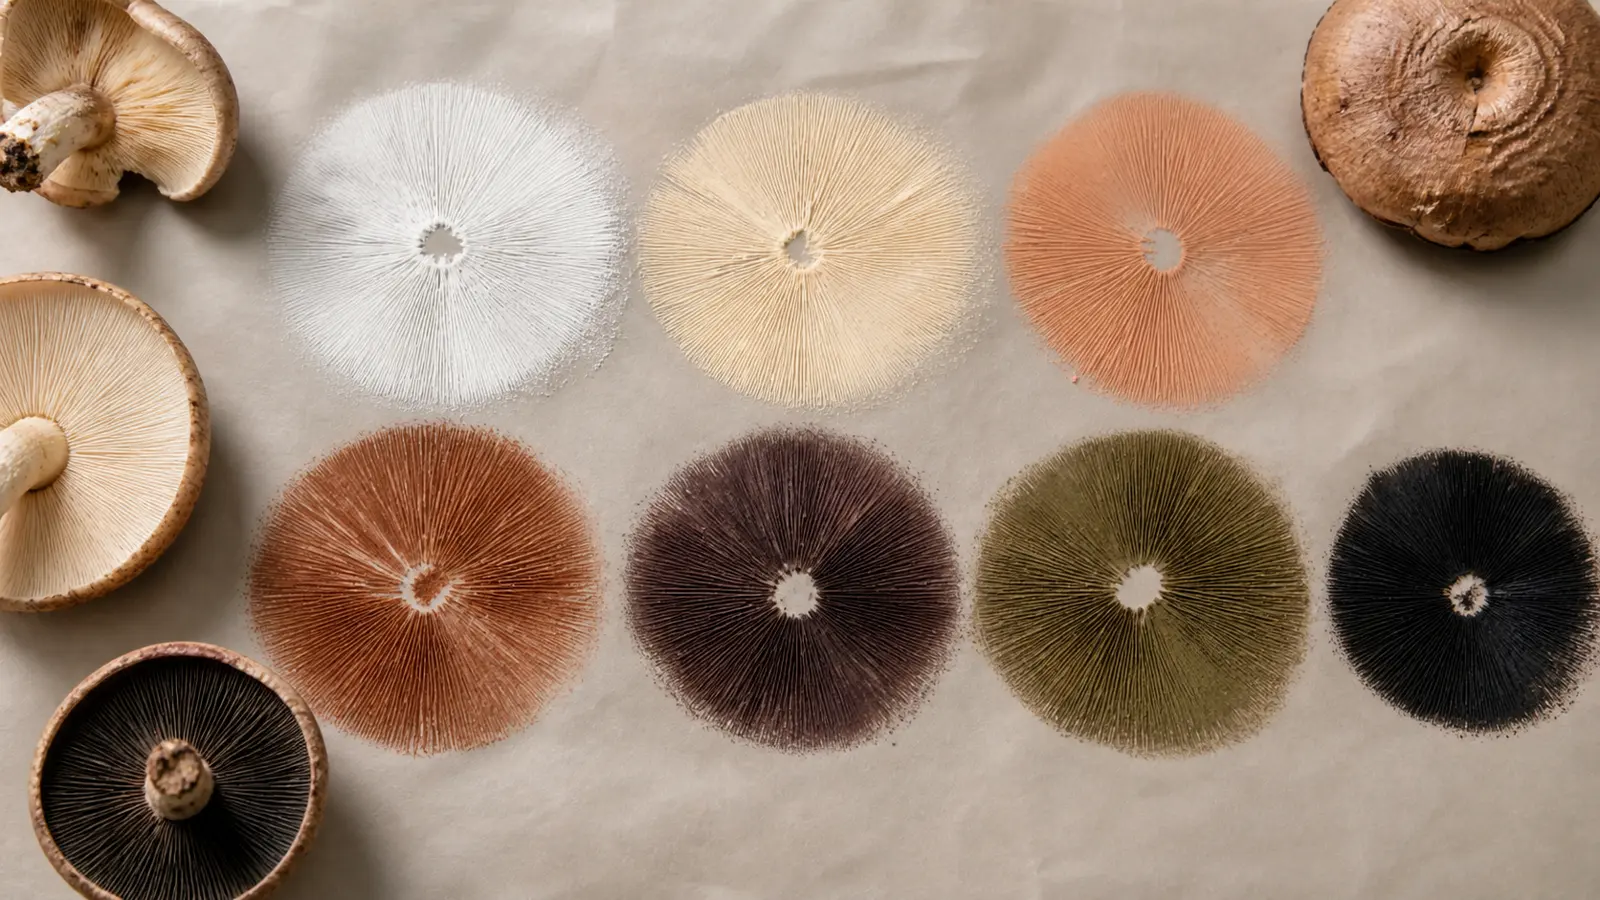
Spore prints are best grouped as white to cream, pink to salmon, ochre to brown, rusty to cinnamon, purple-brown, green, or black. Make the deposit on foil or glass, judge the thickest area in neutral light, and use the result as one character in a full identification.
A spore print color chart is useful only after the deposit is dense enough to read. A weak white print can disappear against paper, while a heavy brown deposit can look nearly black.
Treat the result as one recorded character beside the intact mushroom, its habitat, and its stage of development. A matching spore color never establishes edibility.
What a Spore Print Can Tell You
A spore print shows the color of thousands of mature spores deposited together. Individual spores are usually too small to see without magnification, but their mass color can move an unknown specimen into or out of a broad group.
That narrowing can be decisive when two similar mushrooms leave plainly different deposits but becomes much weaker when both candidates fall inside the same white, brown, or dark family.
- fingerprint
- What it records | The mass color of spores released from a mature fertile surface
- search
- What it can do | Remove incompatible groups from a field key
- alert-triangle
- What it cannot do | Prove a species name or make a mushroom safe to eat
- clock
- When it works best | On a fresh, mature specimen that has begun releasing spores
The print records spores, not the color of the gills or pores. Young gills can be white even when the mature deposit is brown, and old gills can darken from bruising, decay, or accumulated spores.
Keep the whole specimen until the work is finished because cutting away the cap and discarding the stem base can destroy a feature that matters more than the print.
IdentificationWhat Are the Black Artillery Fungus Spots on Siding?The Spore Print Colors Chart
Field guides divide colors with different amounts of precision, so begin with a family you can defend in neutral light. The thickest clean area gives the mass tone, while the feathered edge helps reveal an undertone.

The practical color families are white to cream, pink to salmon, ochre to brown, rusty to cinnamon, purple-brown, green, and black. Judge the dense center because a translucent edge borrows color from the surface below it.
| Color family | Practical range | Common reading problem | Useful interpretation |
|---|---|---|---|
| White to cream | Pure white, ivory, pale cream | Vanishes on white paper | Confirm on foil, glass, or a dark half-sheet |
| Pink to salmon | Pale blush, salmon, clay pink | Thin deposits appear tan | Look for a warm pink edge rather than cap color |
| Ochre to brown | Yellow-brown, tobacco, chocolate | Heavy deposits look black | Compare the thin edge with the dense center |
| Rusty to cinnamon | Orange-brown, rust, cinnamon | Confused with ordinary brown | Check for a warm orange cast in daylight |
| Purple-brown | Deep cocoa with a violet cast | Read as black indoors | View beside a true black reference without brightening digitally |
| Green | Dull gray-green to olive green | Debris or reflected color creates a false cast | Require a clean, dense deposit and matching specimen features |
| Black | Charcoal to black | Thin edges can look brown | Use the opaque mass tone rather than a sparse outer dusting |
White and cream often belong together at field-guide scale because illumination and paper color can shift the boundary, while pink ranges from a faint blush to a richer salmon and rewards a clean family assignment over a precise color name.
Brown requires the most restraint. Ochre, tobacco, cinnamon, rusty brown, chocolate, and purple-brown may direct a key differently, but a thin or damp print cannot support all those distinctions.
Six published profiles show how deposit color separates broad groups without identifying a specimen by itself. Read each card as an example of a color family, then return to the complete mushroom for the characters that confirm or reject the candidate.
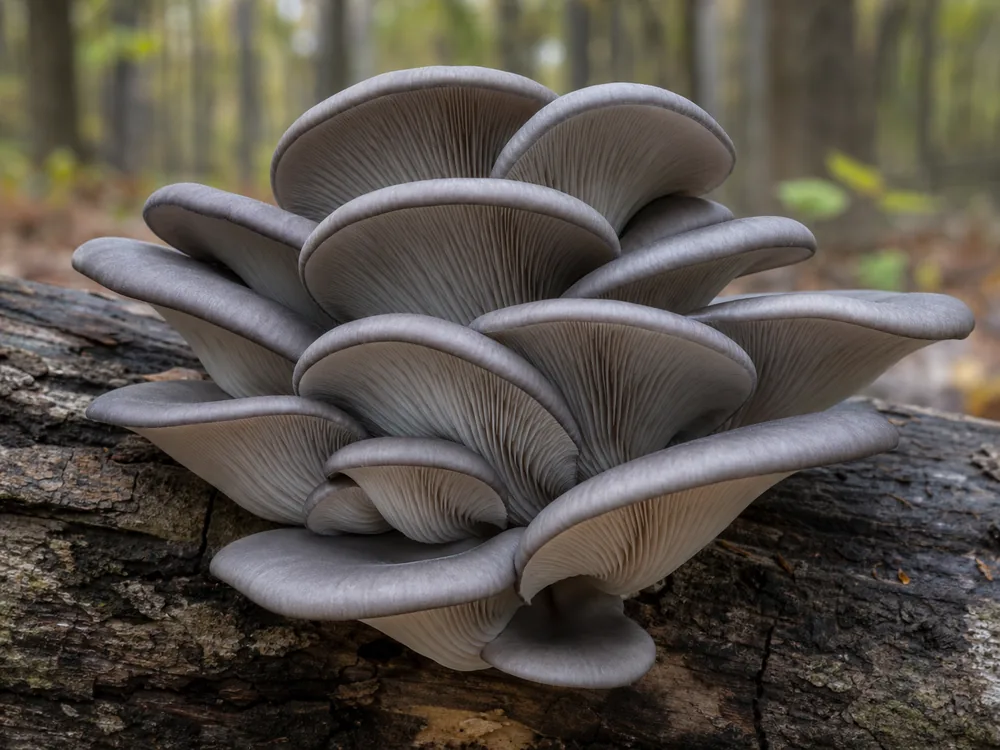 White to lilac-gray depositOyster MushroomA pale print supports the group only when lateral growth, decurrent gills, wood attachment, and the rest of the specimen also agree.
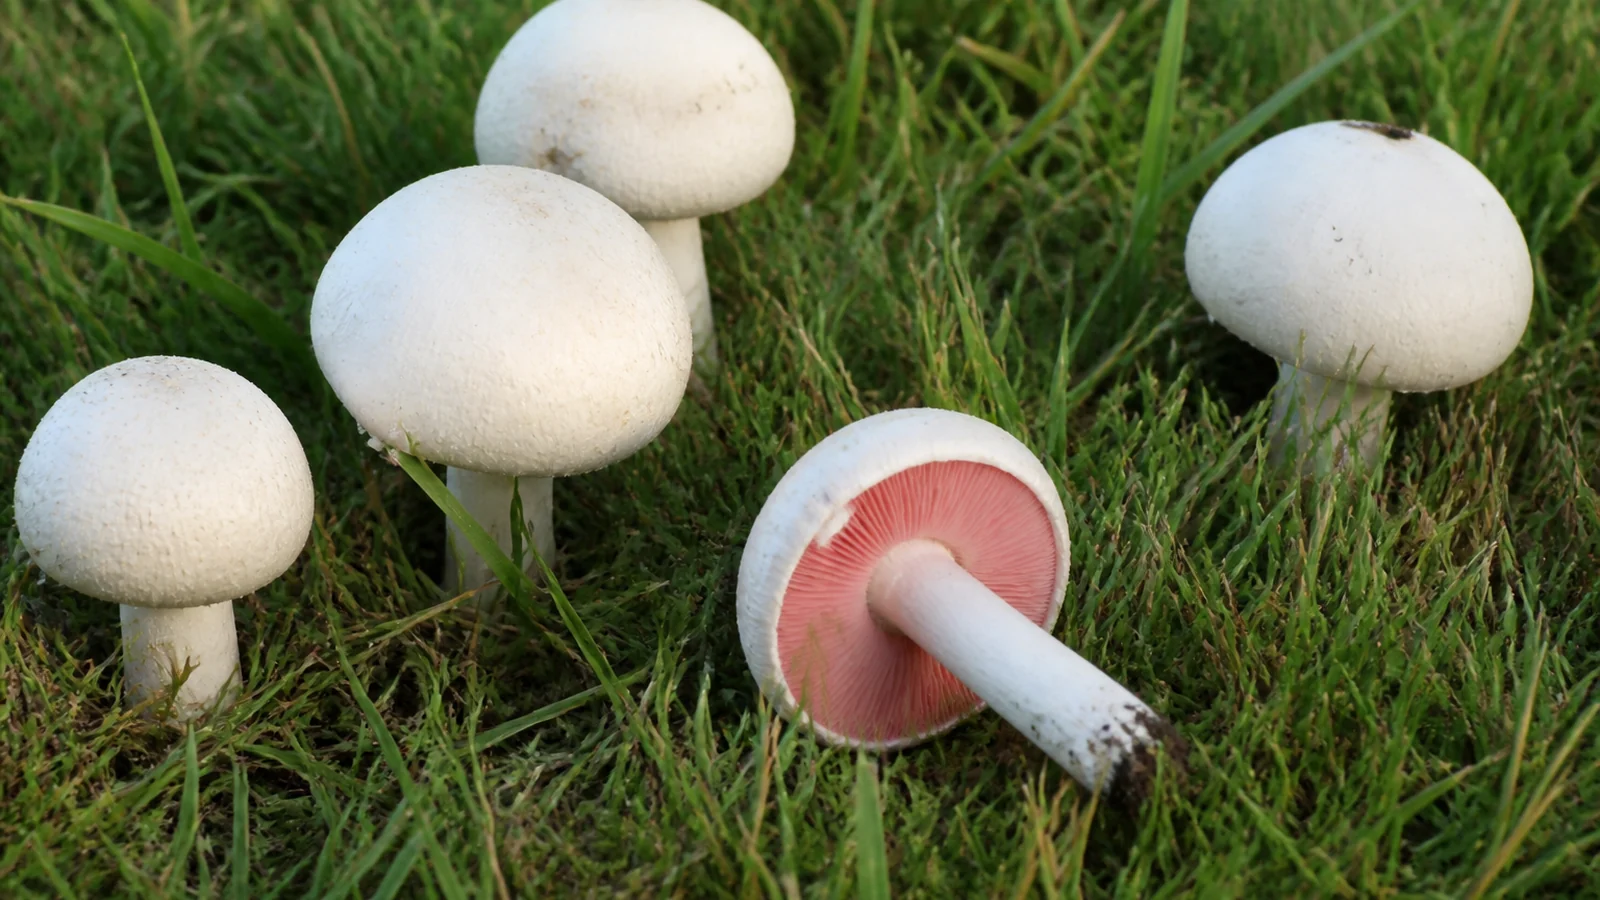 Dark brown depositField MushroomMature Agaricus gills and their brown deposit belong beside the cap, ring, staining reactions, odor, habitat, and complete stem base.
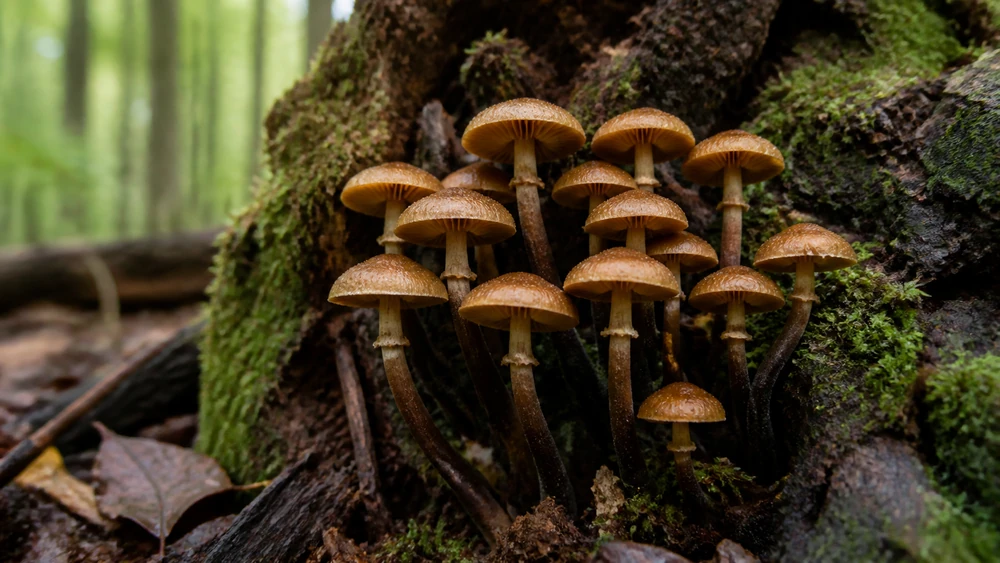 Rusty brown depositDeadly GalerinaWarm rusty spores on a small brown wood mushroom keep amatoxin risk in view, especially when the stem and veil evidence are incomplete.
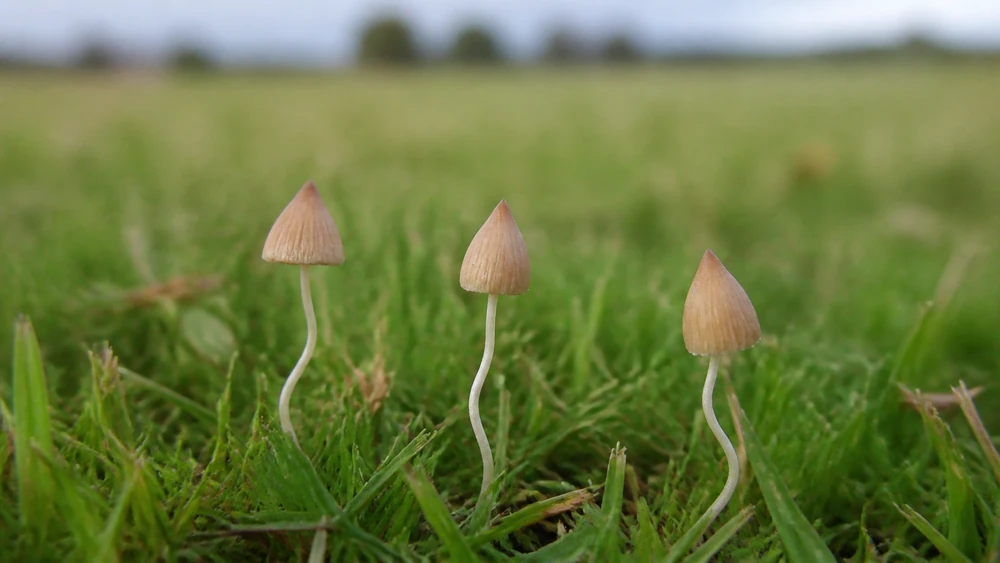 Purple-brown depositLiberty CapA dark purplish deposit is one character among cap geometry, grassland habitat, gill attachment, stem texture, and regional evidence.
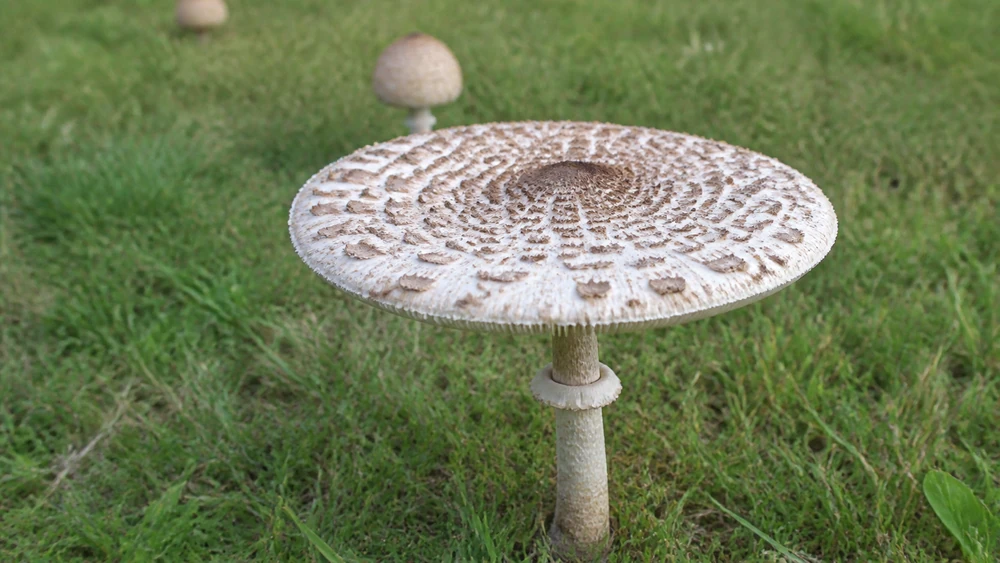 Green depositGreen-Spored ParasolA clean green mass is unusual and useful, but the lawn habitat, free gills, cap scales, stem ring, and maturity still have to agree.
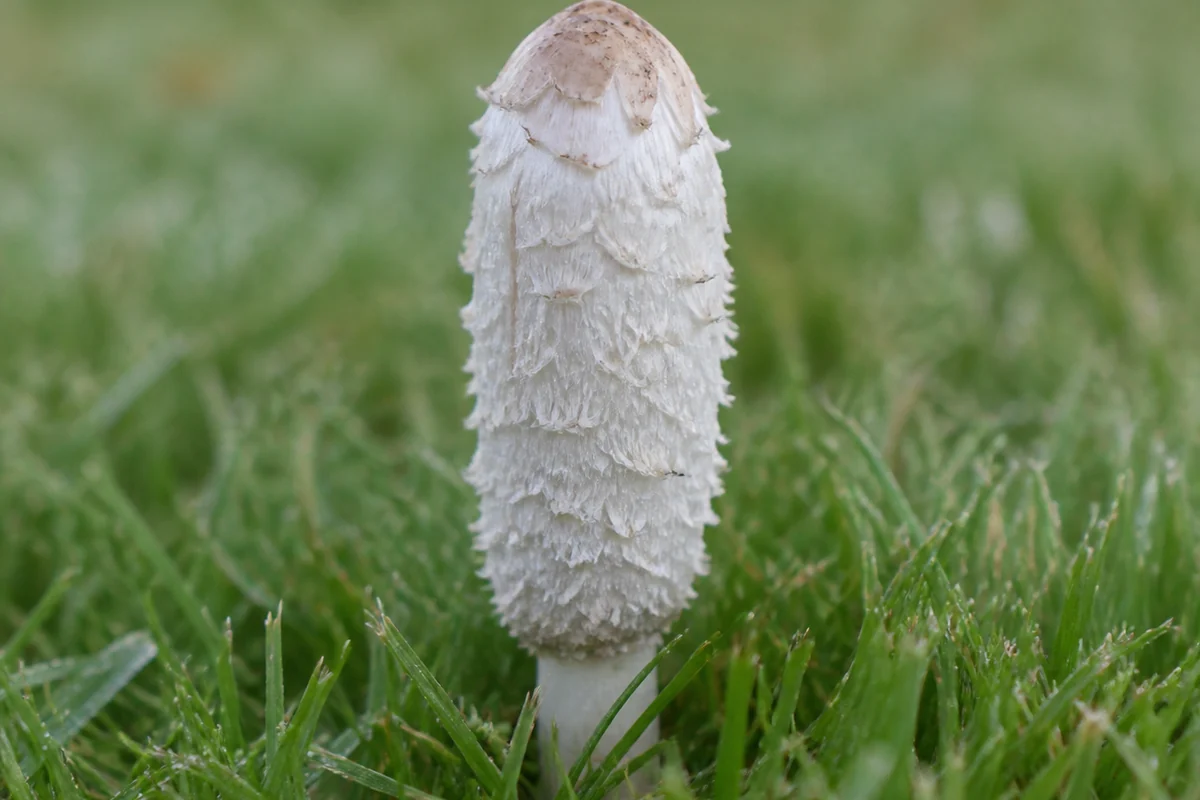 Black depositShaggy ManeBlack spores fit the inkcap group, while the tall shaggy cap, free gills, ring, age, and rapid deliquescence narrow the candidate further.
The cards span pale, brown, rusty, purple-brown, green, and black deposits. None turns a spore print into an edibility verdict, and a mixed or contaminated print should be repeated rather than forced into the nearest example.
How to Make a Readable Spore Print
Choose a cap whose fertile surface is exposed and mature, but not collapsed or waterlogged. If only one specimen is available, a sector of the cap can produce a deposit while the rest remains attached to the stem for examination.
Aluminum foil is the most forgiving surface because both pale and dark spores remain visible, and the deposit can be folded with the specimen notes. Clear glass also works well when you can move it over white and dark backgrounds.
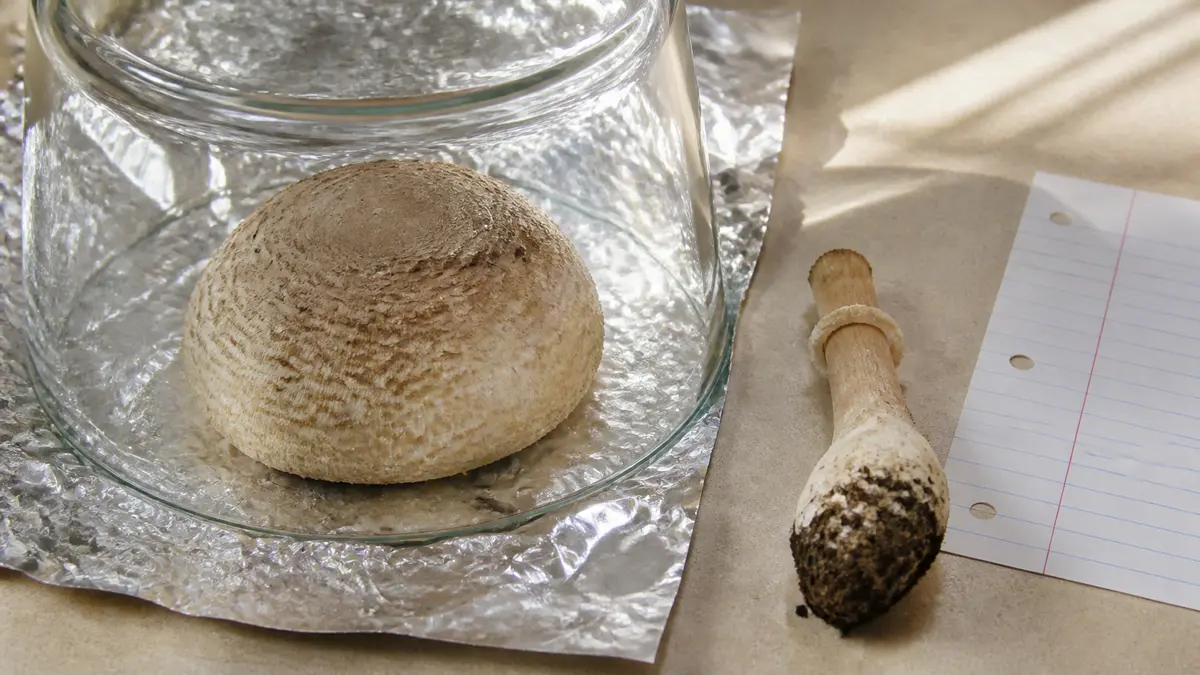
The image keeps the cap sector, retained specimen, cover, and collection note in one traceable setup.
NAMA describes a small drop of water on top of a cap as one way to encourage release, but excess moisture can run beneath the specimen and smear the deposit. Use the smallest amount needed and keep condensation from dripping onto the foil.
Lift the cap straight upward rather than sliding it. A lateral movement drags the pattern into a muddy patch and makes a light deposit harder to distinguish from moisture or tissue debris.
IdentificationWhat Are the Tiny Bird's Nest Fungi in Your Mulch?How Deposit Thickness Changes the Color
One print often contains a dense center, a medium band, and a nearly transparent edge.
Those zones can appear to be different colors even though they came from the same spores.

A thin white deposit reflects the surface beneath it and can look absent on white paper. A dense cream deposit blocks more of the background and may appear darker or warmer.
Compare the same deposit over pale and dark backing without changing exposure or white balance. Digital brightening can reveal a pattern, but it also changes the apparent family, so record the color by eye under neutral daylight before editing a photograph.
The same effect pushes chocolate brown toward black. Judge the opaque mass first, then use the thin edge only to look for a purple, rusty, or olive undertone.
Read the print in diffuse daylight or under a high-quality neutral lamp because warm household bulbs exaggerate cream and rust, while a cool screen or camera white balance can push brown toward gray or violet.
Do not sample color from a phone photograph as if it were a laboratory measurement. Exposure, automatic white balance, compression, and the display itself can all shift the result.
IdentificationWhat Should You Do About Mushrooms in a Horse Pasture?Why a Spore Print Comes Out Blank or Muddy
A blank surface is not a white print. It means the setup produced no visible deposit, which can happen because the cap is immature, overmature, dry, damaged, or simply no longer releasing spores.
Closed young caps may still have a veil protecting the fertile surface. Old specimens can have mature spores yet lack enough moisture and active tissue to release a useful new deposit.
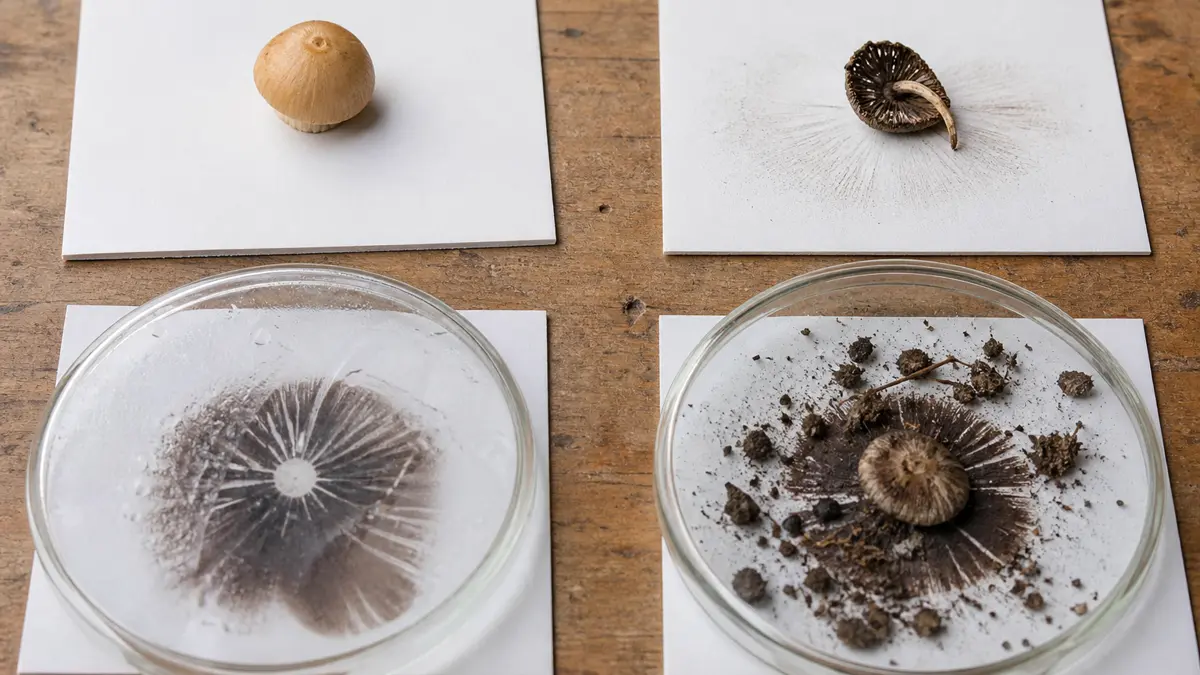
Condensation creates the opposite problem because water loosens tissue particles and moves spores into streaks, producing a gray or brown smear that no longer shows a stable mass tone.
Warning
Repeat the setup once with a fresh mature specimen when the first result is blank or wet. Do not record “white†from an empty surface, and do not keep adding water to a collapsing cap.
Mixed collections also create false readings. Two caps touching the same foil can overlap deposits, especially when loose spores already coat the upper cap or stem of one specimen.
Persistent failure belongs in a troubleshooting workflow, not in the color chart. Record the blank result honestly and continue with other characters instead of forcing a conclusion.
Green and Black Prints Need Careful Separation
Green spore deposits are unusual enough to attract attention, but greenish debris is common. A true deposit should repeat the fertile-surface pattern and show the cast across a clean mass of spores.
The poisonous green-spored parasol, Chlorophyllum molybdites, shows why this color matters because its deposit corroborates other features but cannot identify every pale lawn mushroom alone.
Olive soil, algae, decaying gill tissue, and reflected light can all create a green impression. Compare an undisturbed section on neutral foil and require the cap, gills, stem, veil remnants, habitat, and maturity to agree.
Black prints can show translucent brown at the edge, particularly where the deposit thins. Use the dense mass tone, then describe any edge undertone separately in the notes.
Ink caps add another complication because their gills can dissolve into dark liquid. Keep a powdery spore deposit distinct from liquefied gill tissue when recording the color.
Which Other Features Must Agree
Spore color enters an identification after documentation, so photograph the mushroom before lifting it and retain the complete stem base because careless pulling can lose a buried cup or bulb.

The final record should let another identifier connect the deposit to one numbered collection rather than to a loose cap on a table. Check these independent character groups before accepting a name:
- Fertile surface, including true gills, pores, teeth, ridges, or an enclosed spore mass.
- Gill attachment, spacing, color changes, and short gills when the specimen is gilled.
- Cap shape, surface texture, margin, bruising, and changes between young and mature specimens.
- Complete stem base, ring, volva, cortina, veil patches, rooting structure, and interior tissue.
- Substrate such as soil, leaf litter, buried wood, a standing tree, or a fallen log.
- Habitat, nearby trees, growth pattern, region, date, weather, odor, and any staining reaction.
Because attachment can change as a cap expands, colors fade in rain or sun, and veil tissue disappears with age, several specimens at different stages are more informative than one ideal-looking cap.
When two candidate groups share one broad print family, describe an undertone only after the deposit is dense and repeatable. A weak tan cast should remain uncertain instead of becoming a forced pink, rust, or olive label.
Record uncertainty at the level it occurs. A clean purple-brown print can be a strong fact even when the species remains unresolved, while an exact species name built on a muddy deposit is weak work.
Do not taste an unknown mushroom merely to finish an online key, and never make a consumption decision from a chart. When the complete evidence does not converge, leave the specimen unnamed and seek a qualified local identifier who can inspect it in person.